Yamaha DD-50 Owner's Manual - Page 22
Setting the MIDI Note Number, Select the pad to be assigned a MIDI Note Number
 |
View all Yamaha DD-50 manuals
Add to My Manuals
Save this manual to your list of manuals |
Page 22 highlights
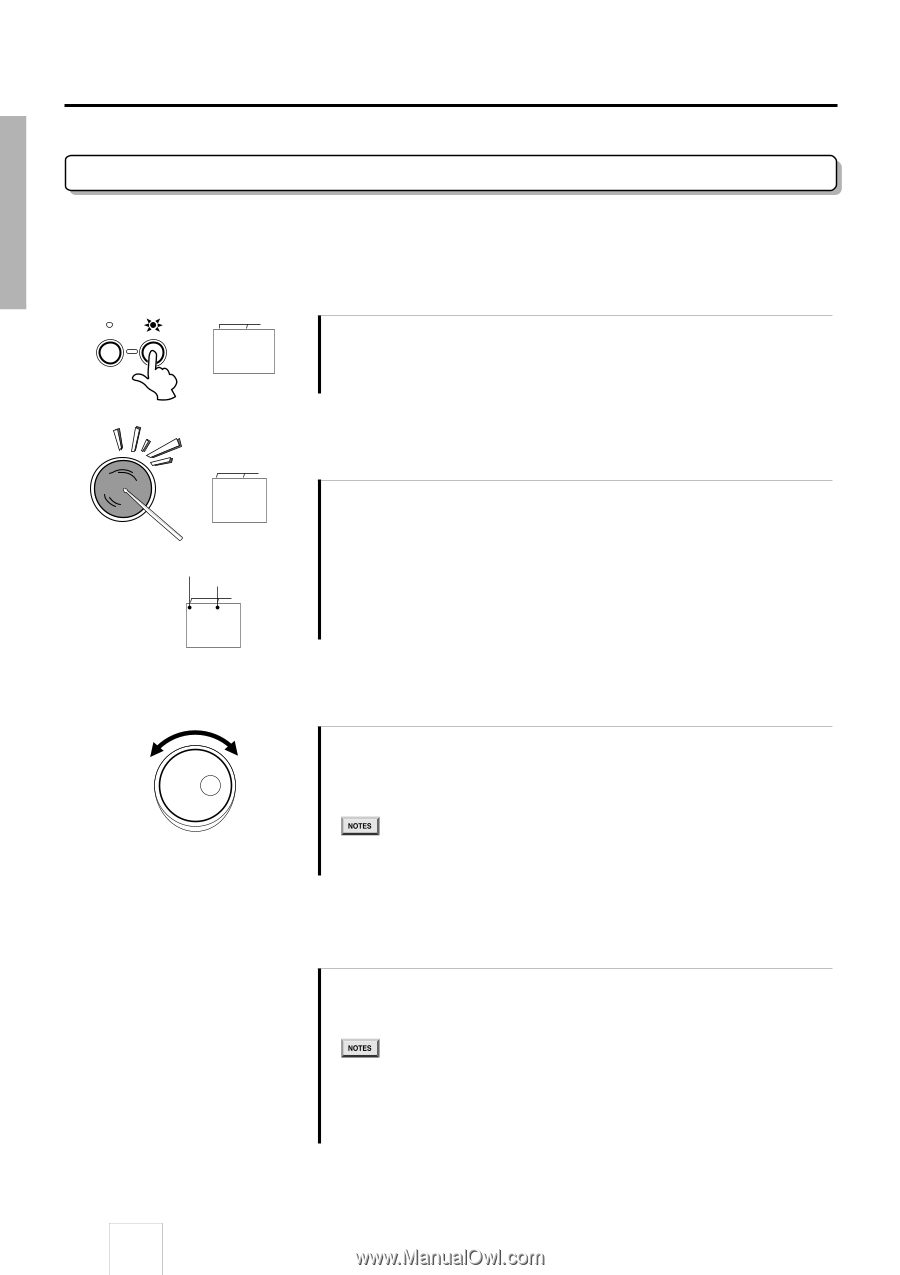
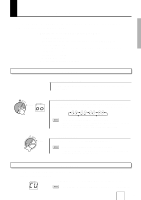
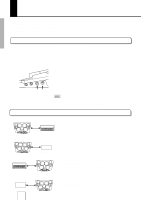
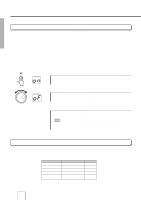
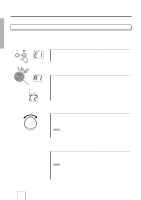
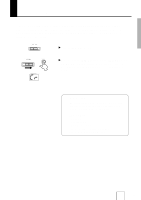
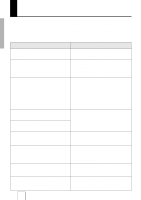
Using the MIDI/Utility Mode Setting the MIDI Note Number Each pad and pedal (9 total) can be assigned a specific MIDI note number anywhere from C-2 to G8. ASSIGN PAD KIT BEAT E1 1 Display the MIDI Note Number After entering the MIDI/Utility mode, press the [KIT ASSIGN] button, the MIDI note number currently assigned to Pad 1 will appear in the display. BEAT A1 2 Select the pad to be assigned a MIDI Note Number Strike any pad to see the currently assigned MIDI note number in the display. # (Sharp) -(Minus) BEAT C2 Sharp notes are indicated by a dot on the upper left side of the display, minus values are indicated by a dot on the upper right side of the display. 3 Assign a MIDI Note Number To select the desired MIDI note number, turn the DIAL to the right (clockwise) and the MIDI note numbers will increase. Turn the DIAL to the left (counter-clockwise) and MIDI note numbers will decrease. • You can also select the MIDI note number by striking the pad. Every time the pad is struck, the value will increase by one. 4 Exit the MIDI/Utility mode After each pad is assigned a MIDI note number, exit the MIDI/Utility mode. • For information on transmit notes and voices, refer to the DD-50 "Drum Map" (note - voice, list) on page 27. • When the Pad Assign or Kit Assign is set, the MIDI Note Number will be applied to the preset value. If the Auto Kit Select is set to ON and another Song is selected, the MIDI Note Number will be applied to the preset value. Auto Kit Select is automatically turned off when a MIDI Note Number is changed. 20
-
 1
1 -
2
-
3
-
4
-
5
-
6
-
7
-
8
-
9
-
10
-
11
-
12
-
13
-
14
-
15
-
16
-
 17
17 -
 18
18 -
 19
19 -
 20
20 -
 21
21 -
 22
22 -
 23
23 -
 24
24 -
 25
25 -
 26
26 -
 27
27 -
28
-
29
-
30
-
31
-
32
-
33
-
34
 |
 |