Yamaha NS-IW560C Owners Manual - Page 4
Installation
 |
UPC - 027108104492
View all Yamaha NS-IW560C manuals
Add to My Manuals
Save this manual to your list of manuals |
Page 4 highlights
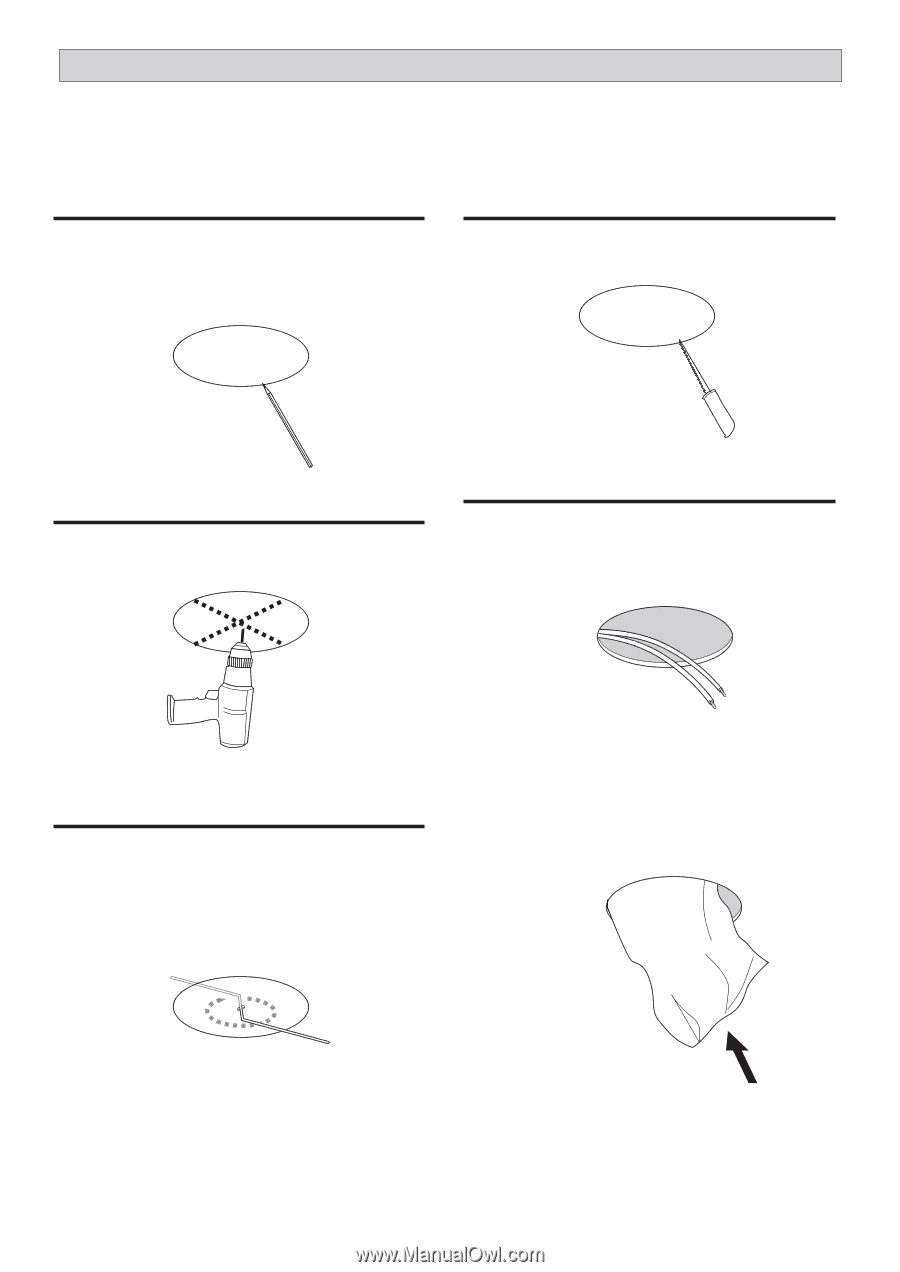
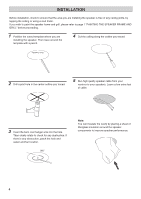
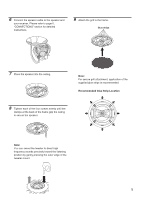
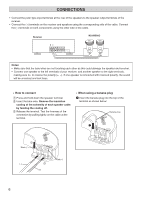
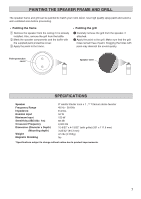
INSTALLATION Before installation, check to ensure that the area you are installing the speaker is free of any ceiling joints, by tapping the ceiling or using a stud finder. If you wish to paint the speaker frame and grill, please refer to page 7 "PAINTING THE SPEAKER FRAME AND GRILL" before proceeding. 1 Position the cutout template where you are installing the speaker. Then trace around the template with a pencil. 4 Cut the ceiling along the outline you traced. TEMPLATE 2 Drill a pilot hole in the center outline you traced. 5 Run high quality speaker cable from your receiver to your speakers. Leave a few extra feet of cable. 3 Insert the bent coat hanger wire into the hole. Then slowly rotate to check for any obstruction. If there is any obstruction, patch the hole and select another location. 360° Note: You can insulate the cavity by placing a sheet of fiberglass insulation around the speaker components to improve speaker performance. 4
-
 1
1 -
 2
2 -
 3
3 -
 4
4 -
 5
5 -
 6
6 -
 7
7 -
 8
8
 |
 |