Yamaha PSR-73 Owner's Manual (image) - Page 8
Using the Auto Accompani, ment Function/Multi Fingering
 |
View all Yamaha PSR-73 manuals
Add to My Manuals
Save this manual to your list of manuals |
Page 8 highlights
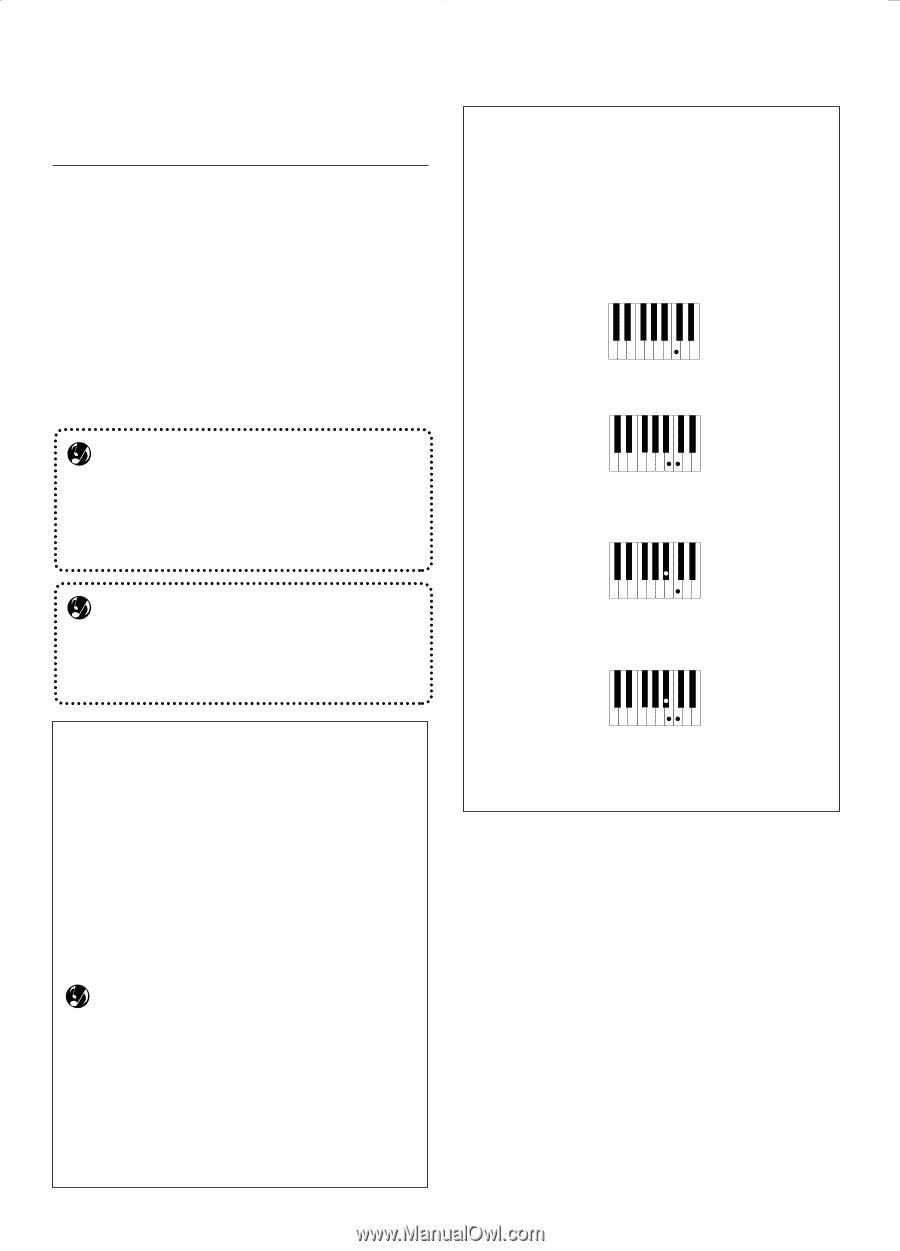
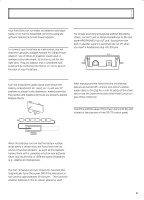
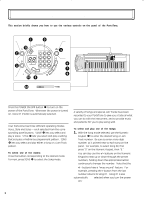
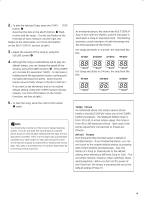
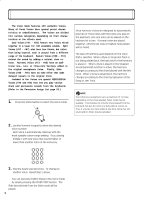
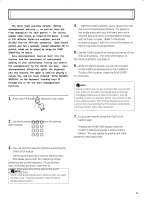
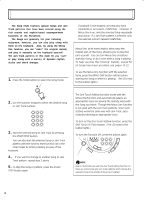
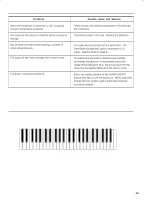
Using the Auto Accompaniment Function/Multi Fingering The Auto Accompaniment function automatically generates bass and chord accompaniment for you to play along with, by using Multi Fingering operation. You can change the chords of the accompaniment by playing keys in the AUTO ACCOMP. SECTION of the keyboard using either the "Single Finger" or "Fingered" method. With Single Finger you can simply play a one-, two- or three-finger chord indication (see Single Finger Chords below). The Fingered technique is that of conventionally playing all the notes of the chord. Whichever method you use, the PortaTone "understands" what chord you indicate and then automatically generates the accompaniment. NOTE Chords played in the AUTO ACCOMP. SECTION of the keyboard are also detected and played when the accompaniment is stopped (Stopped Accompaniment function). In this condition, the Voices used for the bass and chords are automatically selected. Single Finger Chords Chords that can be produced in Single Finger operation are major, minor, seventh and minor seventh. The illustration below shows how to produce the four chord types. (The key of C is used here as an example; other keys follow the same rules. For example, B̆7 is played as B̆ and A.) C Press the root note of the chord. C7 Press the root note together with any white key to the left of it. Cm NOTE To use the Minus One function with one of the Styles, press the MINUS ONE button. (The LED next to the button lights.) Minus One cancels all chord accompaniment, leaving only the bass and basic rhythm of the Style. Setting Auto Accompaniment to Single Finger or Fingered Though detection of the Single Finger and Fingered methods is automatic, you can set Auto Accompaniment to function exclusively in either the Single Finger or Fingered mode. To set Auto Accompaniment to Single Finger, turn the power off, then hold down the "-" button on the Numeric Keypad and simultaneously turn the power on. "SF" (Single Finger) briefly appears in the MULTI DISPLAY. NOTE In Single Finger, the AUTO ACCOMP. SECTION is set between the C1 key (the lowest key) and the C̅2 key. To set Auto Accompaniment to Fingered, follow the same steps, holding down the "+" button instead. "F" (Fingered) briefly appears in the MULTI DISPLAY. To switch back to Multi Fingering operation, simply turn the power off and on again. Press the root note together with any black key to the left of it. Cm7 Press the root note together with any white and black key to the left of it (three keys altogether). 7
-
 1
1 -
2
-
 3
3 -
 4
4 -
 5
5 -
 6
6 -
 7
7 -
 8
8 -
 9
9 -
 10
10 -
 11
11 -
 12
12 -
 13
13 -
14
-
15
-
16
 |
 |