eMachines E17T6W 8512499 - eMachines Flat Panel Monitor User Guide - Page 16
Starting the monitor - troubleshooting
 |
UPC - 827103137330
View all eMachines E17T6W manuals
Add to My Manuals
Save this manual to your list of manuals |
Page 16 highlights
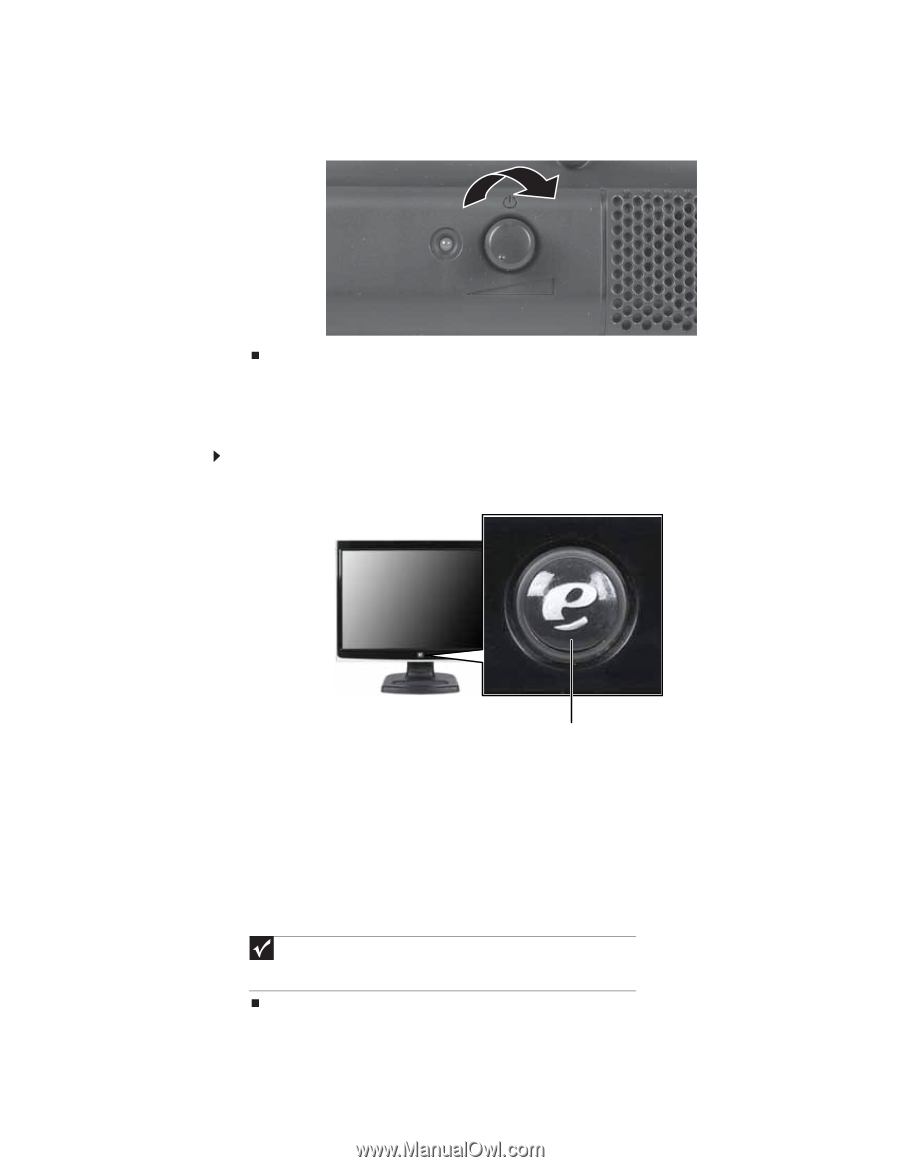
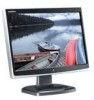
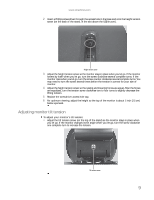
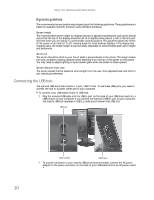
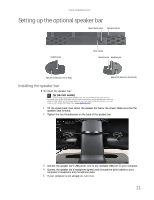
Using Your eMachines Flat-Panel Monitor 6 Turn on the speaker bar by rotating the power/volume knob clockwise. The green LED to the left of the power button is lit when power has been correctly connected and the speaker bar has been turned on. Starting the monitor To start the monitor: 1 Press the power button on the front of your monitor. The power LED on the power button turns on. (The appearance of your monitor may vary from that shown.) 12 Power button 2 Turn on your computer. After your computer is running, the power LED on the monitor's power button should be blue. Allow about 10 seconds for the display image to appear. If the power LED is not blue or you do not see a display image, check the connections. For more troubleshooting information, see "Troubleshooting" on page 20. 3 Adjust the tilt of the monitor for the best viewing angle. 4 After you see the Windows desktop, press the Auto button on the right side of the monitor to automatically adjust your display image to the ideal settings. 5 Use the on-screen display (OSD) to adjust other monitor settings. For more information, see "Adjusting monitor settings" on page 13. Important When adjusting the monitor settings, always press the Auto button before entering the OSD. This will automatically adjust the display image to the ideal settings for the current screen resolution.
-
 1
1 -
2
-
3
-
4
-
5
-
6
-
7
-
8
-
9
-
10
-
 11
11 -
 12
12 -
 13
13 -
 14
14 -
 15
15 -
 16
16 -
 17
17 -
 18
18 -
 19
19 -
 20
20 -
 21
21 -
22
-
23
-
24
-
25
-
26
-
27
-
28
-
29
-
30
-
31
-
32
-
33
-
34
 |
 |