1996 Nissan Maxima Owner's Manual - Page 114
1996 Nissan Maxima Manual
Page 114 highlights
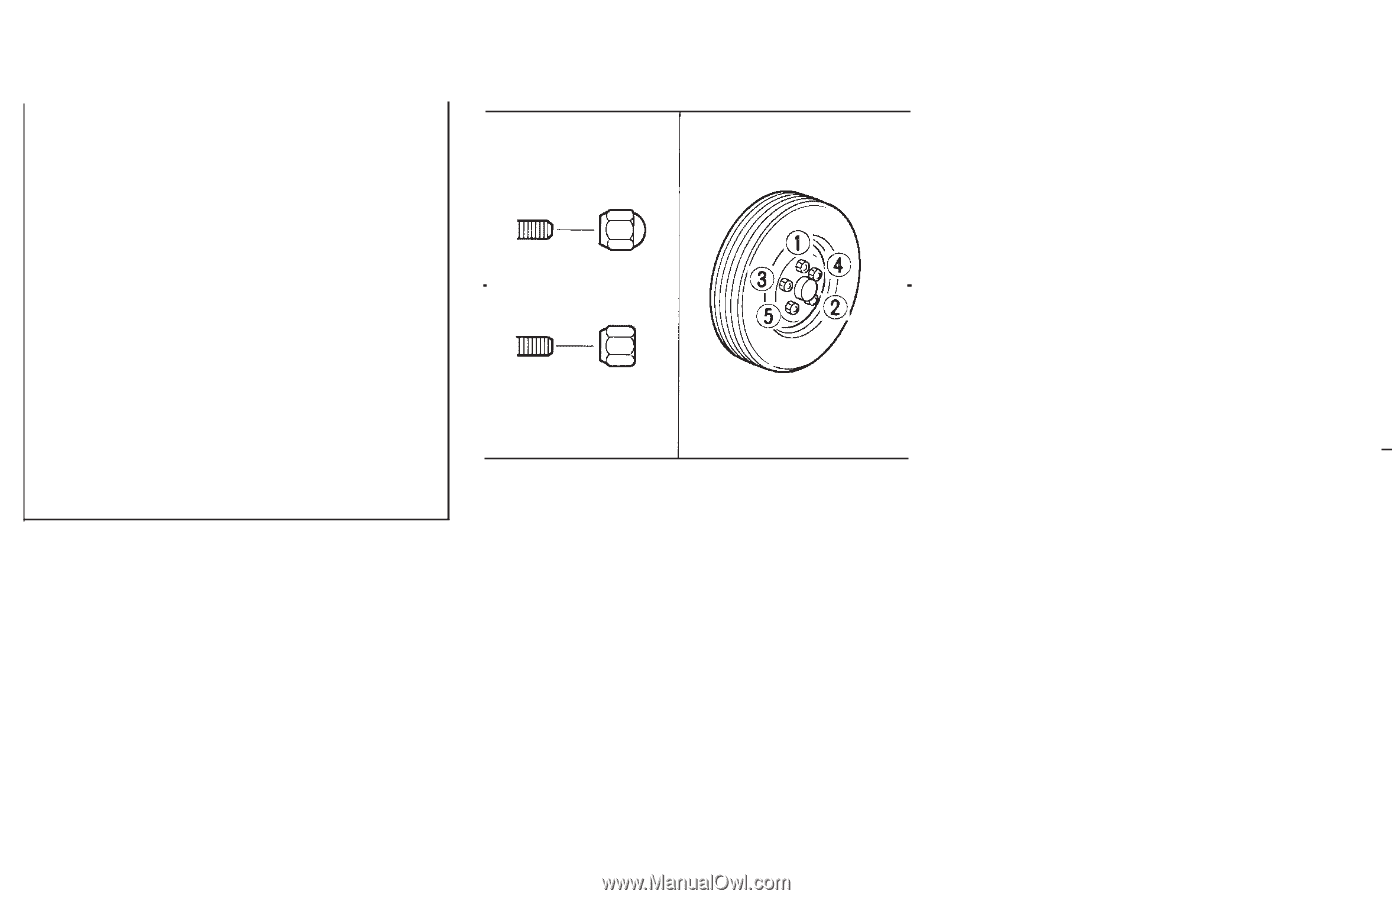
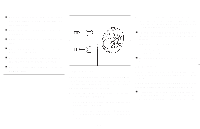
¼ Use the correct jack up points; never use any other part of the vehicle for jack support. ¼ Never jack up the vehicle more than necessary. ¼ Never use blocks on or under the jack. ¼ Do not start or run engine while vehicle is on the jack. ¼ Do not allow passengers to stay in the vehicle while it is on the jack. ¼ Do not raise the vehicle using a bumper jack. SCE0039 4. Lower the vehicle slowly until the tire touches the ground. Then, with the wheel nut wrench, tighten the wheel nuts securely in the sequence as illustrated. ¼ As soon as possible tighten the wheel nuts to the specified torque with a torque wrench. Wheel nut tightening torque: 72 to 87 ft-lb (98 to 118 ) ¼ Adjust tire pressure to the COLD pressure. COLD pressure: After vehicle has been parked for three hours or more or driven less than 1 mile (1.6 km). COLD tire pressures are shown on the tire placard affixed to the center console lid. ¼ Retighten the wheel nuts when the vehicle has been run for 600 miles (1,000 km) after installing the aluminum wheel. Installing wheel The T-type spare tire is designed for emergency use. See specific instructions under the heading "Wheel and tire" in the "Do-ityourself operations" section. 1. Clean any mud or dirt from the surface between the wheel and hub. 2. Carefully put the wheel on and tighten the wheel nuts finger tight. 3. With the wheel nut wrench, tighten wheel nuts alternately and evenly until they are tight. 5-5
-
 1
1 -
2
-
3
-
4
-
5
-
6
-
7
-
8
-
9
-
10
-
11
-
12
-
13
-
14
-
15
-
16
-
17
-
18
-
19
-
20
-
21
-
22
-
23
-
24
-
25
-
26
-
27
-
28
-
29
-
30
-
31
-
32
-
33
-
34
-
35
-
36
-
37
-
38
-
39
-
40
-
41
-
42
-
43
-
44
-
45
-
46
-
47
-
48
-
49
-
50
-
51
-
52
-
53
-
54
-
55
-
56
-
57
-
58
-
59
-
60
-
61
-
62
-
63
-
64
-
65
-
66
-
67
-
68
-
69
-
70
-
71
-
72
-
73
-
74
-
75
-
76
-
77
-
78
-
79
-
80
-
81
-
82
-
83
-
84
-
85
-
86
-
87
-
88
-
89
-
90
-
91
-
92
-
93
-
94
-
95
-
96
-
97
-
98
-
99
-
100
-
101
-
102
-
103
-
104
-
105
-
106
-
107
-
108
-
 109
109 -
 110
110 -
 111
111 -
 112
112 -
 113
113 -
 114
114 -
 115
115 -
 116
116 -
 117
117 -
 118
118 -
 119
119 -
120
-
121
-
122
-
123
-
124
-
125
-
126
-
127
-
128
-
129
-
130
-
131
-
132
-
133
-
134
-
135
-
136
-
137
-
138
-
139
-
140
-
141
-
142
-
143
-
144
-
145
-
146
-
147
-
148
-
149
-
150
-
151
-
152
-
153
-
154
-
155
-
156
-
157
-
158
-
159
-
160
-
161
-
162
-
163
-
164
-
165
-
166
-
167
-
168
-
169
-
170
-
171
-
172
-
173
-
174
-
175
-
176
-
177
-
178
-
179
-
180
-
181
-
182
-
183
-
184
-
185
-
186
-
187
-
188
-
189
-
190
-
191
-
192
-
193
-
194
-
195
-
196
-
197
 |
 |