3M MP220 Installation Guide - Page 1
3M MP220 Manual
 |
View all 3M MP220 manuals
Add to My Manuals
Save this manual to your list of manuals |
Page 1 highlights
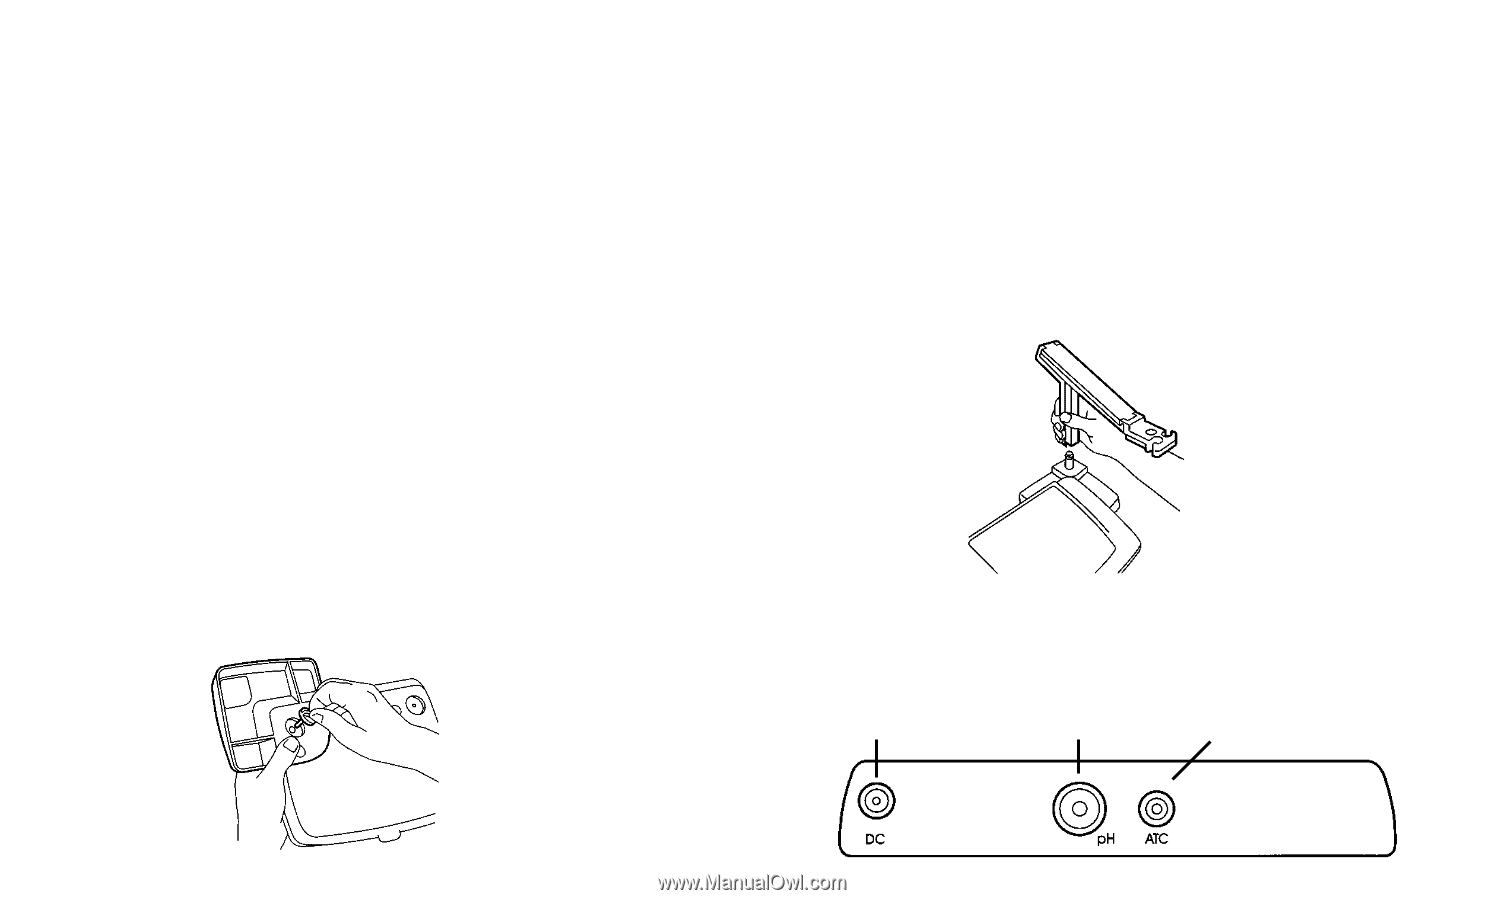
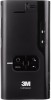
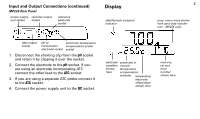
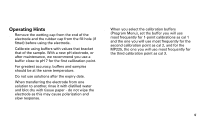
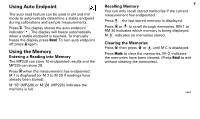
Installation 1. Unpack the meter, power supply, electrode, electrode arm, buffer sachets, Guide Book and calibration certificate. Keep the calibration certificate in a safe place. 2. Check the power supply unit is the correct voltage for your local supply. If it is not, contact your distributor. 3. Attach the electrode arm to the left or righthand side of the meter: a. Turn the meter upside down and seat the dome of the electrode arm base into the left or righthand meter recess. b. Insert and tighten the fixing screw. c. Turn the meter and base the right way up and locate the electrode arm onto the base fixing post. Press down to snap into place. Input and Output Connections MP220 Rear Panel power supply combination automatic temperature unit socket electrode socket compensation probe socket 1
-
 1
1 -
 2
2 -
 3
3 -
 4
4 -
 5
5 -
 6
6 -
 7
7 -
8
-
9
-
10
-
11
-
12
-
13
-
14
-
15
 |
 |