Acer U5200 W5 quick start guide for LAM model - Page 2
C. Launch the software - manual
 |
View all Acer U5200 manuals
Add to My Manuals
Save this manual to your list of manuals |
Page 2 highlights
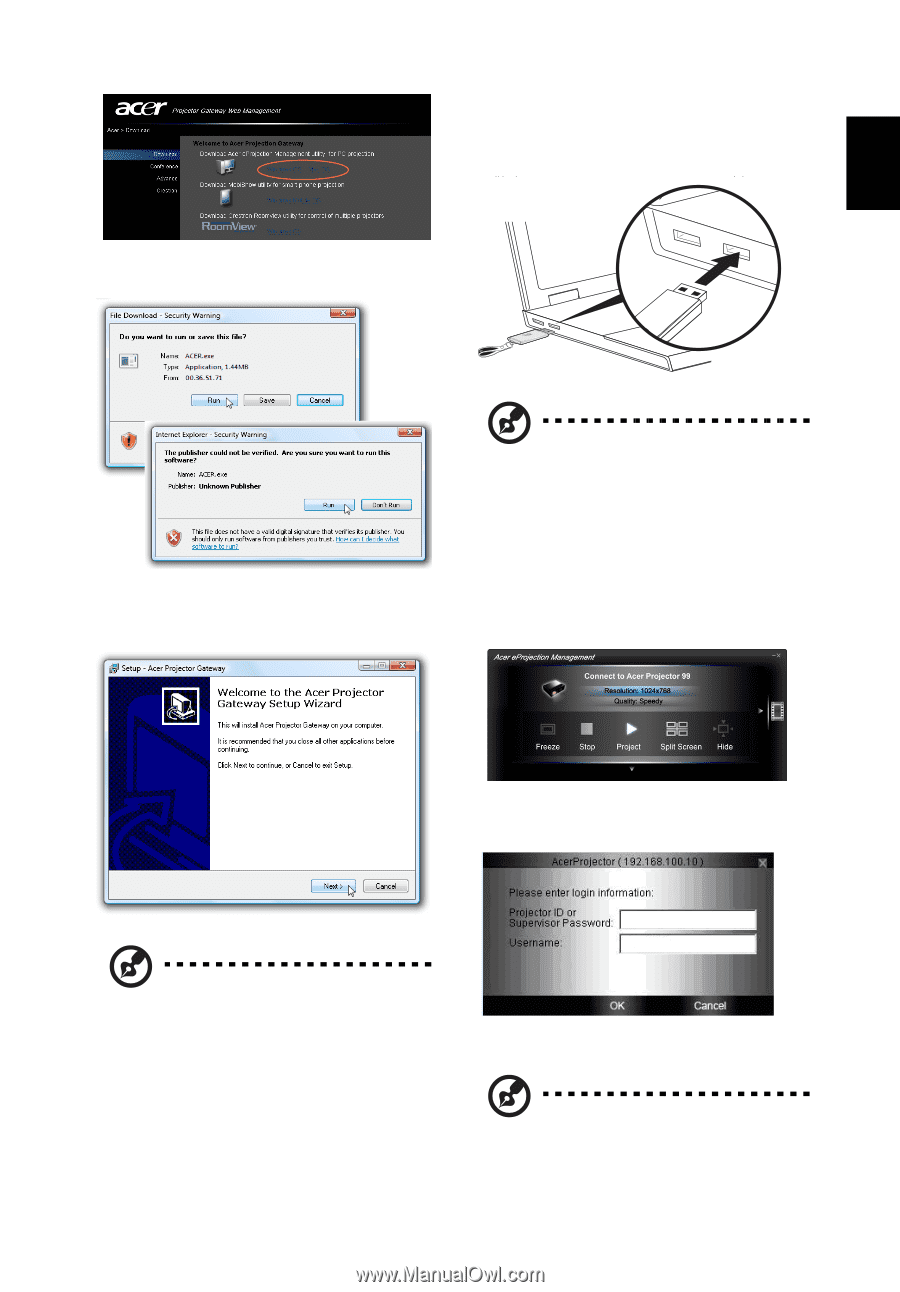
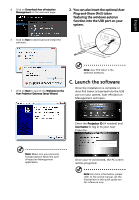
English d Click on Download Acer eProjection Management on the welcome page. 2. You can also insert the optional Acer Plug-and-Show (PnS) token featuring the windows autorun function into the USB port on your system. e Click on Run to download and install the software. Wire less Project or Ga te way Note: Acer PnS token is the optional accessory. f Click on Next to launch the Welcome to the Acer Projector Gateway Setup Wizard. C. Launch the software Once the installation is complete or Acer PnS token is inserted into the USB port on your system, Acer eProjection Management will open. Enter the Projector ID (if needed) and Username to log in to your Acer Projector. Note: Make sure your personal firewall doesn't block the Acer eProjection Management application. Once your're connected, the PC screen will be projected. Note: For more information, please refer to the online manual. All the illustrations in this quick guide are for reference only.
-
 1
1 -
 2
2
 |
 |