Alpine HCE-RCAM-WRA Quick Guide
Alpine HCE-RCAM-WRA Manual
 |
View all Alpine HCE-RCAM-WRA manuals
Add to My Manuals
Save this manual to your list of manuals |
Alpine HCE-RCAM-WRA manual content summary:
- Alpine HCE-RCAM-WRA | Quick Guide - Page 1
Jeep Wrangler HCE-RCAM-WRA Stealth-Mount Spare Tire Camera Quick Installation Manual ˜ Model: Wrangler ˜ Model Year: 2007-2018 Jeep Jeep Wrangler HCE-RCAM-WRA ˜ 1/2 Model Year Wrangler (JK) 2007-2018 Wrangler Unlimited (JK) 2007-2018 * The specified vehicles have been tested and have met - Alpine HCE-RCAM-WRA | Quick Guide - Page 2
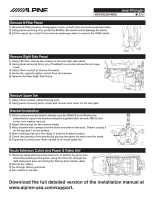
door sill, through the right side panel area, and along the factory door handle cable. 2) Secure the cables. 3) Go through factory grommet. 4) Run cables to camera. Download the full detailed version of the installation manual at www.alpine-usa.com/support.
-
 1
1 -
 2
2
 |
 |
Jeep Wrangler
HCE-RCAM-WRA
Stealth-Mount Spare Tire Camera
Quick Installation Manual
±
Model: Wrangler
±
Model Year: 2007-2018
Jeep
Model
Year
Wrangler (JK)
2007-2018
Wrangler Unlimited (JK)
2007-2018
* The specified vehicles have been tested and have met compatibility specs at the time of testing. Compatibility is
not guaranteed if the manufacturer has made production changes to the listed vehicles above.
Warning: Before you begin wiring, remove the ground wire from the negative terminal of the
battery. Failing to do so can lead to electric shock, injury or damage to equipment.
Installation Kit Parts
Jeep Wrangler
HCE-RCAM-WRA
±
1/2
Factory Unit Disassembly (2007-2010 Only)
±
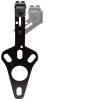
Camera Bracket W/HCE-C1100 x 1
±
Spare Tire Bracket x 1
±
Camera Extension Cable x 1
±
Quick Installation Manual x 1
±
Extra Nut For M6x12 Screw x 1
±
Power & Video Unit x 1
±
Water Proofing Adhesive Pad x 1
±
Water Proofing Pad x 1
±
Allen Wrench x 1
±
Cable Ties x 5
Factory Unit Disassembly (2010-2018 Only)
Glove Box Removal
1) Remove top by releasing 2 rear clips on the back of the top panel and then
pull panel forward.
2) Release 2 clips on the top of the bottom panel. This will expose two 7mm
screws. Remove those.
3) Release 2 clips on the top of the bottom panel. This will expose two 7mm
screws. Remove using a 7mm socket with ratchet & extension.
4) Use panel removal tool to remove dash panel by releasing 6 clips (3 per side).
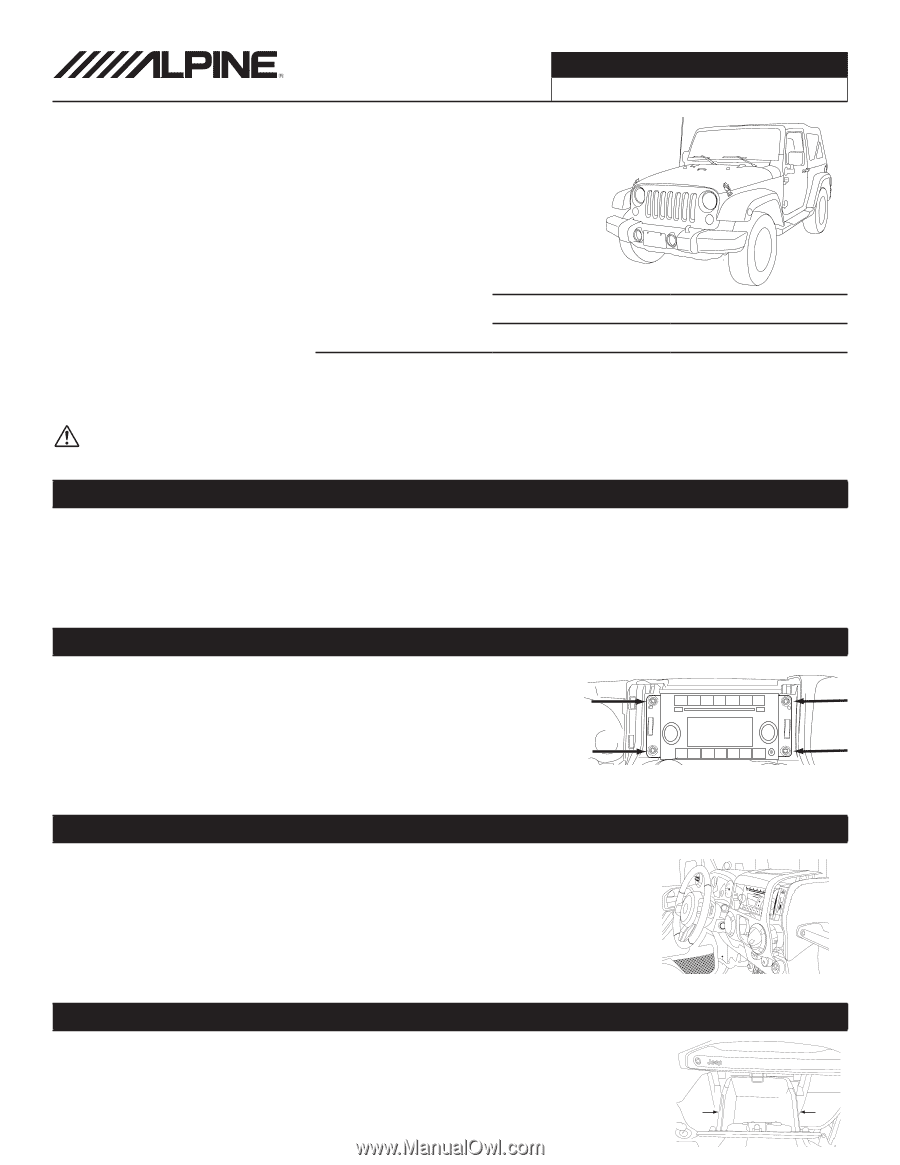
5) Extract (4) 7 mm screws and remove the factory radio.
1) Open the glove box.
2) Push inwards both left and right sides to release the glove box out.
1) Remove the rubber cover from the top center storage area and extract (1) 7mm screw.
2) Remove the knee cover panel and extract (2) 7mm screws located to the right and left
sides of the steering wheel column.
3) Remove the window switch pod using a panel removing tool and extract (1) 7mm
screw.
4) Remove the dash panel.
5) Extract (4) 7 mm screws and remove the factory radio.
6) Extract (2) 7 mm screws from the factory radio bracket and remove it.
±
Retaining Clips x 3
±
Heat Shrink Tube x 1
±
Torx Screw & Lock Washer M6x8 x 1
±
Torx Screw, Lock Washer, & Nut
M6x12 x 1