Asus AK34 AK34 Chassis User Guide
Asus AK34 Manual
 |
View all Asus AK34 manuals
Add to My Manuals
Save this manual to your list of manuals |
Asus AK34 manual content summary:
- Asus AK34 | AK34 Chassis User Guide - Page 1
AK34 5U Tower Chassis Kit User Guide - Asus AK34 | AK34 Chassis User Guide - Page 2
, and should not be construed as a commitment by ASUS. ASUS assumes no responsibility or liability for any errors or inaccuracies that may appear in this manual, including the products and software described in it. Product warranty or service will not be extended if: (1) the product is repaired - Asus AK34 | AK34 Chassis User Guide - Page 3
About this guide vii ASUS Contact Information viii Chapter 1: Product introduction 1-1 1.1 Package contents 1-2 1.1.1 ASUS AK34 chassis kit 2.3 Motherboard installation 2-4 2.3.1 Motherboard dimensions 2-4 2.3.2 Placement direction and screw holes 2-5 2.3.3 Installing the motherboard 2-6 - Asus AK34 | AK34 Chassis User Guide - Page 4
Contents 2.6.2 Installing a long expansion card 2-17 2.6.3 Removing an expansion card 2-18 2.7 Removable components 2-19 2.7.1 Chassis fan 2-19 2.7.2 Roller wheels 2-20 2.7.3 Power supply modules 2-21 2.8 Connecting the cables 2-22 Appendix: Troubleshooting A-1 A.1 Simple fixes A-2 iv - Asus AK34 | AK34 Chassis User Guide - Page 5
. This equipment generates, uses and can radiate radio frequency energy and, if not installed and used in accordance with manufacturer's instructions, may cause harmful interference to radio communications. However, there is no guarantee that interference will not occur in a particular installation - Asus AK34 | AK34 Chassis User Guide - Page 6
supply is broken, do not try to fix it by yourself. Contact a qualified service technician or your dealer. CAUTION This product is equipped with a three-wire power engineers. • Before operating the server, carefully read all the manuals included with the server package. • Before using the server, - Asus AK34 | AK34 Chassis User Guide - Page 7
Appendix: Troubleshooting This appendix lists the common problems that you may encounter while using the AK34 barebone server. It lists the possible causes of the problems and offers solutions. You may refer to this part and try to solve simple problems before calling customer support. Conventions - Asus AK34 | AK34 Chassis User Guide - Page 8
Fax: +1-502-933-8713 General Email: [email protected] Technical Support Support Fax: +1-502-933-8713 General Support: +1-502-995-0883 Notebook Support: +1-510-739-3777 x5110 Web Site: usa.asus.com Support Email: [email protected] ASUS COMPUTER GmbH (Germany and Austria) Address: Harkortstr - Asus AK34 | AK34 Chassis User Guide - Page 9
Product introduction Chapter 1 This chapter describes the general features of the AK34 chassis kit. It includes sections on front panel, rear panel, and internal features. ASUS AK34 chassis kit 1-1 - Asus AK34 | AK34 Chassis User Guide - Page 10
• internal HDD trays (5 units) • chassis fan • chassis roller wheels 2. Cables • chassis intrusion cable • power cable 3. Component screws 4. ASUS AK34 Chassis Kit User Guide 1.1.3 Optional item • ASUS AK34 5U Rackmount Rail Kit If any of the above items is damaged or missing, contact your retailer - Asus AK34 | AK34 Chassis User Guide - Page 11
1.2 Overview The AK34 chassis kit is designed for easy configuration, flexibility, and high stabilize and hold long expansion cards in place. The chassis supports an extended ATX form factor ASUS motherboards. See the motherboard dimension requirements on page 2-4. Refer to the succeeding sections - Asus AK34 | AK34 Chassis User Guide - Page 12
1.3 Front panel features The AK34 chassis kit displays a stylish front bezel with lock. The bezel covers the system components on the front panel and serves as security. Open the bezel - Asus AK34 | AK34 Chassis User Guide - Page 13
Rear panel features The rear panel includes a slot for the motherboard rear I/O ports, six fulllength expansion slots, a chassis lock AC IN socket (110V/220V autoswitching) AC Power LED Slot for motherboard rear panel I/O Expansion slots 12cm fan vent Chassis lock Chassis intrusion switch - Asus AK34 | AK34 Chassis User Guide - Page 14
with standard power supply module 1 2 6 3 5 4 1. Power supply module 2. 5.25-inch drive cage 3. Internal HDD bays 4. Plastic long-card support 5. Motherboard metal plate 6. Chassis fan System with redundant power supply modules The picture below shows a system redundant power supply modules. All - Asus AK34 | AK34 Chassis User Guide - Page 15
Read/write data into the HDD Normal; no incoming event ASMS indicates a HW monitor event System power supply is ON System power supply is OFF ASUS AK34 chassis kit 1-7 - Asus AK34 | AK34 Chassis User Guide - Page 16
1-8 Chapter 1: Product introduction - Asus AK34 | AK34 Chassis User Guide - Page 17
Chapter 2 This chapter describes the internal hardware components and provides the installation procedures for additional system components. Hardware setup ASUS AK34 chassis kit 2-1 - Asus AK34 | AK34 Chassis User Guide - Page 18
following items are the basics that you need to install into the chassis kit. You may need to install other devices depending on your configuration. 1. Motherboard 2. Hard disk drives 3. Drive cables 4. PCI add-on cards 2-2 Chapter 2: Hardware setup - Asus AK34 | AK34 Chassis User Guide - Page 19
front until it snaps in place. 3. Tighten the thumb screws to secure the cover. Hole on the side of the chassis Hook on the cover 1 3 2 ASUS AK34 chassis kit 2-3 - Asus AK34 | AK34 Chassis User Guide - Page 20
only describes how to install a supported motherboard into the AK34 chassis kit. Refer to the motherboard user guide for instructions on installing specific motherboard components. 2.3.1 Motherboard dimensions This chassis kit supports an ASUS motherboard that measures 12x12 inches (30.5 x 30 - Asus AK34 | AK34 Chassis User Guide - Page 21
on the motherboard metal plate inside the chassis. Place screws through the designated holes to secure the motherboard to the chassis. Refer to the motherboard user guide for the should match with the holes on the motherboard as pointed out above. Metal plate Standoff ASUS AK34 chassis kit 2-5 - Asus AK34 | AK34 Chassis User Guide - Page 22
port openings 2 I/O shield 3. Position the I/O side of the motherboard toward the chassis rear panel, matching the I/O ports to the 3 openings on the I/O shield. 4. Secure the motherboard with screws. Refer to the motherboard user guide for the specific number of screws that you need to use - Asus AK34 | AK34 Chassis User Guide - Page 23
installing or removing any system components. Failure to do so may cause severe damage to the motherboard and other system components! Three 5.25-inch drive bays are located on the upper front part of hooked tabs from the left side of the front panel. 1 ASUS AK34 chassis kit Hooked tab 2-7 - Asus AK34 | AK34 Chassis User Guide - Page 24
2. Pull and swing the left edge of the front panel outward. 3. Unhook the hinge-like tabs from the holes on the right side of the front panel to completely detach the front panel assembly from the chassis. 3 Hinge-like tab 2 2.4.2 Installing a 5.25-inch drive To install a 5.25-inch drive: 1. Remove - Asus AK34 | AK34 Chassis User Guide - Page 25
is in place. 4 The drive is in place when the screw holes on the drive align with the holes on the side of the bay. ASUS AK34 chassis kit 2-9 - Asus AK34 | AK34 Chassis User Guide - Page 26
5. Secure the drive to the bay using the screwless drive bay lock that you removed earlier. a. Match the two pegs on the lock to the holes on the drive bay. b. Turn the knob 45º clockwise until it clicks on the reference point near the "locked icon." Reference point 5a 5b Locked icon 6. On the - Asus AK34 | AK34 Chassis User Guide - Page 27
left and fit the four (4) hooked tabs to the left side of the chassis until the tabs snap in place. 7a 7b Hinge-like tab ASUS AK34 chassis kit 2-11 - Asus AK34 | AK34 Chassis User Guide - Page 28
inch hard disk drives. You need to remove the side cover to access the drive bays. See section "2.2 Removing and installing the side cover" for instructions. To install a hard disk drive: 1. Select the drive bay where you wish to install the hard disk. Press the drive tray handles inward to release - Asus AK34 | AK34 Chassis User Guide - Page 29
you hear a click indicating that the tray is in place. The drive tray is correctly placed when its front edge aligns with the bay edge. ASUS AK34 chassis kit 6 2-13 - Asus AK34 | AK34 Chassis User Guide - Page 30
one end of a 40-pin IDE cable to the IDE connector on the drive. Connect the other end to an availble IDE connector on the motherboard. 6 Each drive tray has a designated IDE cable to ensure better air flow and cable placement. Make sure to connect the appropriate cable plug to each - Asus AK34 | AK34 Chassis User Guide - Page 31
metal bracket opposite the PCI slot where you wish to install the expansion card. You may use a flat-head screwdriver to easily remove the bracket. 2 ASUS AK34 chassis kit 2-15 - Asus AK34 | AK34 Chassis User Guide - Page 32
slot. A light click indicates that the card is locked in place. LOCK 4 Refer to the card documentation for the card configuration details, and to the motherboard user guide in case you need to configure any jumpers after installing the expansion card. 2-16 Chapter 2: Hardware setup - Asus AK34 | AK34 Chassis User Guide - Page 33
to the card guide opposite the PCI slot, and align the bracket end of the card to the expansion slot on the rear panel. 3. Slide in the card down until it is properly seated on the slot. 4. Secure the card using the screwless lock on the card guide. Screwless lock ASUS AK34 chassis kit - Asus AK34 | AK34 Chassis User Guide - Page 34
2.6.3 Removing an expansion card To remove an expansion card: 1. Release the card lock. a. Press the card lock lever. b. The card lock flips up. Card lock lever Card lock 1a 1b 2. Pull out the card from the PCI slot. 2 3. Press the end of the card lock marked "LOCK" to return it in place. 2-18 - Asus AK34 | AK34 Chassis User Guide - Page 35
how to remove these components. 2.7.1 Chassis fan To remove the 12-cm chassis fan: 1. Disconnect the 3-pin fan cable from the connector on the motherboard. 2. Use a flat screwdriver to push the pin locks on the four corners of the fan from the inside of the chassis. Chassis fan cable Pin - Asus AK34 | AK34 Chassis User Guide - Page 36
bottom of the chassis. Brake lock Remove the chassis roller wheels if you wish to mount the system to a rack. Refer to the Rackmount Kit manual for more information. 2-20 Chapter 2: Hardware setup - Asus AK34 | AK34 Chassis User Guide - Page 37
to the chassis. 2. Press down the rubber lever to release the power module. 3. Pull out the power module from the chassis. 2 1 3 500W Redundant Power Module ASUS AK34 chassis kit 2-21 - Asus AK34 | AK34 Chassis User Guide - Page 38
power and signal cables that you need to connect to the motherboard and to the devices that you will install. Most of the when arranging cables. 1 2 3 4 5 6 7 8 9 Standard cables connected to the motherboard 1. Chassis fan 2. 8-pin 12V AUX power 3. 24-pin ATX power 4. Primary IDE 5. - Asus AK34 | AK34 Chassis User Guide - Page 39
Appendix This appendix lists the common problems that you may encounter while using the server. It lists the possible causes of the problems and offers solutions. You may refer to this part and try to solve simple problems before calling customer support. Troubleshooting ASUS AK34 chassis kit A-1 - Asus AK34 | AK34 Chassis User Guide - Page 40
on the system or the components. These problems only requires simple troubleshooting actions that you can perform by yourself. Problem Action The power LED on the server DIMMs the system supports. 2. Make sure that the DIMMs are properly installed on the sockets. A-2 Appendix: Troubleshooting - Asus AK34 | AK34 Chassis User Guide - Page 41
Problem Action The system continuously beeps after it was turned on 1. Check the memory modules and make sure you installed the DIMMs the system supports. 2. Make sure that the DIMMs are properly installed on the you have installed the LAN drivers from the support CD. ASUS AK34 chassis kit A-3 - Asus AK34 | AK34 Chassis User Guide - Page 42
A-4 Appendix: Troubleshooting
-
 1
1 -
 2
2 -
 3
3 -
 4
4 -
 5
5 -
 6
6 -
 7
7 -
8
-
9
-
10
-
11
-
12
-
13
-
14
-
15
-
16
-
17
-
18
-
19
-
20
-
21
-
22
-
23
-
24
-
25
-
26
-
27
-
28
-
29
-
30
-
31
-
32
-
33
-
34
-
35
-
36
-
37
-
38
-
39
-
40
-
41
-
42
 |
 |
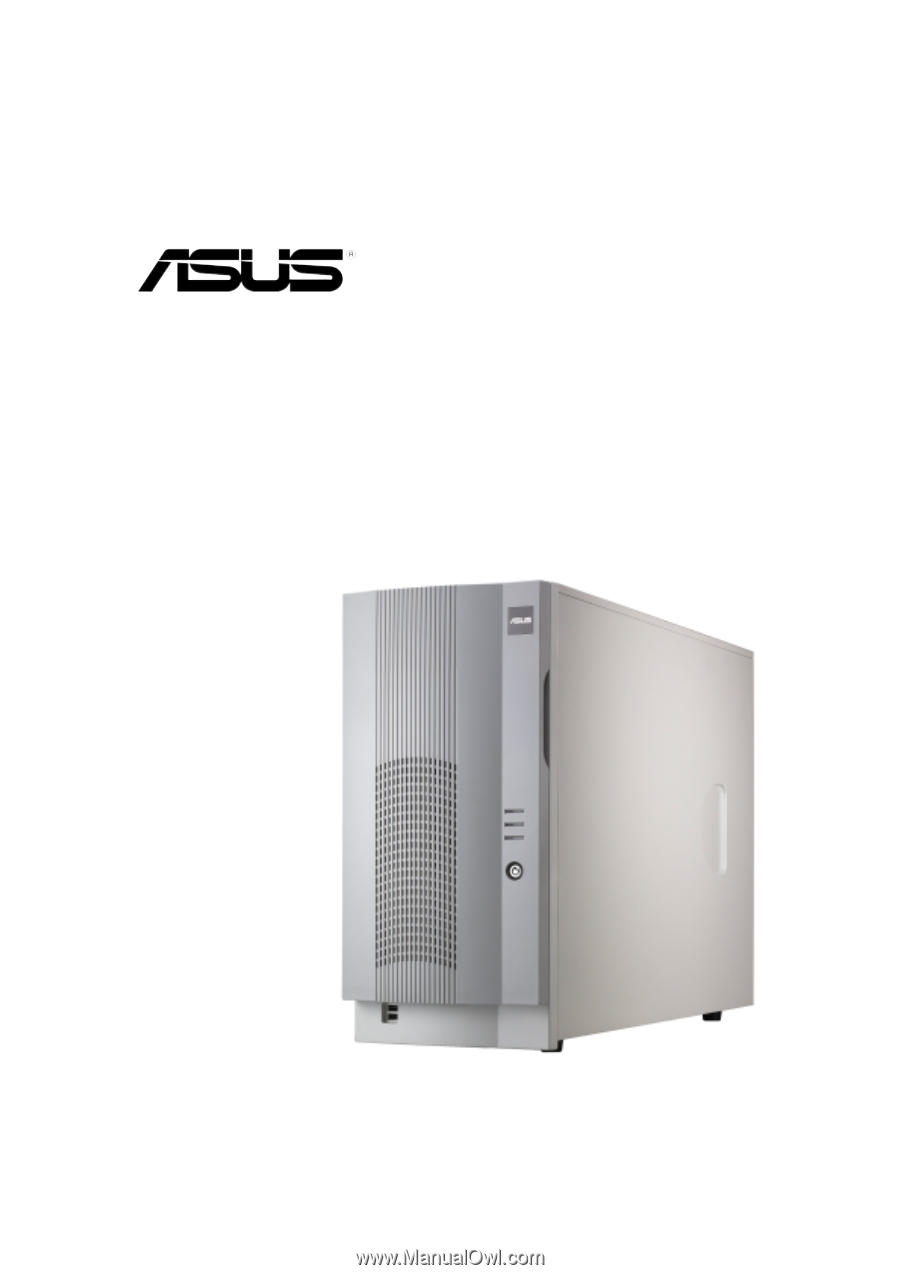
5U Tower Chassis Kit
AK34
User Guide