Asus ET2700INKS ET2700I series user's Manual for English Edition - Page 25
Input signal selection, OSD Setup, Information, Language, Device Share, Input Select
 |
View all Asus ET2700INKS manuals
Add to My Manuals
Save this manual to your list of manuals |
Page 25 highlights
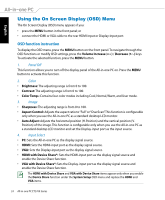
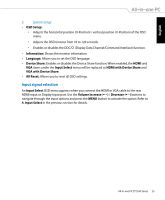
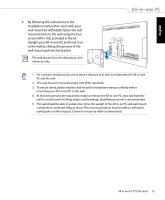
English 5. System Setup • OSD Setup: • Adjusts the horizontal position (H-Position) / vertical position (V-Position) of the OSD menu. • Adjusts the OSD timeout from 10 to 120 seconds. • Enables or disables the DDC/CI (Display Data Channel/Command Interface) function. • Information: Shows the monitor information. • Language: Allows you to set the OSD language. • Device Share: Enables or disables the Device Share function. When enabled, the HDMI and VGA items under the Input Select menu will be replaced as HDMI with Device Share and VGA with Device Share. • All Reset: Allows you to reset all OSD settings. Input signal selection An Input Select OSD menu appears when you connect the HDMI or VGA cable to the rear HDMI-input or Display-input port. Use the Volume Increase ( ) / Decrease ( ) buttons to navigate through the input options and press the MENU button to activate the option. Refer to 4. Input Select in the previous section for details. All-in-one PC ET2700 Series 25
-
 1
1 -
2
-
3
-
4
-
5
-
6
-
7
-
8
-
9
-
10
-
11
-
12
-
13
-
14
-
15
-
16
-
17
-
18
-
19
-
 20
20 -
 21
21 -
 22
22 -
 23
23 -
 24
24 -
 25
25 -
 26
26 -
 27
27 -
 28
28 -
 29
29 -
 30
30 -
31
-
32
-
33
-
34
-
35
-
36
-
37
-
38
-
39
-
40
-
41
-
42
-
43
-
44
 |
 |