Bernina 531 Manual - Page 24
Edger, Zigzag
 |
View all Bernina 531 manuals
Add to My Manuals
Save this manual to your list of manuals |
Page 24 highlights
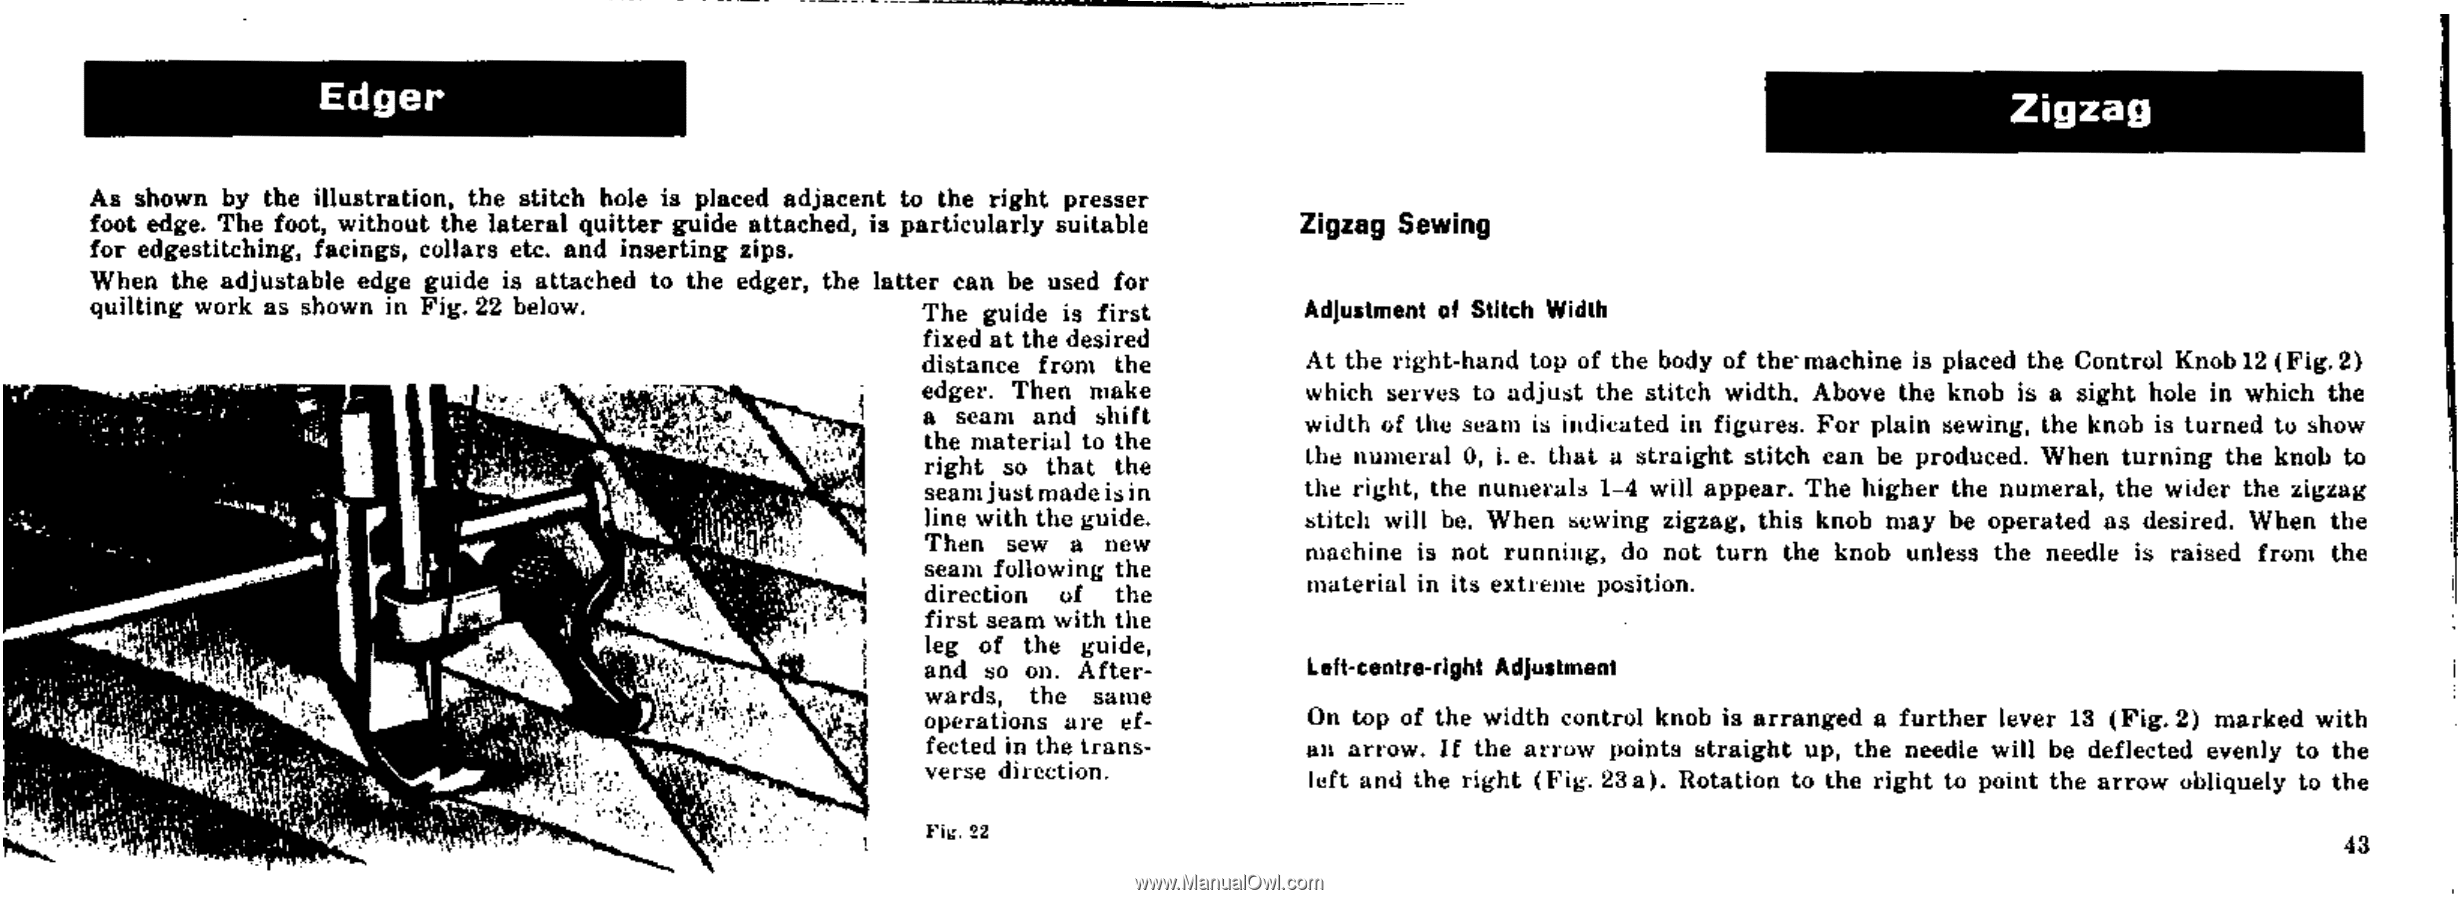
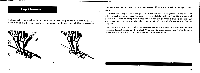
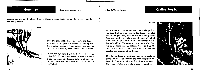
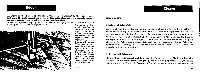
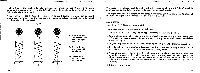
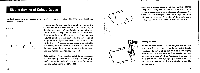
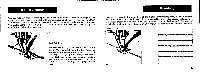
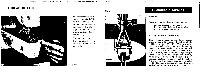
Edger As shown by the illustration, the stitch hole is placed adjacent to the right presser foot edge. The foot, without the lateral quitter guide attached, is particularly suitable for edgestitching, facings, collars etc. and inserting zips. When the adjustable edge guide is attached to the edger, the latter can be used for quilting work as shown in Fig. 22 below. The guide is first fixed at the desired distance from the edger. Then make a seam and shift 4J-4, the material to the right so that the seam just made is in line with the guide. Then sew a new seam following the direction of the first seam with the leg of the guide, ; - i and so on. After- t ' A ha wards, the same operations are effected in the trans- verse direction. ..• Fi:. 22 Zigzag Zigzag Sewing Adjustment of Stitch Width At the right-hand top of the body of the' machine is placed the Control Knob 12 (Fig. 2) which serves to adjust the stitch width. Above the knob is a sight hole in which the width of the seam is indicated in figures. For plain sewing, the knob is turned to show the numeral 0, i. e. that a straight stitch can be produced. When turning the knob to the right, the numerals 1-4 will appear. The higher the numeral, the wider the zigzag stitch will be. When sewing zigzag, this knob may be operated as desired. When the machine is not running, do not turn the knob unless the needle is raised from the material in its extreme position. Left-centre-right Adjustment On top of the width control knob is arranged a further lever 13 (Fig.2) marked with an arrow. If the arrow points straight up, the needle will be deflected evenly to the left and the right (Fig. 23a). Rotation to the right to point the arrow obliquely to the 43
-
 1
1 -
2
-
3
-
4
-
5
-
6
-
7
-
8
-
9
-
10
-
11
-
12
-
13
-
14
-
15
-
16
-
17
-
18
-
 19
19 -
 20
20 -
 21
21 -
 22
22 -
 23
23 -
 24
24 -
 25
25 -
 26
26 -
 27
27 -
 28
28 -
 29
29 -
30
-
31
-
32
-
33
-
34
-
35
-
36
-
37
-
38
-
39
-
40
-
41
-
42
-
43
-
44
-
45
-
46
-
47
-
48
-
49
-
50
-
51
-
52
-
53
-
54
 |
 |