Bernina 531 Manual - Page 31
Bernina 531 Manual
 |
View all Bernina 531 manuals
Add to My Manuals
Save this manual to your list of manuals |
Page 31 highlights
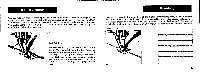
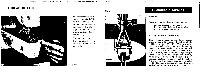
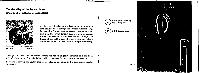
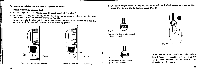
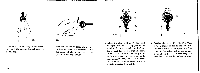
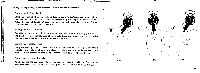
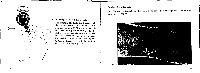
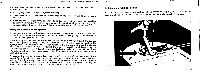
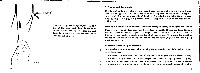
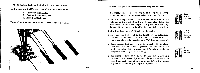
Fir. 34 Then turn the ball-shaped end clockwise until the buttonhole mark appears at the top. 56 Fir. 56 Now let the end go loose and push it in the direction of the backward stitch (direction of the arrow) as far as possible upwards (Fig. 35). 13 12 • 12.3 r a • Fig- 36 L ...1 Fig. 37 5. After the stop c (Fig. 30) has been brought into the working position by moving the lever a, take hold of the lower part 12a of the knob 12, draw it. to the front end, swiveling it. in such a way that the pawl c comes to lie against the stop pin I. On the scale the number 1.5 must stand approximately opposite the mark b. 6. Setting the lever 13 (Fig. 37). This lever is turned so far to the left until the white ?nark at its upper end lies opposite the white mark of the zig-zag lever 12 (Fig. 37). In this way the machine is set for buttonhole sewing. 57
-
 1
1 -
2
-
3
-
4
-
5
-
6
-
7
-
8
-
9
-
10
-
11
-
12
-
13
-
14
-
15
-
16
-
17
-
18
-
19
-
20
-
21
-
22
-
23
-
24
-
25
-
 26
26 -
 27
27 -
 28
28 -
 29
29 -
 30
30 -
 31
31 -
 32
32 -
 33
33 -
 34
34 -
 35
35 -
 36
36 -
37
-
38
-
39
-
40
-
41
-
42
-
43
-
44
-
45
-
46
-
47
-
48
-
49
-
50
-
51
-
52
-
53
-
54
 |
 |
