Bosch NIT3065UC Installation Instructions - Page 6
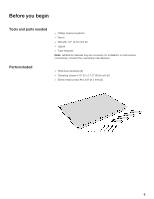
Preparation, Models
 |
View all Bosch NIT3065UC manuals
Add to My Manuals
Save this manual to your list of manuals |
Page 6 highlights
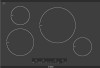
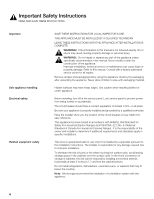
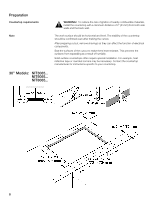
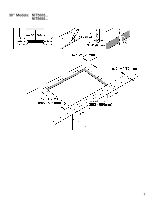
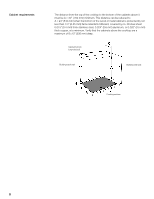
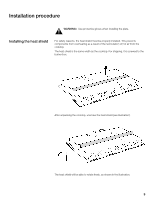
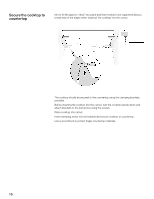
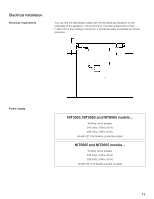
Preparation Countertop requirements Note ř WARNING:ĄTo reduce the risk of ignition of nearby combustible materials, install the countertop with a minimum distance of 2" (51mm) from both side walls and the back wall. The work surface should be horizontal and level. The stability of the countertop should be confirmed even after making the cutout. After preparing cutout, remove shavings as they can affect the function of electrical components. Seal the surfaces of the cutout to make them heat resistant. This prevents the surfaces from expanding as a result of humidity. Solid surface countertops often require special installation. For example, heat reflective tape or rounded corners may be necessary. Contact the countertop manufacturer for instructions specific to your countertop. 30" Models: NIT3065... NIT5065... NIT8065... 6
-
 1
1 -
 2
2 -
 3
3 -
 4
4 -
 5
5 -
 6
6 -
 7
7 -
 8
8 -
 9
9 -
 10
10 -
 11
11 -
 12
12 -
13
-
14
-
15
-
16
-
17
-
18
-
19
-
20
-
21
-
22
-
23
-
24
-
25
-
26
-
27
-
28
-
29
-
30
-
31
-
32
-
33
-
34
-
35
-
36
 |
 |
