Brother International Entrepreneur Pro PR-1000 Kit 1 Instruction Manual - Engl - Page 18
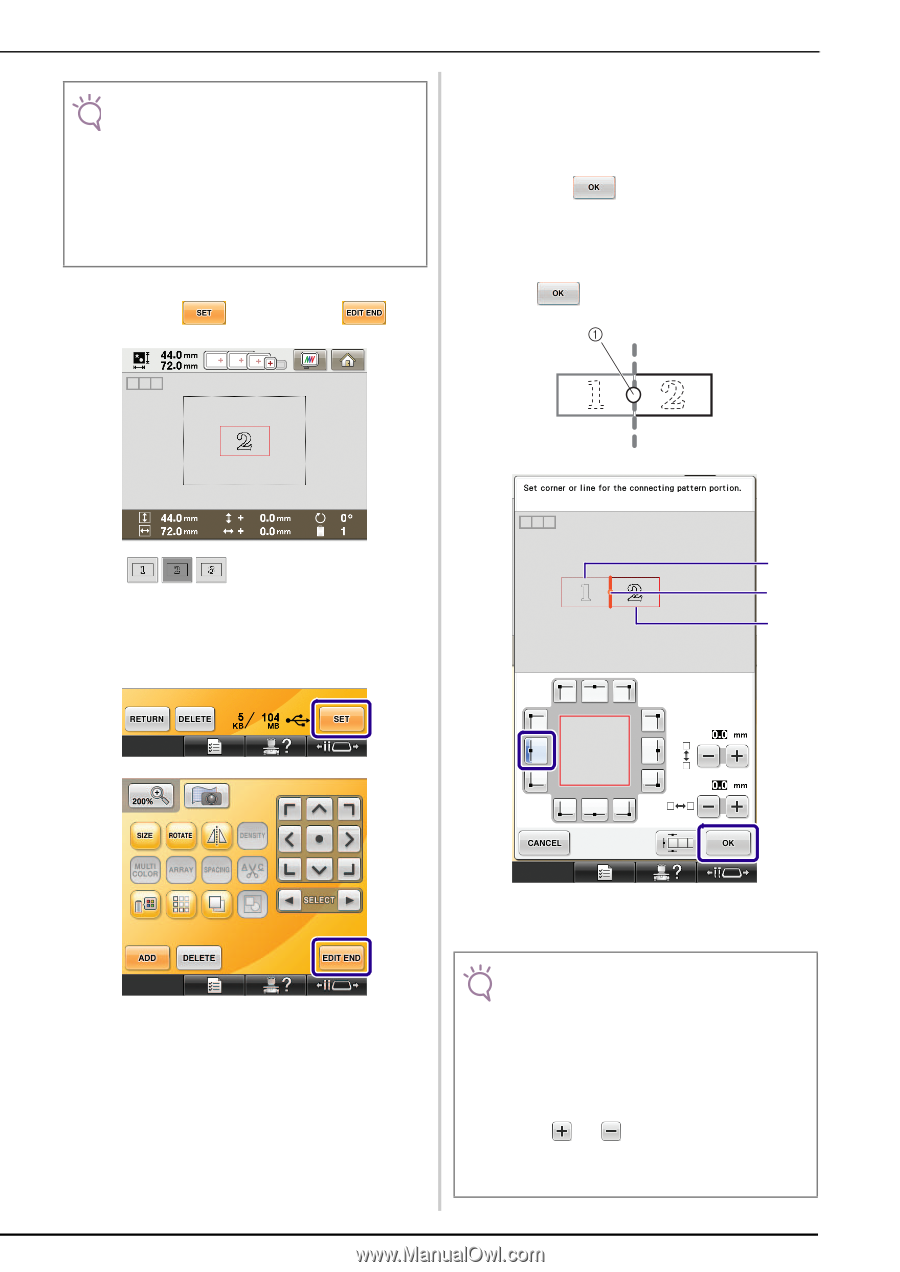
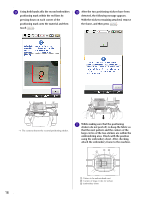
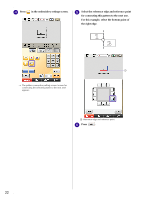
you want to connect to the first pattern, and, reference edge and reference point where
 |
View all Brother International Entrepreneur Pro PR-1000 manuals
Add to My Manuals
Save this manual to your list of manuals |
Page 18 highlights
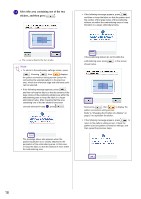
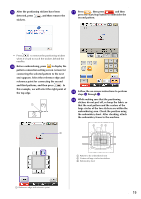
Note • If the next pattern and the centers of the large circles of the two positioning stickers do not fit within the embroidering area, use a larger embroidery frame. If a larger embroidery frame cannot be used, continue to step m, and then refer to "Changing the Position of a Sticker" on page 21 to reposition the sticker. • If the sticker peels off during this procedure, the patterns cannot be connected. In that case, restart the procedure from the beginning. l Select the second pattern for practicing [2], then press , and then press . m When the pattern connection setting screen (screen for connecting the selected pattern to the previous one) appears, select the reference edge and reference point where you want to connect to the first pattern, and then press . Since, in this example, we will connect the center point of the left edge for the second pattern with the center point of the right edge for the first pattern. Select the center point of the left edge, and then press . c a b a Reference edge and reference point b Second pattern c First pattern Note • In this screen, the reference edge and reference point of the first pattern can be changed. For details, refer to "Changing the Reference Edge and Reference Point for Connecting the Next Pattern after a Pattern has been Embroidered" on page 28. • If the positioning stickers do not fit within the embroidering area, refer to "Changing the Position of a Sticker" on page 21 to reposition the sticker. • Using and in this screen, the position of the second pattern can be changed. For details, refer to "Sliding the Position of the Pattern to be Connected" on page 31. 17
-
 1
1 -
2
-
3
-
4
-
5
-
6
-
7
-
8
-
9
-
10
-
11
-
12
-
 13
13 -
 14
14 -
 15
15 -
 16
16 -
 17
17 -
 18
18 -
 19
19 -
 20
20 -
 21
21 -
 22
22 -
 23
23 -
24
-
25
-
26
-
27
-
28
-
29
-
30
-
31
-
32
-
33
-
34
-
35
-
36
-
37
-
38
-
39
-
40
-
41
-
42
 |
 |