Brother International HL 1850 Service Manual - Page 265
decreased earlier.
 |
UPC - 012502603900
View all Brother International HL 1850 manuals
Add to My Manuals
Save this manual to your list of manuals |
Page 265 highlights
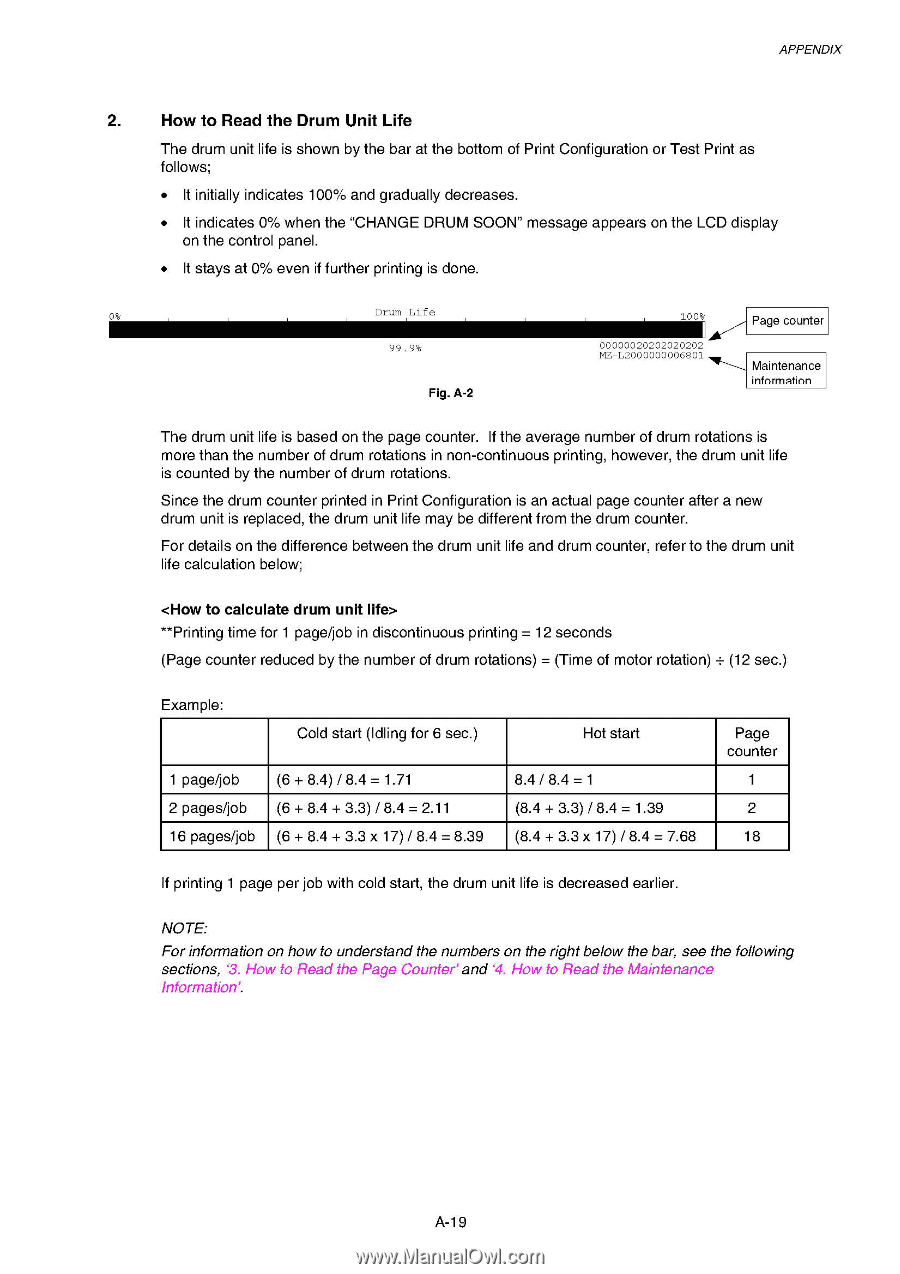
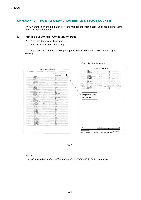
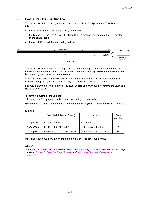
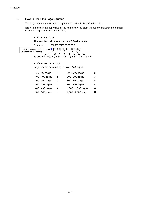
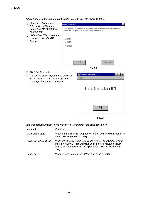
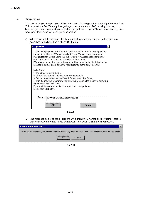
APPENDIX 2. How to Read the Drum Unit Life The drum unit life is shown by the bar at the bottom of Print Configuration or Test Print as follows; • It initially indicates 100% and gradually decreases. • It indicates 0% when the "CHANGE DRUM SOON" message appears on the LCD display on the control panel. • It stays at 0% even if further printing is done. 0% Drum Life ..., 100% Page counter 99.9% 00000020202020202 MZ-L2000000006801 Maintenance infnrmntinn Fig. A-2 The drum unit life is based on the page counter. If the average number of drum rotations is more than the number of drum rotations in non-continuous printing, however, the drum unit life is counted by the number of drum rotations. Since the drum counter printed in Print Configuration is an actual page counter after a new drum unit is replaced, the drum unit life may be different from the drum counter. For details on the difference between the drum unit life and drum counter, refer to the drum unit life calculation below; **Printing time for 1 page/job in discontinuous printing = 12 seconds (Page counter reduced by the number of drum rotations) = (Time of motor rotation) + (12 sec.) Example: Cold start (Idling for 6 sec.) 1 page/job 2 pages/job 16 pages/job (6 + 8.4) / 8.4 = 1.71 (6 + 8.4 + 3.3) 18.4 = 2.11 (6 + 8.4 + 3.3 x 17)/ 8.4 = 8.39 Hot start 8.4 / 8.4 = 1 (8.4 + 3.3)/ 8.4 = 1.39 (8.4 + 3.3 x 17)/ 8.4 = 7.68 Page counter 1 2 18 If printing 1 page per job with cold start, the drum unit life is decreased earlier. NOTE: For information on how to understand the numbers on the right below the bar, see the following sections, `3. How to Read the Page Counter' and `4. How to Read the Maintenance Information'. A-19
-
 1
1 -
2
-
3
-
4
-
5
-
6
-
7
-
8
-
9
-
10
-
11
-
12
-
13
-
14
-
15
-
16
-
17
-
18
-
19
-
20
-
21
-
22
-
23
-
24
-
25
-
26
-
27
-
28
-
29
-
30
-
31
-
32
-
33
-
34
-
35
-
36
-
37
-
38
-
39
-
40
-
41
-
42
-
43
-
44
-
45
-
46
-
47
-
48
-
49
-
50
-
51
-
52
-
53
-
54
-
55
-
56
-
57
-
58
-
59
-
60
-
61
-
62
-
63
-
64
-
65
-
66
-
67
-
68
-
69
-
70
-
71
-
72
-
73
-
74
-
75
-
76
-
77
-
78
-
79
-
80
-
81
-
82
-
83
-
84
-
85
-
86
-
87
-
88
-
89
-
90
-
91
-
92
-
93
-
94
-
95
-
96
-
97
-
98
-
99
-
100
-
101
-
102
-
103
-
104
-
105
-
106
-
107
-
108
-
109
-
110
-
111
-
112
-
113
-
114
-
115
-
116
-
117
-
118
-
119
-
120
-
121
-
122
-
123
-
124
-
125
-
126
-
127
-
128
-
129
-
130
-
131
-
132
-
133
-
134
-
135
-
136
-
137
-
138
-
139
-
140
-
141
-
142
-
143
-
144
-
145
-
146
-
147
-
148
-
149
-
150
-
151
-
152
-
153
-
154
-
155
-
156
-
157
-
158
-
159
-
160
-
161
-
162
-
163
-
164
-
165
-
166
-
167
-
168
-
169
-
170
-
171
-
172
-
173
-
174
-
175
-
176
-
177
-
178
-
179
-
180
-
181
-
182
-
183
-
184
-
185
-
186
-
187
-
188
-
189
-
190
-
191
-
192
-
193
-
194
-
195
-
196
-
197
-
198
-
199
-
200
-
201
-
202
-
203
-
204
-
205
-
206
-
207
-
208
-
209
-
210
-
211
-
212
-
213
-
214
-
215
-
216
-
217
-
218
-
219
-
220
-
221
-
222
-
223
-
224
-
225
-
226
-
227
-
228
-
229
-
230
-
231
-
232
-
233
-
234
-
235
-
236
-
237
-
238
-
239
-
240
-
241
-
242
-
243
-
244
-
245
-
246
-
247
-
248
-
249
-
250
-
251
-
252
-
253
-
254
-
255
-
256
-
257
-
258
-
259
-
 260
260 -
 261
261 -
 262
262 -
 263
263 -
 264
264 -
 265
265 -
 266
266 -
 267
267 -
 268
268 -
 269
269 -
 270
270 -
271
-
272
-
273
-
274
-
275
-
276
-
277
 |
 |