Brother International MFC 640CW Software Users Manual - English - Page 44
PhotoCapture, Menu/Set, Black Start, Color Start, Stop/Exit, Clear, Memory Stick
 |
UPC - 012502614036
View all Brother International MFC 640CW manuals
Add to My Manuals
Save this manual to your list of manuals |
Page 44 highlights
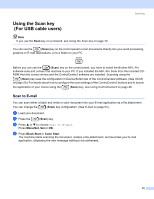
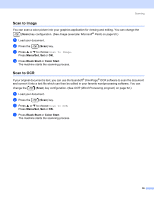
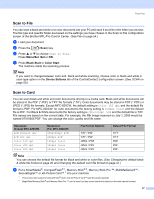
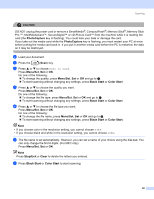
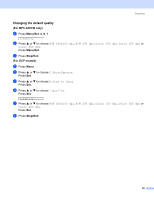
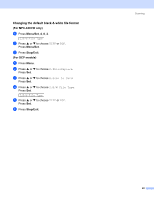
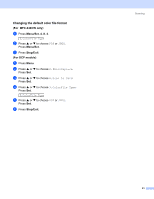
Scanning CAUTION DO NOT unplug the power cord or remove a SmartMedia®, CompactFlash®, Memory Stick®, Memory Stick Pro ™, MultiMediaCard™, SecureDigital™ or xD-Picture Card™ from the machine while it is reading the card (the PhotoCapture key is flashing). You could lose your data or damage the card. If you take out the media card while the PhotoCapture key is flashing, you must restart your PC at once before putting the media card back in. If you put in another media card before the PC is restarted, the data on it may be destroyed. b Load your document. c Press the (Scan) key. d Press a or b to choose Scan to Card. Press Menu/Set, Set or OK. Do one of the following: „ To change the quality, press Menu/Set, Set or OK and go to e. „ To start scanning without changing any settings. press Black Start or Color Start. e Press a or b to choose the quality you want. Press Menu/Set, Set or OK. Do one of the following: „ To change the file type, press Menu/Set, Set or OK and go to f. „ To start scanning without changing any settings, press Black Start or Color Start. f Press a or b to choose the file type you want. Press Menu/Set, Set or OK. Do one of the following: „ To change the file name, press Menu/Set, Set or OK and go to g. „ To start scanning without changing any settings, press Black Start or Color Start. Note • If you choose color in the resolution setting, you cannot choose TIFF. • If you choose black and white in the resolution setting, you cannot choose JPEG. g The file name is set automatically. However, you can set a name of your choice using the dial pad. You can only change the first 6 digits. (For MFC only) Press Menu/Set, Set or OK. Note Press Stop/Exit or Clear to delete the letters you entered. h Press Black Start or Color Start to start scanning. 38
-
 1
1 -
2
-
3
-
4
-
5
-
6
-
7
-
8
-
9
-
10
-
11
-
12
-
13
-
14
-
15
-
16
-
17
-
18
-
19
-
20
-
21
-
22
-
23
-
24
-
25
-
26
-
27
-
28
-
29
-
30
-
31
-
32
-
33
-
34
-
35
-
36
-
37
-
38
-
 39
39 -
 40
40 -
 41
41 -
 42
42 -
 43
43 -
 44
44 -
 45
45 -
 46
46 -
 47
47 -
 48
48 -
 49
49 -
50
-
51
-
52
-
53
-
54
-
55
-
56
-
57
-
58
-
59
-
60
-
61
-
62
-
63
-
64
-
65
-
66
-
67
-
68
-
69
-
70
-
71
-
72
-
73
-
74
-
75
-
76
-
77
-
78
-
79
-
80
-
81
-
82
-
83
-
84
-
85
-
86
-
87
-
88
-
89
-
90
-
91
-
92
-
93
-
94
-
95
-
96
-
97
-
98
-
99
-
100
-
101
-
102
-
103
-
104
-
105
-
106
-
107
-
108
-
109
-
110
-
111
-
112
-
113
-
114
-
115
-
116
-
117
-
118
-
119
-
120
-
121
-
122
-
123
-
124
-
125
-
126
-
127
-
128
-
129
-
130
-
131
-
132
-
133
-
134
-
135
-
136
-
137
-
138
-
139
-
140
-
141
-
142
-
143
-
144
-
145
-
146
-
147
-
148
-
149
-
150
-
151
-
152
-
153
-
154
-
155
-
156
-
157
-
158
-
159
-
160
 |
 |