Canon 8120A001 G3_QuickStart.pdf
Canon 8120A001 - PowerShot G3 Digital Camera Manual
 |
UPC - 013803019742
View all Canon 8120A001 manuals
Add to My Manuals
Save this manual to your list of manuals |
Canon 8120A001 manual content summary:
- Canon 8120A001 | G3_QuickStart.pdf - Page 1
instructions, please refer to the other related manuals. (p. 2) You must install the software bundled on the Canon Digital Camera Solution Disk before connecting the camera to the computer. Please refer to the Troubleshooting section of the Software Starter Guide if you have trouble installing - Canon 8120A001 | G3_QuickStart.pdf - Page 2
For detailed instructions, see the other manuals below. ▼ Preparing the Camera 3 Shooting 4 Reviewing an Image 5 Selecting Menus and Settings 6 List of Menu Options 7 Camera User Guide Printing Images by Connecting the Camera Directly to a Printer ......... 15 Printer User Guide (Included - Canon 8120A001 | G3_QuickStart.pdf - Page 3
the orange indicator beside the viewfinder stops blinking and lights steadily. • After charging, detach the compact power Compact Power adapter's DC plug from the camera. Adapter CA-560 Indicator 4 Slide the card slot cover in the direction of the arrow and lift it open. CF card eject button - Canon 8120A001 | G3_QuickStart.pdf - Page 4
and turn the mode lever to (shooting) while pressing the release lever. 2 Turn the mode dial to . 3 Set the date and time. (First time the camera is powered on) • The Set Date/Time menu will appear on the LCD monitor. • Select the items you wish to set using the B or A arrow - Canon 8120A001 | G3_QuickStart.pdf - Page 5
images on the LCD monitor. 1 Open the LCD monitor. • The LCD monitor can be freely opened to various position. 2 Turn the mode lever to . • The camera powers up in Replay mode. • The power/mode indicator lights green. • The last recorded image appears. 3 Move between images using the B or A arrow on - Canon 8120A001 | G3_QuickStart.pdf - Page 6
Selecting Menus and Settings 1 Press the button. • In Shooting mode, the [ (Rec.)] menu appears. In Replay mode, the [ (Replay)] menu appears. 2 Switch between menu tabs using the B or A arrow on the omni selector. 3 Select a menu item using the C or D arrow on the omni selector. 4 Select - Canon 8120A001 | G3_QuickStart.pdf - Page 7
Synchro Sets the slow synchro. • On • Off* Flash Adjust Red-eye Cont. Shooting Sets whether or not the flash is adjusted automatically. • Auto* • Manual Sets whether or not the red-eye reduction lamp fires. • On* • Off Sets the continuous shooting option. • (Standard)* • (High speed) Self-timer - Canon 8120A001 | G3_QuickStart.pdf - Page 8
to the AF point). • Center* • AF Point Sets the ND filter. • On • Off* Sets whether or not the focusing point is magnified when using the manual focus. • On* • Off Sets the frequency of autofocus activation. When the LCD monitor is off, this setting locks in single mode. • Continuous* • Single Sets - Canon 8120A001 | G3_QuickStart.pdf - Page 9
Zoom Review Intervalometer Menu Screen Settings Content Sets whether or not the digital zoom combines with the optical zoom to zoom images. • On • Off* Sets the duration images display on the LCD monitor after the shutter button is - Canon 8120A001 | G3_QuickStart.pdf - Page 10
Show Plays images in an automated slide show. Print Order Transfer Order Sets the images that will be printed on a DPOF-compatible printer or at a photo lab service, the number of copies and other parameters. Sets the images that will be transferred with your e-mail software. Set up Menu Item - Canon 8120A001 | G3_QuickStart.pdf - Page 11
Item Auto Power Down Date/Time Menu Screen Settings Content Sets whether or not the camera automatically powers down after a specified period of time elapses without something being pressed. • On* • Off Sets the date, time and date format. Format Formats (initializes) a - Canon 8120A001 | G3_QuickStart.pdf - Page 12
• (4) • (5) Sets how file numbers are assigned to images when new CF cards are inserted. • On • Off* Sets whether or not images shot with the camera on end are automatically rotated in the display. • On* • Off Sets the format of the MF indicator's displayed distance units. • m / cm* • ft / in - Canon 8120A001 | G3_QuickStart.pdf - Page 13
the button and pressing the button. (Except when the camera is connected to a printer) Sets the video output signal standard. • NTSC • PAL Communication Sets the camera and computer communication settings. • Normal* • PTP My Camera Menu Item Theme Menu Screen Start-up Image Settings - Canon 8120A001 | G3_QuickStart.pdf - Page 14
-up Sound Operation Sound Selftimer Sound Shutter Sound Menu Screen *Default setting Settings Content Sets the start-up sound when you turn on the camera. • (Off Sets the sound when the multicontroller or any button other than the shutter button is operated. • (Off Sets the sound informing you - Canon 8120A001 | G3_QuickStart.pdf - Page 15
. 3 Press the printer's ON/OFF button to turn on the power. • appears on the camera's LCD monitor and the power/mode indicator is lit in green. • If you cannot use the camera's compact power adapter, please use a fully charged battery pack. To DIGITAL Terminal Canon Camera compatible with the - Canon 8120A001 | G3_QuickStart.pdf - Page 16
operations. 1 Prepare the printer. • For more information, please see the Quick Start Guide that came with your BJ printer. 2 Turn the BJ printer's power on. Power button 3 Connect the camera to the BJ printer. • Open the LCD monitor. • Connect the camera to the printer using the cable supplied - Canon 8120A001 | G3_QuickStart.pdf - Page 17
will revert to standard replay mode. • We recommend the use of the compact power adapter CA-560 as the camera's power source. • Images cannot be printed through the BJ printer operation panel during the camera connection. • Please use the following procedures when you detach the cable from the - Canon 8120A001 | G3_QuickStart.pdf - Page 18
Do not connect the camera to the computer before the software is installed. • The USB driver will start its installation procedures after the camera has been connected to • Close any programs that are running. 1 Place the Canon Digital Camera Solution Disk into your computer's CD-ROM drive. • The installer - Canon 8120A001 | G3_QuickStart.pdf - Page 19
-click the [SETUP.exe] icon. If the "exe" extension does not show, see the computer's manual for instructions on showing file name extensions. 2 Click [Software Installation], and follow the onscreen instructions by clicking [Next] or [Yes]. Installer panel • In the next steps, you will select the - Canon 8120A001 | G3_QuickStart.pdf - Page 20
now.] in the screen below and click [Finish]. • Remove the Canon Digital Camera Solution Disk once the installation is complete and before you connect the camera to the computer so that the proper driver can be installed. Connecting the Camera to the Computer 1 Connect one end of the USB cable to - Canon 8120A001 | G3_QuickStart.pdf - Page 21
2 Connect the USB cable to the camera's Digital terminal. • Open the terminal cover and connect the cable. 1. Terminal cover 2. USB cable Insert the connector until it clicks. Installing the Driver ■ Windows XP 1 Install the driver. • After a few moments, the following dialog will appear at the - Canon 8120A001 | G3_QuickStart.pdf - Page 22
2000) or the WIA driver (for Windows Me). • After installation, the Event dialog will appear, allowing you to select an application program to start. 2 Select an application to start. • Select [Canon ZoomBrowser EX] and click [OK]. • ZoomBrowser EX starts; the Camera Window opens and displays the - Canon 8120A001 | G3_QuickStart.pdf - Page 23
window. The images on the CF card will display in the Camera window as thumbnails. • Select the images you wish to download in the Camera window and click [Download image]. Thumbnail "RAW" displays on RAW images. The movie icon displays on movie thumbnails. • A Download Settings dialog allowing - Canon 8120A001 | G3_QuickStart.pdf - Page 24
• Make sure the settings are the same as the following and click [OK]. • At this point the Camera window will close and the main window will open. The downloaded images will appear in the main window. 24 - Canon 8120A001 | G3_QuickStart.pdf - Page 25
performed with a connection to a USB 2.0 compliant board are not guaranteed. Installing the Software • Close any programs that are running. 1 Place the Canon Digital Camera Solution Disk into your computer's CD-ROM drive. Mac OS 8.6-9.2 • Double-click the CD-ROM icon, followed by the [Mac OS - Canon 8120A001 | G3_QuickStart.pdf - Page 26
programs you wish to install and follow the instructions on the screen. • The software required for the camera will be installed. 4 Once the installation is complete and the installer panel appears, click [Quit]. 5 Remove the Canon Digital Camera Solution Disk from the CDROM drive. Connecting the - Canon 8120A001 | G3_QuickStart.pdf - Page 27
2 Connect the USB cable to the camera's Digital terminal. • Open the terminal cover and connect the cable. button. Mac OS X • Double-click the [Canon ImageBrowser] icon on the desktop. Once ImageBrowser is started, click [Canon Camera] in the Explorer View section. Set the communication settings - Canon 8120A001 | G3_QuickStart.pdf - Page 28
OS X • Select the [your name] subfolder of the [Users] folder in the startup disk. Explorer View 1. Create a new folder for saving images from the camera. • Click the [File] menu and select [New Folder]. A folder with the name "Untitled" will be created. Click it to change the folder name as you - Canon 8120A001 | G3_QuickStart.pdf - Page 29
Downloading and Saving Images from the Camera Thumbnail The movie icon displays on movie thumbnails. "RAW" displays on RAW images. • Select images in the Camera window and click the [Download] button. The downloaded images are saved to the computer and appear in the Browser area. 29 - Canon 8120A001 | G3_QuickStart.pdf - Page 30
MEMO 30 - Canon 8120A001 | G3_QuickStart.pdf - Page 31
31 - Canon 8120A001 | G3_QuickStart.pdf - Page 32
CDI-E069-010 XXXXXXX © 2002 CANON INC. PRINTED IN JAPAN
-
 1
1 -
 2
2 -
 3
3 -
 4
4 -
 5
5 -
 6
6 -
 7
7 -
8
-
9
-
10
-
11
-
12
-
13
-
14
-
15
-
16
-
17
-
18
-
19
-
20
-
21
-
22
-
23
-
24
-
25
-
26
-
27
-
28
-
29
-
30
-
31
-
32
 |
 |
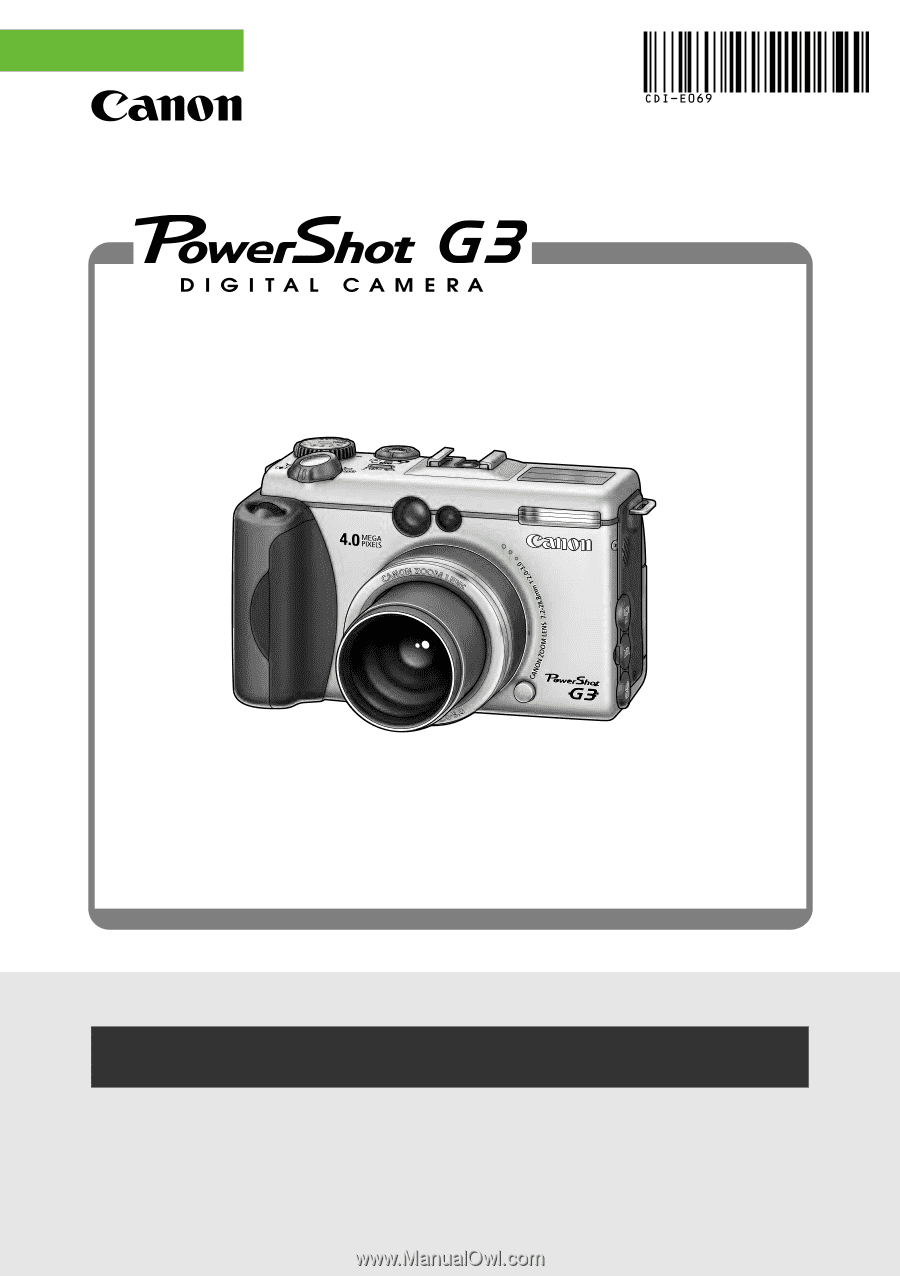
Quick Start Guide
This guide explains basic operations for first-time use, how to
use the direct print function, and how to install the software
and download images to a computer. For more information
about usage precautions and detailed instructions, please
refer to the other related manuals. (p. 2)
You must install the software bundled on the Canon Digital Camera
Solution Disk before connecting the camera to the computer.
Please refer to the
Troubleshooting
section of the
Software Starter Guide
if
you have trouble installing the software or downloading images.
ENGLISH