Canon PIXMA MG5422 Getting Started Guide - Page 4
Lea el Manual en pantalla en el, ordenador, Read the On-screen Manual on, the Computer
 |
View all Canon PIXMA MG5422 manuals
Add to My Manuals
Save this manual to your list of manuals |
Page 4 highlights
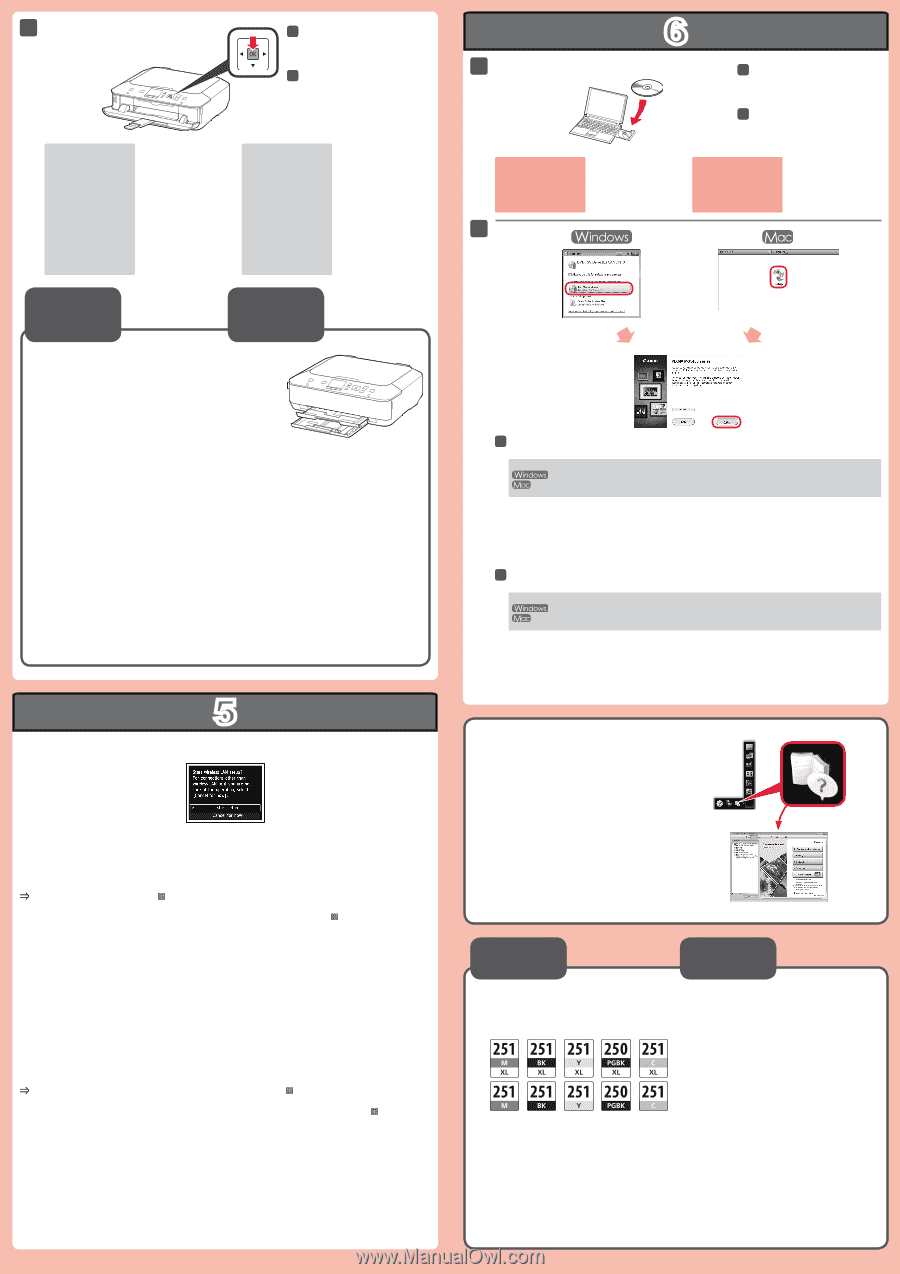
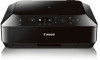
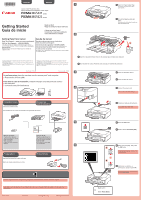
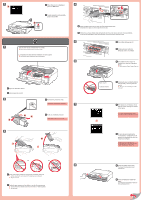
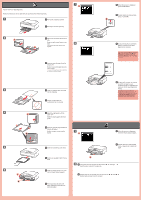
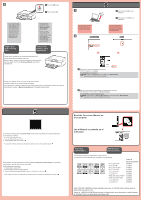
3 3 Press the OK button. 3 Pulse el botón OK. • For information about paper, refer to the Onscreen Manual which will be installed later. • The screen turns off if the machine is not operated for about 5 minutes. To restore the display, press any button (except the ON button) on the Operation Panel. Paper Size and Printing Side • Para obtener más información sobre el papel, consulte el Manual en pantalla que se instalará posteriormente. • Cuando el equipo no se utiliza durante unos 5 minutos, la pantalla se desconecta. Para reactivarla, pulse cualquier botón (excepto el botón ACTIVADO (ON)) en el panel de control. Tamaño de papel y cara imprimible Decide which Cassette to use according to the paper size. Set the paper with the printable side down. Before printing, change the machine settings for media type and size. For details, refer to the On-screen Manual which will be installed later. Decida qué cassette utilizar en función del tamaño de papel. Coloque el papel con la cara imprimible hacia abajo. Antes de imprimir, cambie la configuración del equipo para el tipo y el tamaño del soporte. Para obtener más detalles, consulte el Manual en pantalla que se instalará posteriormente. 1 If the USB cable is already connected, unplug it. If a message appears on the computer, click Cancel. 2 6 1 Insert the CD-ROM into the computer. 1 Introduzca el CD-ROM en el ordenador. Si el cable USB ya está conectado, desconéctelo. Si aparece un mensaje en el ordenador, haga clic en Cancelar (Cancel). 2 Follow the on-screen instructions to proceed. To select a language, click Language. If the CD-ROM does not autorun: Double-click (My) Computer > CD-ROM icon > MSETUP4.EXE. Double-click the CD-ROM icon on the desktop. 2 Siga las instrucciones que aparezcan en pantalla para continuar. Para seleccionar un idioma, haga clic en Idioma (Language). Si el CD-ROM no se ejecuta automáticamente: Haga doble clic en (Mi) PC ((My) Computer) > icono de CD-ROM > MSETUP4.EXE. Haga doble clic en el icono de CD-ROM del escritorio. 5 To connect to wireless LAN, select Start setup on the screen, then follow the on-screen instruction. In the following conditions: • If you want to use USB connection • If you have difficulty with the procedure Select Cancel for now, then proceed to . * You can perform network connection by following the instruction shown on the computer screen in . Para conectar una LAN inalámbrica, seleccione Iniciar configuración (Start setup) en la pantalla y, a continuación siga las instrucciones en pantalla. En las siguientes condiciones: • Si quiere utilizar la conexión USB • Si le surge alguna dificultad con el procedimiento Seleccione Cancelar por ahora (Cancel for now) y, a continuación continúe con . * Puede realizar la conexión de red siguiendo las instrucciones que se muestran en la pantalla del ordenador en . Read the On-screen Manual on the Computer Lea el Manual en pantalla en el ordenador Ordering Information Información para pedidos The following ink tanks are compatible with this machine. Los depósitos de tinta siguientes son compatibles con este equipo. M: CLI-251XL M: CLI-251 BK: CLI-251XL BK: CLI-251 Y: CLI-251XL Y: CLI-251 PGBK: PGI-250XL PGBK: PGI-250 C: CLI-251XL C: CLI-251 Order # Número para pedidos 6450B001 6515B001 6448B001 6513B001 6451B001 6516B001 6432B001 6497B001 6449B001 6514B001 Call 1-800-OK-CANON to locate a dealer near you, or visit the Canon online store at www.shop.usa.canon.com Llame al 1-800-OK-CANON para buscar un distribuidor cerca de usted o visite la tienda en línea de Canon en www.shop.usa.canon.com
-
 1
1 -
 2
2 -
 3
3 -
 4
4
 |
 |