Canon PIXMA MX472 Scanning Guide - Page 134
Output Size
 |
View all Canon PIXMA MX472 manuals
Add to My Manuals
Save this manual to your list of manuals |
Page 134 highlights
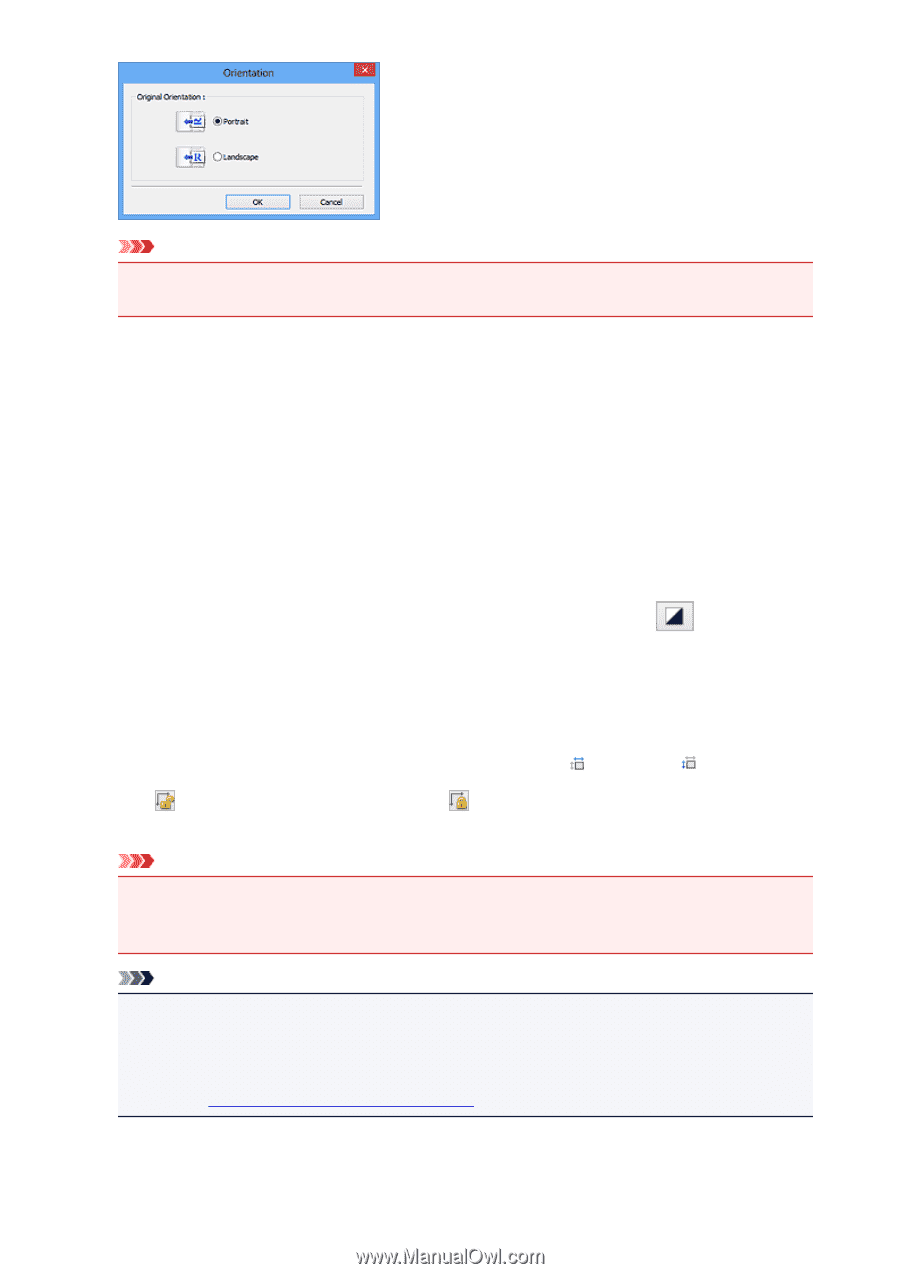
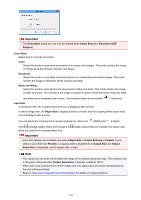
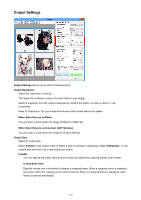
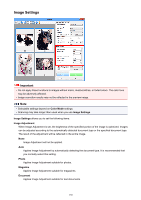
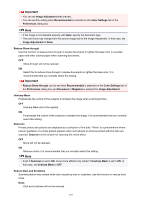
Important • The Orientation dialog box can only be opened when Select Source is Document (ADF Simplex). Color Mode Select how to scan the document. Color Select this mode to scan color documents or to create color images. This mode renders the image in 256 levels (8 bit) of R(ed), G(reen), and B(lue). Grayscale Select this mode to scan black and white photos or to create black and white images. This mode renders the image in 256 levels (8 bit) of black and white. Black and White Select this mode to scan photos and documents in black and white. This mode renders the image in black and white. The contrast in the image is divided at certain levels (threshold level) into black and white and is rendered in two colors. The threshold level can be set with (Threshold). Input Size In thumbnail view, the cropped document size is displayed after preview. In whole image view, the Paper Size is displayed before preview, and the cropping frame (scan area) size is displayed after preview. You can adjust the cropping frame size by entering the values into (Width) and (Height). Click (Change Aspect Ratio) and change it to when you specify the cropping frame size. (Keep Aspect Ratio) to maintain the aspect ratio Important • Input size settings are available only when Output Size in Output Settings is Flexible. If you select a size other than Flexible, a cropping frame calculated from Output Size and Output Resolution is displayed, and its aspect ratio is fixed. Note • The values you can enter will be within the range of the selected document size. The minimum size is 96 pixels x 96 pixels when Output Resolution is 600 dpi, scaled at 100 %. • When Auto Crop is performed in whole image view, the aspect ratio will not be maintained since the size will be prioritized. • Refer to "Adjusting Cropping Frames (ScanGear)" for details on cropping frames. 134
-
 1
1 -
2
-
3
-
4
-
5
-
6
-
7
-
8
-
9
-
10
-
11
-
12
-
13
-
14
-
15
-
16
-
17
-
18
-
19
-
20
-
21
-
22
-
23
-
24
-
25
-
26
-
27
-
28
-
29
-
30
-
31
-
32
-
33
-
34
-
35
-
36
-
37
-
38
-
39
-
40
-
41
-
42
-
43
-
44
-
45
-
46
-
47
-
48
-
49
-
50
-
51
-
52
-
53
-
54
-
55
-
56
-
57
-
58
-
59
-
60
-
61
-
62
-
63
-
64
-
65
-
66
-
67
-
68
-
69
-
70
-
71
-
72
-
73
-
74
-
75
-
76
-
77
-
78
-
79
-
80
-
81
-
82
-
83
-
84
-
85
-
86
-
87
-
88
-
89
-
90
-
91
-
92
-
93
-
94
-
95
-
96
-
97
-
98
-
99
-
100
-
101
-
102
-
103
-
104
-
105
-
106
-
107
-
108
-
109
-
110
-
111
-
112
-
113
-
114
-
115
-
116
-
117
-
118
-
119
-
120
-
121
-
122
-
123
-
124
-
125
-
126
-
127
-
128
-
 129
129 -
 130
130 -
 131
131 -
 132
132 -
 133
133 -
 134
134 -
 135
135 -
 136
136 -
 137
137 -
 138
138 -
 139
139 -
140
-
141
-
142
-
143
-
144
-
145
-
146
-
147
-
148
-
149
-
150
-
151
-
152
-
153
-
154
-
155
-
156
-
157
-
158
-
159
-
160
-
161
-
162
-
163
-
164
-
165
-
166
-
167
-
168
-
169
-
170
-
171
-
172
-
173
-
174
-
175
-
176
-
177
-
178
-
179
-
180
-
181
-
182
-
183
-
184
-
185
-
186
-
187
-
188
-
189
-
190
-
191
-
192
-
193
-
194
-
195
-
196
-
197
-
198
-
199
 |
 |