Canon S9000 S9000 Quick Start Guide - Page 40
To merge images in Mac OS
 |
View all Canon S9000 manuals
Add to My Manuals
Save this manual to your list of manuals |
Page 40 highlights
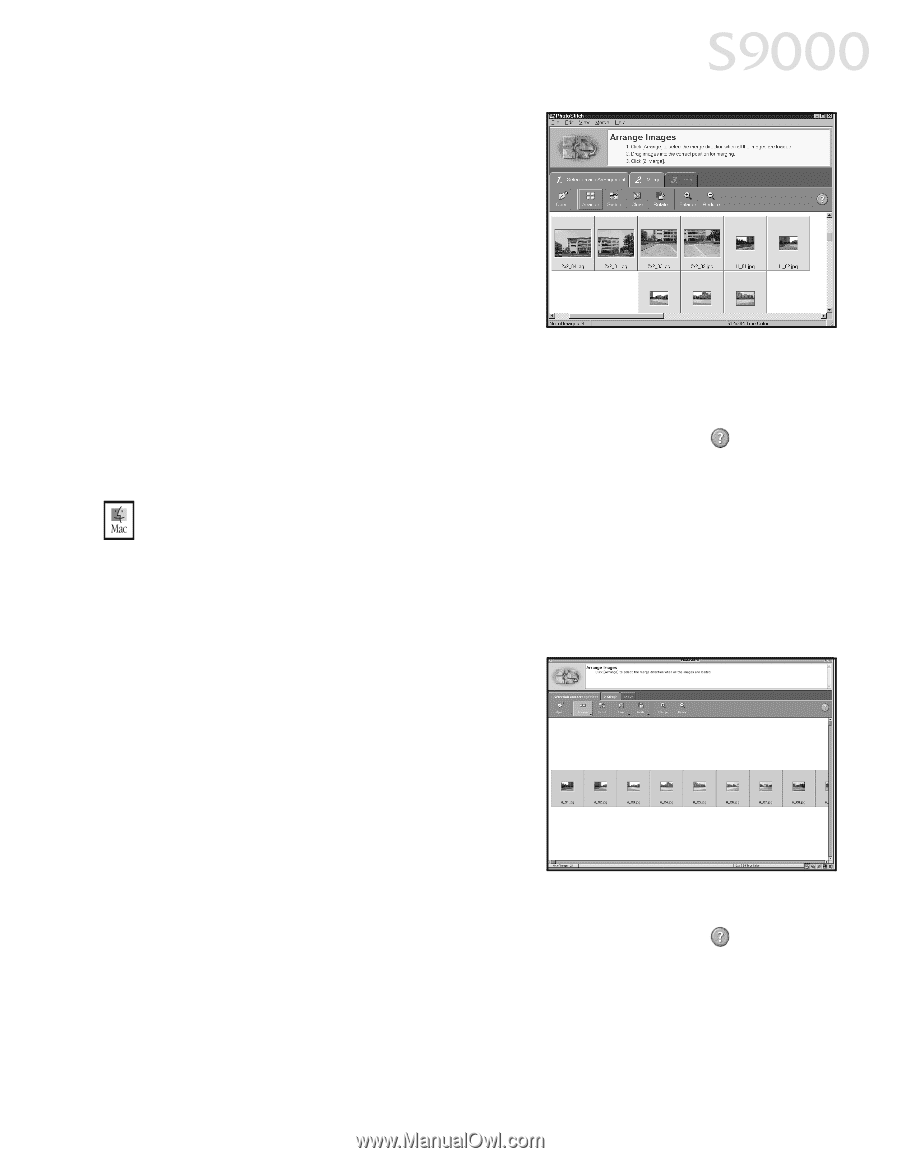
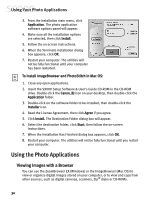
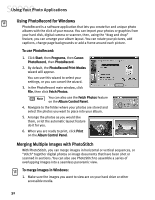
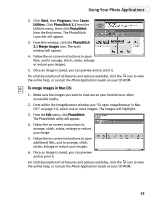
Using Your Photo Applications 2. Click Start, then Programs, then Canon Utilities. Click PhotoStitch 3.1 from the Utilities menu, then click PhotoStitch from the final menu. The PhotoStitch Launcher will appear. 3. From this window, click the PhotoStitch 3.1 Merge Images icon. The main window will appear. 4. Follow the on-screen instructions to open files, and to arrange, stitch, rotate, enlarge or reduce your images. 5. Once an image is saved, you can preview and/or print it. For a full description of all features and options available, click the icon to view the online help, or consult the Photo Application Guide on your CD-ROM. To merge images in Mac OS: 1. Make sure the images you want to view are on your hard drive or other accessible media. 2. From within the ImageBrowser window (see "To open ImageBrowser in Mac OS:" on page 31), select one or more images. The images will highlight. 3. From the Edit menu, click PhotoStitch. The PhotoStitch utility will appear. 4. Follow the on-screen instructions to arrange, stitch, rotate, enlarge or reduce your image. 5. Follow the on-screen instructions to open additional files, and to arrange, stitch, rotate, enlarge or reduce your images. 6. Once an image is saved, you can preview and/or print it. For a full description of all features and options available, click the icon to view the online help, or consult the Photo Application Guide on your CD-ROM. 33
-
 1
1 -
2
-
3
-
4
-
5
-
6
-
7
-
8
-
9
-
10
-
11
-
12
-
13
-
14
-
15
-
16
-
17
-
18
-
19
-
20
-
21
-
22
-
23
-
24
-
25
-
26
-
27
-
28
-
29
-
30
-
31
-
32
-
33
-
34
-
 35
35 -
 36
36 -
 37
37 -
 38
38 -
 39
39 -
 40
40 -
 41
41 -
 42
42 -
 43
43 -
 44
44 -
 45
45 -
46
-
47
-
48
-
49
-
50
-
51
-
52
-
53
-
54
-
55
-
56
-
57
-
58
-
59
-
60
-
61
-
62
-
63
-
64
-
65
 |
 |