Cisco WS-C5500 Installation Guide - Page 30
Removing and Replacing the Fan Assembly, Required Tools, Removing the Fan Assembly - fan tray
 |
UPC - 746320120034
View all Cisco WS-C5500 manuals
Add to My Manuals
Save this manual to your list of manuals |
Page 30 highlights
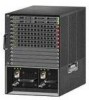
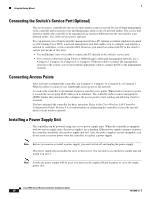
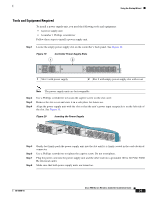
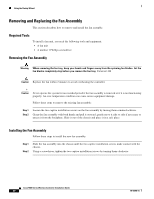
Using the Startup Wizard Removing and Replacing the Fan Assembly This section describes how to remove and install the fan assembly. Required Tools To install a fan unit, you need the following tools and equipment: • A fan unit • A number 1 Phillips screwdriver Removing the Fan Assembly Warning When removing the fan tray, keep your hands and fingers away from the spinning fan blades. Let the fan blades completely stop before you remove the fan tray. Statement 258 Caution Replace the fan within 2 minutes to avoid overheating the controller. Caution Never operate the system for an extended period if the fan assembly is removed or if it is not functioning properly. An over-temperature condition can cause severe equipment damage. Follow these steps to remove the existing fan assembly: Step 1 Step 2 Loosen the two captive installation screws on the fan assembly by turning them counterclockwise. Grasp the fan assembly with both hands and pull it outward; gently move it side to side if necessary to unseat it from the backplane. Slide it out of the chassis and place it in a safe place. Installing the Fan Assembly Follow these steps to install the new fan assembly: Step 1 Step 2 Slide the fan assembly into the chassis until the two captive installation screws make contact with the chassis. Using a screwdriver, tighten the two captive installation screws by turning them clockwise. Cisco 5500 Series Wireless Controller Installation Guide 30 78-18998-01
-
 1
1 -
2
-
3
-
4
-
5
-
6
-
7
-
8
-
9
-
10
-
11
-
12
-
13
-
14
-
15
-
16
-
17
-
18
-
19
-
20
-
21
-
22
-
23
-
24
-
 25
25 -
 26
26 -
 27
27 -
 28
28 -
 29
29 -
 30
30 -
 31
31 -
 32
32 -
 33
33 -
 34
34
 |
 |
