Craftsman 11177 Operation Manual - Page 12
Operating
 |
UPC - 033287140381
View all Craftsman 11177 manuals
Add to My Manuals
Save this manual to your list of manuals |
Page 12 highlights
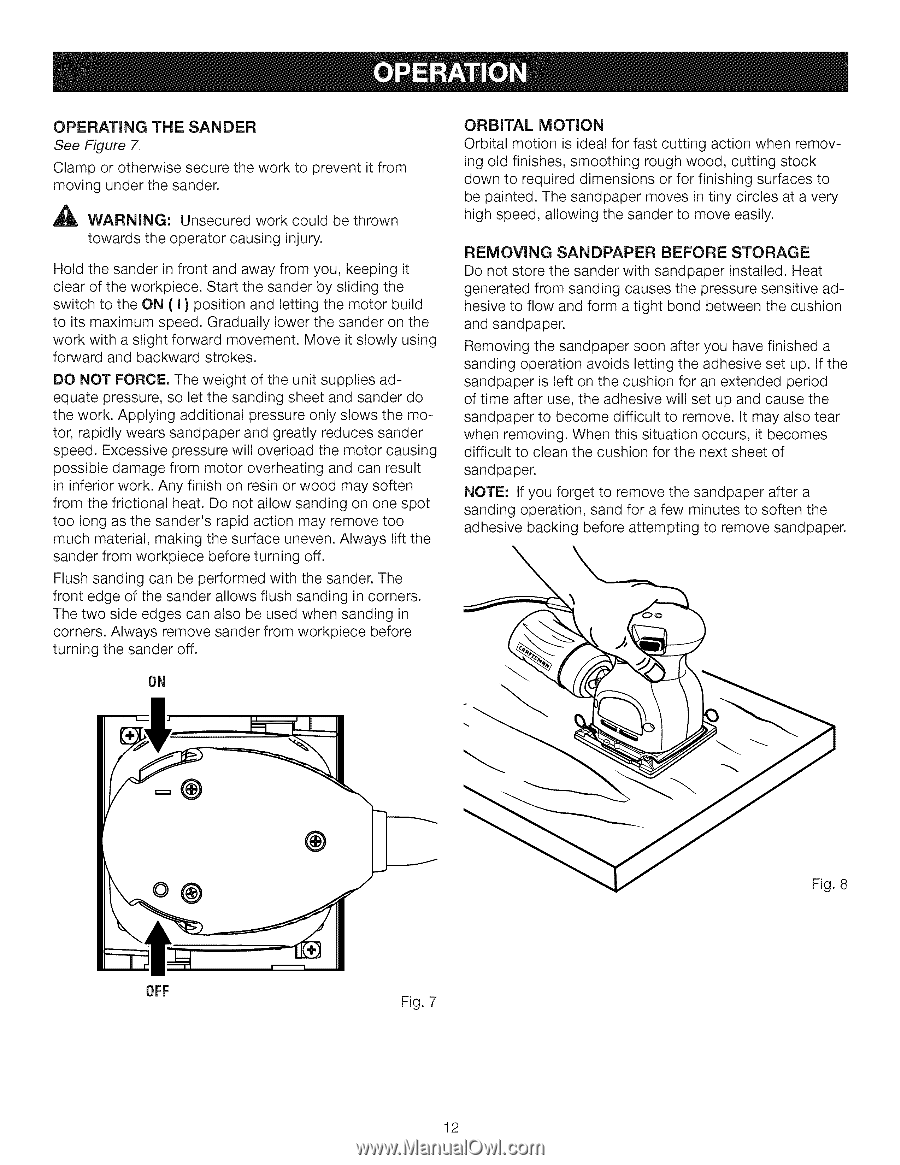
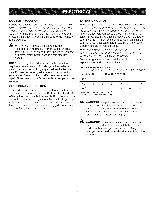
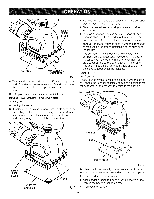
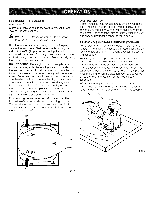
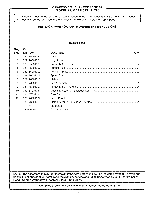
OPERATINGTHE SANDER See Figure 7. Clamp or otherwise secure the work to prevent it from moving under the sander. _IL WARNING: Unsecured work could be thrown towards the operator causing injury. Hold the sander in front and away from you, keeping it clear of the workpiece. Start the sander by sliding the switch to the ON ( I ) position and letting the motor build to its maximum speed. Gradually lower the sander on the work with a slight forward movement. Move it slowly using forward and backward strokes. DO NOT FORCE. The weight of the unit supplies adequate pressure, so let the sanding sheet and sander do the work. Applying additional pressure only slows the motor, rapidly wears sandpaper and greatly reduces sander speed. Excessive pressure will overload the motor causing possible damage from motor overheating and can result in inferior work. Any finish on resin or wood may soften from the frictional heat. Do not allow sanding on one spot too long as the sander's rapid action may remove too much material, making the surface uneven. Always lift the sander from workpiece before turning off. Flush sanding can be performed with the sander. The front edge of the sander allows flush sanding in corners. The two side edges can also be used when sanding in corners. Always remove sander from workpiece before turning the sander off. ON ORBITAL MOTION Orbital motion is ideal for fast cutting action when removing old finishes, smoothing rough wood, cutting stock down to required dimensions or for finishing surfaces to be painted. The sandpaper moves in tiny circles at a very high speed, allowing the sander to move easily. REMOVING SANDPAPER BEFORE STORAGE Do not store the sander with sandpaper installed. Heat generated from sanding causes the pressure sensitive adhesive to flow and form a tight bond between the cushion and sandpaper. Removing the sandpaper soon after you have finished a sanding operation avoids letting the adhesive set up. If the sandpaper is left on the cushion for an extended period of time after use, the adhesive will set up and cause the sandpaper to become difficult to remove. It may also tear when removing. When this situation occurs, it becomes difficult to clean the cushion for the next sheet of sandpaper. NOTE: If you forget to remove the sandpaper after a sanding operation, sand for a few minutes to soften the adhesive backing before attempting to remove sandpaper. o® OFF Fig. 7 12 Fig. 8
-
 1
1 -
2
-
3
-
4
-
5
-
6
-
 7
7 -
 8
8 -
 9
9 -
 10
10 -
 11
11 -
 12
12 -
 13
13 -
 14
14 -
 15
15 -
 16
16
 |
 |