D-Link DSN-4200 DSN Series SAN Arrays VMWare ESX Manual - Page 21
Con iSCSI storage on ESX 3.5 Server
 |
View all D-Link DSN-4200 manuals
Add to My Manuals
Save this manual to your list of manuals |
Page 21 highlights
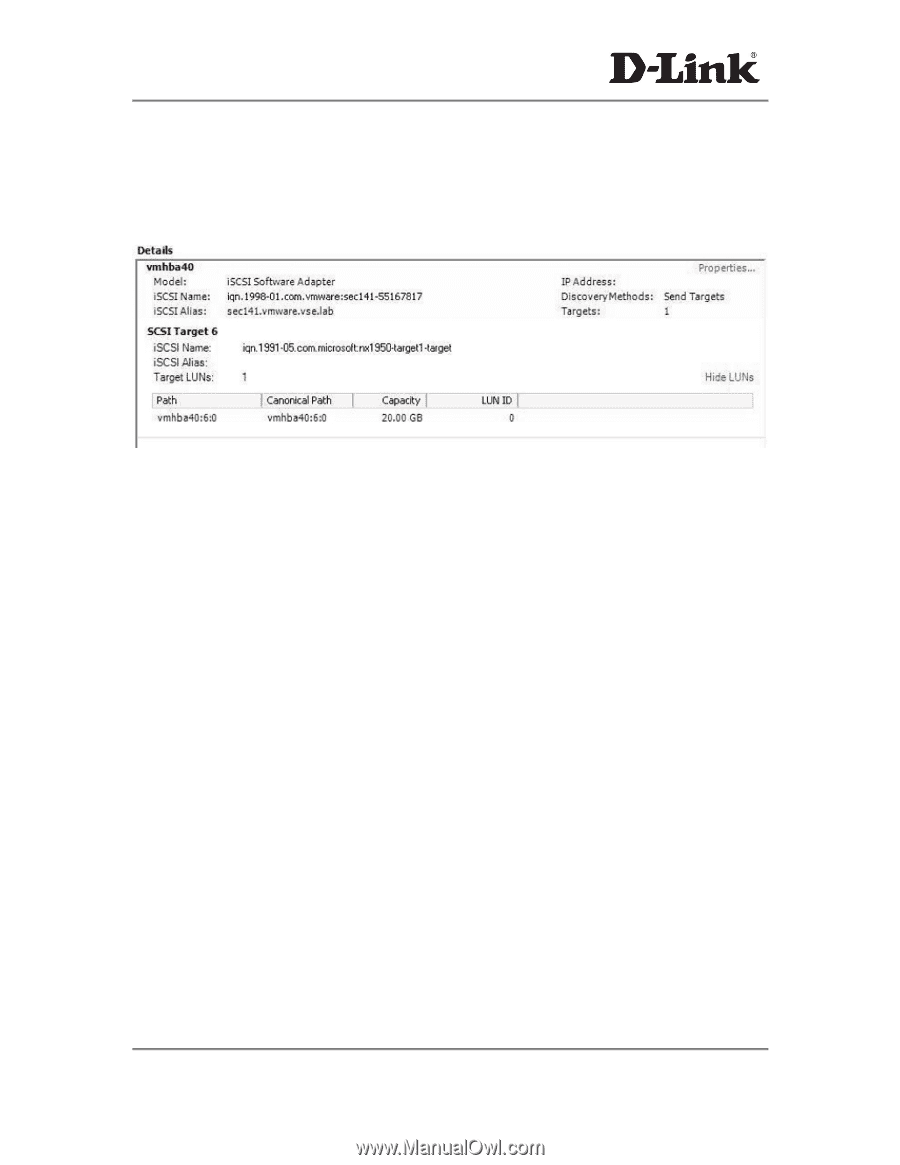
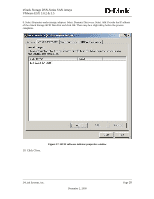
xStack Storage DSN-Series SAN Arrays VMware ESX 3.0.2 & 3.5 Configure iSCSI storage on ESX 3.5 Server Connect to the ESX server/Virtual Center using VI Client and follow the steps below. 1. Go to the configuration tab and select Storage Adapters. Select the iSCSI Software Adapter and click Rescan. The newly created iSCSI target and LUN should be visible from the ESX server. Figure 18: iSCSI target and LUNs as visible through VI client 2. Go to the configuration tab and select Storage. Click on Add Storage, select Disk/Lun and click Next. Select the newly added storage and click Next. 3. Select the newly created iSCSI LUN and click Next. 4. Review the disk layout and click Next 5. Provide a name for the VMFS datastore and click Next. 6. Select the appropriate block size and capacity for the VMFS datastore and click Next. 7. Review the disk layout and click Finish to create the VMFS datastore. The new datastore is now ready to be used for storing virtual machine images. D-Link Systems, Inc. December 2, 2009 Page 21
-
 1
1 -
2
-
3
-
4
-
5
-
6
-
7
-
8
-
9
-
10
-
11
-
12
-
13
-
14
-
15
-
 16
16 -
 17
17 -
 18
18 -
 19
19 -
 20
20 -
 21
21 -
 22
22 -
 23
23
 |
 |