Danby DPAC8KDB Product Manual
Danby DPAC8KDB Manual
 |
View all Danby DPAC8KDB manuals
Add to My Manuals
Save this manual to your list of manuals |
Danby DPAC8KDB manual content summary:
- Danby DPAC8KDB | Product Manual - Page 1
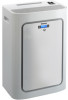
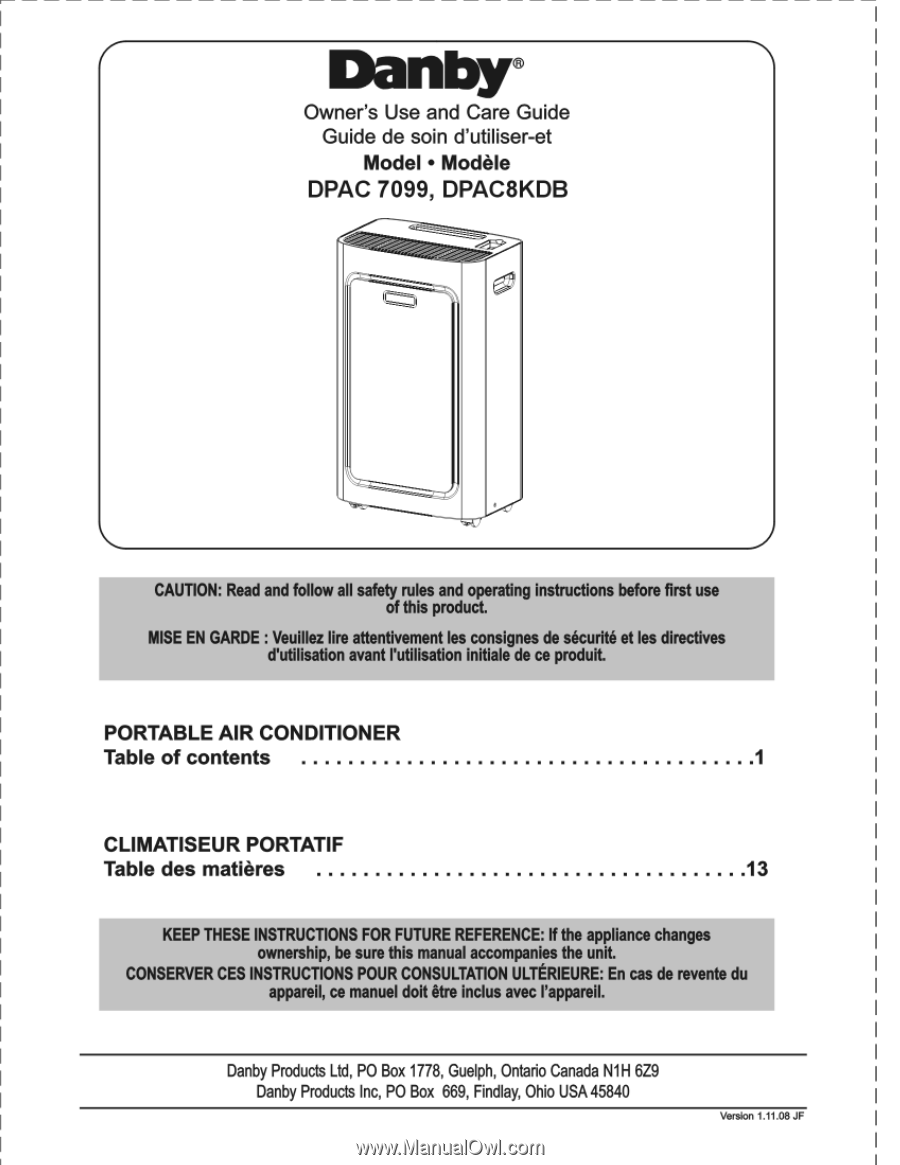
, DPAC8KDB e C CAUTION: Read and follow all safety rules and operating instructions before first use of this product. 0 MISE EN GARDE : Veuillez lire attentivement les consignee de securite et les directives d'utilisation avant ('utilisation initiale de ce produit. PORTABLE AIR CONDITIONER Table - Danby DPAC8KDB | Product Manual - Page 2
- Danby DPAC8KDB | Product Manual - Page 3
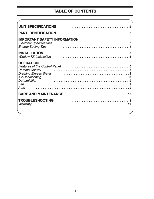
Specifications 3 Energy Saving Tips 4 INSTALLATION 5 Window Kit Installation 5 OPERATION Features of the Control Panel 6 Remote Control 7 Draining Excess Water 8 Air Conditioning 8 Dehumidifier 9 Fan 9 Auto 9 CARE AND MAINTENANCE 10 TROUBLESHOOTING 11 Warranty 12 K I 1 - Danby DPAC8KDB | Product Manual - Page 4
you many years of trouble free operation. Please take a few moments to read the instructions thoroughly and familiarize yourself with all of the operational aspects of this appliance. Your Danby Portable Air-Conditioner is a multi-functional room air-exchanging, air-processing appliance, designed to - Danby DPAC8KDB | Product Manual - Page 5
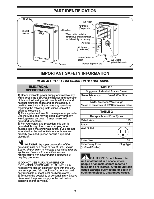
with this unit, use an approved "air conditioner extension cord only (available at most local hardware stores). 5) To avoid the possibility of personal injury, always disconnect the power supply to the unit before installing and/or servicing. TABLE 1 Suggested Individual Branch Circuit Nameplate - Danby DPAC8KDB | Product Manual - Page 6
supply cord is now energized and supplying electricity to the air conditioner (on some products this is also indicated by a light on the plug head). NOTE: when the "TEST" button is pushed in. ENERGY-SAVING TIPS Your Danby appliance is designed to be highly efficient in energy savings. Follow - Danby DPAC8KDB | Product Manual - Page 7
under AIR CONDITIONING mode. There should be at least 11.8" (30cm) clearance between the unit and any other objects or building structures, and should be installed on a level surface. The unit does not have to be vented outside during Dehumidifying or Fan Only mode operation. Instructions for - Danby DPAC8KDB | Product Manual - Page 8
be set automatically. • Pressing the emergency button again will stop the unit. Note: When the unit is on, remember to lift up the air outlet flap. ti4 WATER FULL INDICATOR • When illuminated, signifies condensed water inside the unit can't be discharged and the condensation water level has reached - Danby DPAC8KDB | Product Manual - Page 9
air exchange hoses must vent outside the room when using Cool Mode. • Dehumidify Mode 101 Air is dehumidified as it passes through the air conditioner as a dehumidifier, continuous drainage is necessary. • Fan Mode i• 1 Air is circulated throughout the room with no cooling. Note: Unit does not need - Danby DPAC8KDB | Product Manual - Page 10
OPERATING INSTRUCTIONS DRAINING EXCESS WATER Fla. 4 1) Drain excess water from the tank the unit in Fan mode to dry the interior of the unit. AIR CONDITIONING Important: The exhaust hose must be properly vented outdoors during air conditioning mode. 1) Press the UI POWER SWITCH key (Fig. A) to - Danby DPAC8KDB | Product Manual - Page 11
OPERATING INSTRUCTIONS (cont'd) DEHUMIDIFIER Note: During dehumidifier mode, the exhaust hose fan speed is fixed to low. Note: The warm air exchange hoses must vent inside the room when using Dehumidify mode. ImportaM:The garden hose must be Installed during dehumidifier mode 0 S Ili Fig. G Fig H - Danby DPAC8KDB | Product Manual - Page 12
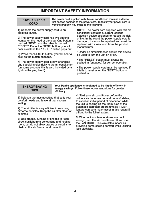
these substances may cause damage to the finish and deformation of plastic parts. 2) Never attempt to clean the unit by pouring water directly unit 5) Replace the air filter and cover. \ 6) Replacement air filter information is available by contacting the Customer Service Department at: 1-800 - Danby DPAC8KDB | Product Manual - Page 13
service call may not be necessary. Use this troubleshooting guide for a possible solution. If the unit continues to operate improperly, call an authorized service depot or Danby's Toll Free Number for assistance. C PROBLEM or too many people in the room • Air intake grill is clogged • Filter is too - Danby DPAC8KDB | Product Manual - Page 14
c During the frst twelve (12) months, any functional parts of this product fart to be defective, will berepaid or replaced,at warrantor's .A*.0• option, at no charge to the ORIGINAL purchaser. Danby reserves the right to limit the boundaries of 'In Home Service' to the proodmity of an Authorized - Danby DPAC8KDB | Product Manual - Page 15
L'UNITE 14 IDENTIFICATION DE PARTIE 15 CONSIGNES DE SECURITE IMPORTANT Specifications actriques 15 Suggestions pour economiseur denergie 16 INSTALLATION 17 Installation de kit de fenetre 17 UTILISATION Dispositifs de panneau de commande 18 a Telecommande 19 Vidange de l'exes d'eau - Danby DPAC8KDB | Product Manual - Page 16
Votre climatiseur portable Danby est un appareil d'echange et de traitement de l'air a l'air par oscillation. Cet appareil peut etre aisement deplace d'une piece a l'autre de la maison et it est installe de modele: Numero de serie • Date d'achat • Ces renseignements seront requis si le service est - Danby DPAC8KDB | Product Manual - Page 17
problemes de cablage AVANT installation et operation de cette unite. Tout le cablage doit etre confomie aux codes electriques locaux et nationaux et etre installs par un electricien qualifies. Si vous avez n'importe quelles questions concemant les instructions avec un service qualifie representatif - Danby DPAC8KDB | Product Manual - Page 18
rideaux. 5) Quand les temperatures extemes sont suffisamment froides, placer le climatiseur hors de service et utiliser le MODE DE VENTILATEUR a la position HAUTE, MOYENNE ou BAS. Ceci fait circuler l'air l'interieur de la piece pour foumir un certain confort de climatisation en utilisant moans - Danby DPAC8KDB | Product Manual - Page 19
a l'unite avant d'entreprendre ('installation ou le service. Fig. 1: Accessolres D'Installation Tuyay d'echappement flexible (013cm) exterieur operation pendant de deshydratation ou de ventilateur seulement mode. Les instructions d'assemblage pour ('ensemble d'adapteurs de fenetre- Fig. 2 1) - Danby DPAC8KDB | Product Manual - Page 20
le bouton de secours encore arretera ('unite. Note: Quand ('unite est allumee, rappelez-vous de soulever vers le haut ('aileron de bouche d'air. LCD DISPLAY *3 Mode Refroidissement di Mode Deshumidificateur 6i Mode de ventilateur seulement AUTO Mode Automatique IBM Vitesse de Ventilateur Haut list - Danby DPAC8KDB | Product Manual - Page 21
arrangements sont ajustes par le bouton de commande de mode • Mode de Refroidissement [0] Pendant le mode de refroidissement lair est refroidi et de ('air chaud est epuise dehors par le tuyau d'echappement. Ajustez la vitesse de le ventilateur et la temperature pour adapter a votre niveau desire de - Danby DPAC8KDB | Product Manual - Page 22
5) Actionnez ('unite en mode de ventilateur pour secher l'interieur de ('unite. DU REMARQUE: Le tuyau flexible pour rechappement d'air doivent Otre CLIMATISEUR installes pour le fonctionnement en mode de climatisation 1) Appuyer sur la touche INTERRUPTEUR (Fig. A) pour activer Fig. A ('unite et - Danby DPAC8KDB | Product Manual - Page 23
FONCTIONNEMENT (suite) REMARQUE: L'installation du tuyau flexible pour l'echappement DESHUMIDIFICATEUR d'air n'est pas requise pour le fonctionnement en mode de Deshumidification. 1) Appuyer sur la touche INTERRUPTEUR pour activer l'unite (Fig. G). 2) Appuyer sur la touche MODE (Fig. H) - Danby DPAC8KDB | Product Manual - Page 24
ET ENTRETIEN VENTILATEUR REMARQUE: L'installation du tuyau flexible pour rechappement d'air nest pas requise pour le Remplacez le filtre A air et le couvrez. 6) L'information de filtre A air de remplacement est disponible en entrant en contact avec le departement de service a la clientele A - Danby DPAC8KDB | Product Manual - Page 25
guide de depannage pour une solution possible. Si ('unite continue a fonctionner incorrectement, demandez un depot autorise de service ou le numero de appel sans frais Danby pour ('aide. PROBLEME chaleur de la piece •Nettoyez la grille de prise d'air • Remplacez le filtre • Abaissez le reglage de la - Danby DPAC8KDB | Product Manual - Page 26
par Denby Products Limited (Canada) ou Denby Products Inc. kilometres (62 milles) du centre de service le plus procho, it clod etre entretien convert pa la garantie de Danby. Les frais de transport entre une circulation d'air inadequate dans an proprietaire. 8) Installation inappropride (par exemple - Danby DPAC8KDB | Product Manual - Page 27
- Danby DPAC8KDB | Product Manual - Page 28
Danby® Model • Modele DPAC 7099, DPAC8KDB For service, contact your nearest service depot or call: 1-800-26- paler (1-800-263-2629) to recommend a depot in your area. Portable Air Conditioner The model number can be found on the serial plate located on the back panel of the unit. All repair parts
-
 1
1 -
 2
2 -
 3
3 -
 4
4 -
 5
5 -
 6
6 -
 7
7 -
8
-
9
-
10
-
11
-
12
-
13
-
14
-
15
-
16
-
17
-
18
-
19
-
20
-
21
-
22
-
23
-
24
-
25
-
26
-
27
-
28
 |
 |
I
Danby®
Owner's
Use
and
Care
Guide
Guide
de
soin
d'utiliser-et
Model
•
Modele
DPAC
7099,
DPAC8KDB
e
C
CAUTION:
Read
and
follow
all
safety
rules
and
operating
instructions
before
first
use
of
this
product.
0
MISE
EN
GARDE
:
Veuillez
lire
attentivement
les
consignee
de
securite
et
les
directives
d'utilisation
avant
('utilisation
initiale
de
ce
produit.
PORTABLE
AIR
CONDITIONER
Table
of
contents
1
CLIMATISEUR
PORTATIF
Table
des
matieres
13
KEEP
THESE
INSTRUCTIONS
FOR
FUTURE
REFERENCE:
If
the
appliance
changes
ownership,
be
sure
this
manual
accompanies
the
unit.
CONSERVER
CES
INSTRUCTIONS
POUR
CONSULTATION
ULTERIEURE:
En
Gas
de
revente
du
appareil,
ce
manuel
dolt
etre
inclus
avec
l'appareil.
Danby
Products
Ltd,
PO
Box
1778,
Guelph,
Ontario
Canada
N1H
6Z9
Danby
Products
Inc,
PO
Box
669,
Findlay,
Ohio
USA
45840
Version
1.11.08
JF