Dymo 17897 Quick Start Guide
Dymo 17897 Manual
 |
View all Dymo 17897 manuals
Add to My Manuals
Save this manual to your list of manuals |
Dymo 17897 manual content summary:
- Dymo 17897 | Quick Start Guide - Page 1
service address within seven days. Visit www.dymo.com for details. Getting Started Follow the instructions in this section to print your first label can be used to power the printer. The battery pack can be purchased through your local DYMO reseller. The printer must be connected to external power - Dymo 17897 | Quick Start Guide - Page 2
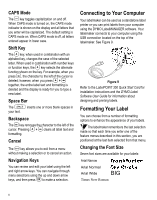
labelmaker comes with one label cassette. Visit www.dymo.com for information about purchasing additional label cassettes. To insert the label cassette 1. Press and release the label cassette cover to open the label compartment. See Figure 4. Remove cardboard insert Select tape cassette size Figure - Dymo 17897 | Quick Start Guide - Page 3
page 2. Power A The button turns the power on and off. After two minutes of no activity, the power is switched off automatically. The last label created is remembered and displayed when the power is turned back on. The previously selected style settings are also restored. LCD Display The labelmaker - Dymo 17897 | Quick Start Guide - Page 4
can be used as a standalone label printer or you can print labels from your computer using the DYMO LabelMANAGER software. Your labelmaker connects to for installation instructions and the DYMO Label Software User Guide for information about designing and printing labels. Formatting Your Label You - Dymo 17897 | Quick Start Guide - Page 5
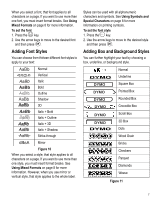
you use mirror or vertical style, that style applies to the whole label. Styles can be used with all alphanumeric characters and symbols. See Using choosing a box, underline, or background style. DYMO DYMO DYMO DYMO DYMO DYMO DYMO DYMO Normal Underline Square Box Pointed Box Rounded Box Crocodile - Dymo 17897 | Quick Start Guide - Page 6
of lines you can print on a label depends on the size label tape you are using: • Maximum of five lines on 19 mm (3/4") labels • Maximum of three lines on 9 mm (3/8") and 12 mm (1/2") labels • Maximum of one line on 6 mm (1/4") labels To create a multiple-line label 7 1. Type the text for the first - Dymo 17897 | Quick Start Guide - Page 7
to the row you want. 3. When you locate the desired symbol, press OK to add the symbol to your label text. Adding International Characters The labelmaker supports the extended Latin character set using RACE technology. Similar to using a mobile phone keypad, if you type a letter multiple - Dymo 17897 | Quick Start Guide - Page 8
You can specify a fixed length for a label in 2 mm (0.1") increments between 40 mm (1.5") and 400 mm (15.0"). The preset fixed length is a barcode on 19 mm (3/4") label tape; and you can only print one barcode per label. The barcode prints horizontally along the label with the text in small print - Dymo 17897 | Quick Start Guide - Page 9
a barcode 1. Enter the text you wish to appear before the barcode on the label. (optional) 2. Press Insert . 3. Use the arrow keys to select Insert Barcode can adjust the print contrast to fine tune the print quality of your label. To set the contrast 1. Press . Memory Settings 2. Select Print - Dymo 17897 | Quick Start Guide - Page 10
to give you long and trouble-free service, while requiring very little maintenance. Clean your labelmaker from time to time to keep it working properly. Clean the cutter blade each time you replace the tape cassette. To clean the cutter blade 1. Remove the label cassette. 2. Press and hold down - Dymo 17897 | Quick Start Guide - Page 11
Troubleshooting Review the following possible solutions if you encounter a problem while using your labelmaker. Problem/Error length label setting appropriately, or • Select a narrower font size. If you still need assistance, contact DYMO Customer Support. Refer to Contacting Customer Support on - Dymo 17897 | Quick Start Guide - Page 12
your feedback. Send us your comments or suggestions about our user guides. Please include the following information with your feedback: • Product name, version number, and page number • Brief description of content (instructions that are inaccurate or unclear, areas where more detail is needed - Dymo 17897 | Quick Start Guide - Page 13
15 - Dymo 17897 | Quick Start Guide - Page 14
16
-
 1
1 -
 2
2 -
 3
3 -
 4
4 -
 5
5 -
 6
6 -
 7
7 -
8
-
9
-
10
-
11
-
12
-
13
-
14
 |
 |
3
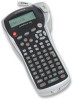
About Your New Labelmaker
With your new DYMO LabelPOINT
™
350
labelmaker, you can create a wide variety of high-
quality, self-adhesive labels. You can choose to
print your labels in many different sizes and styles.
The labelmaker uses DYMO D1 label cassettes in
widths of 6 mm (1/4”), 9 mm (3/8”), 12 mm (1/2”),
or 19 mm (3/4”). Label cassettes are also available
in a wide range of colors.
Visit
www.dymo.com
for information on obtaining
tapes and accessories for your labelmaker.
Warranty Registration
Please complete the warranty registration card and
return it to the appropriate customer service
address within seven days. Visit
www.dymo.com
for details.
Getting Started
Follow the instructions in this section to print your
first label.
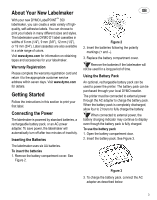
Connecting the Power
The labelmaker is powered by standard batteries, a
rechargeable battery pack, or an AC power
adapter. To save power, the labelmaker will
automatically turn off after two minutes of inactivity.
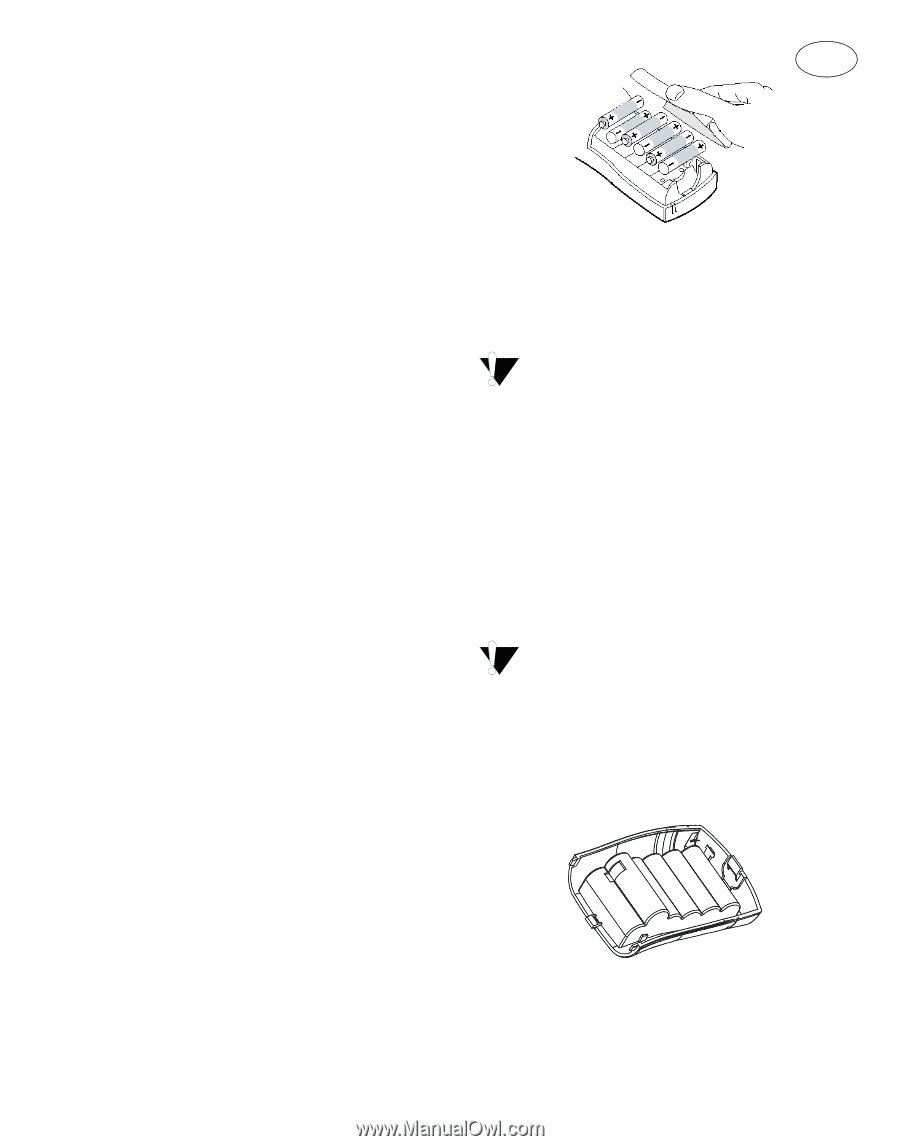
Inserting the Batteries
The labelmaker uses six AA batteries.
To insert the batteries
1. Remove the battery compartment cover. See
Figure 2.
Figure 2
2. Insert the batteries following the polarity
markings (+ and –).
3. Replace the battery compartment cover.
Remove the batteries if the labelmaker will
not be used for a long period of time.
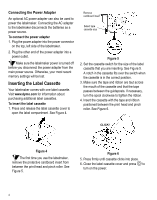
Using the Battery Pack
An optional, rechargeable battery pack can be
used to power the printer. The battery pack can be
purchased through your local DYMO reseller.
The printer must be connected to external power
through the AC adapter to charge the battery pack.
When the battery pack is completely discharged,
allow four to 2 hours to fully charge the battery.
When connected to external power, the
battery charging indicator may continue to display
even though the battery pack is fully charged.
To use the battery pack
1. Open the battery compartment door.
2. Insert the battery pack. See Figure 3.
Figure 3
3. To charge the battery pack, connect the AC
adapter as described below.
GB