Epson FX-2170 User Manual - Page 63
Loading the Push/pull Tractor, The standard rear push tractor cannot be removed., 22 Paper Handling
 |
View all Epson FX-2170 manuals
Add to My Manuals
Save this manual to your list of manuals |
Page 63 highlights
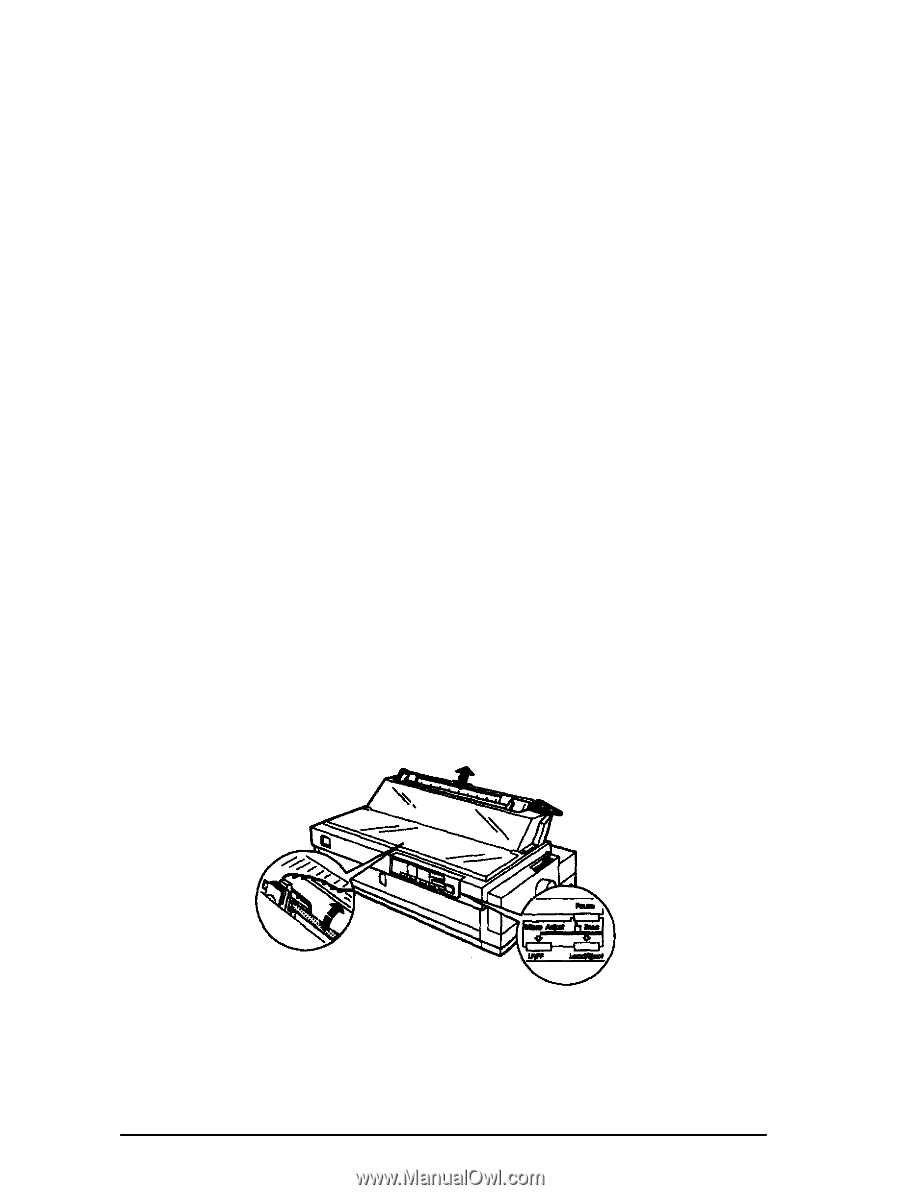
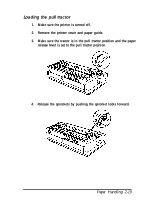
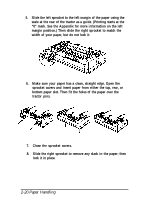
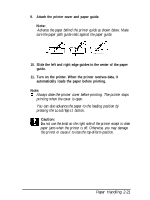
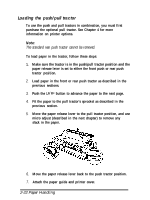
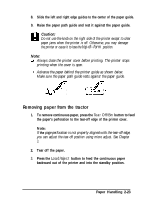
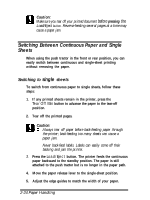
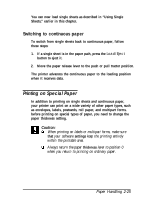
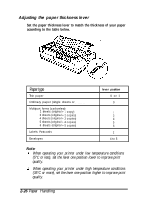
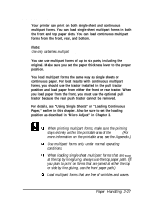
Loading the push/pull tractor To use the push and pull tractors in combination, you must first purchase the optional pull tractor. See Chapter 4 for more information on printer options. Note: The standard rear push tractor cannot be removed. To load paper in the tractor, follow these steps: 1. Make sure the tractor is in the push/pull tractor position and the paper release lever is set to either the front push or rear push tractor position. 2. Load paper in the front or rear push tractor as described in the previous sections. 3. Push the LF/FF button to advance the paper to the next page. 4. Fit the paper to the pull tractor's sprocket as described in the previous section. 5. Move the paper release lever to the pull tractor position, and use micro adjust (described in the next chapter) to remove any slack in the paper. 6. Move the paper release lever back to the push tractor position. 7. Attach the paper guide and printer cover. 2-22 Paper Handling
-
 1
1 -
2
-
3
-
4
-
5
-
6
-
7
-
8
-
9
-
10
-
11
-
12
-
13
-
14
-
15
-
16
-
17
-
18
-
19
-
20
-
21
-
22
-
23
-
24
-
25
-
26
-
27
-
28
-
29
-
30
-
31
-
32
-
33
-
34
-
35
-
36
-
37
-
38
-
39
-
40
-
41
-
42
-
43
-
44
-
45
-
46
-
47
-
48
-
49
-
50
-
51
-
52
-
53
-
54
-
55
-
56
-
57
-
 58
58 -
 59
59 -
 60
60 -
 61
61 -
 62
62 -
 63
63 -
 64
64 -
 65
65 -
 66
66 -
 67
67 -
 68
68 -
69
-
70
-
71
-
72
-
73
-
74
-
75
-
76
-
77
-
78
-
79
-
80
-
81
-
82
-
83
-
84
-
85
-
86
-
87
-
88
-
89
-
90
-
91
-
92
-
93
-
94
-
95
-
96
-
97
-
98
-
99
-
100
-
101
-
102
-
103
-
104
-
105
-
106
-
107
-
108
-
109
-
110
-
111
-
112
-
113
-
114
-
115
-
116
-
117
-
118
-
119
-
120
-
121
-
122
-
123
-
124
-
125
-
126
-
127
-
128
-
129
-
130
-
131
-
132
-
133
-
134
-
135
-
136
-
137
-
138
-
139
-
140
-
141
-
142
-
143
-
144
-
145
-
146
-
147
-
148
-
149
-
150
-
151
-
152
-
153
-
154
-
155
-
156
-
157
 |
 |