Frigidaire FEQ332ES Operating Instructions (Operating Instructions) - Page 1
Frigidaire FEQ332ES - 27" Electric Dryer Manual
 |
UPC - 012505374395
View all Frigidaire FEQ332ES manuals
Add to My Manuals
Save this manual to your list of manuals |
Page 1 highlights
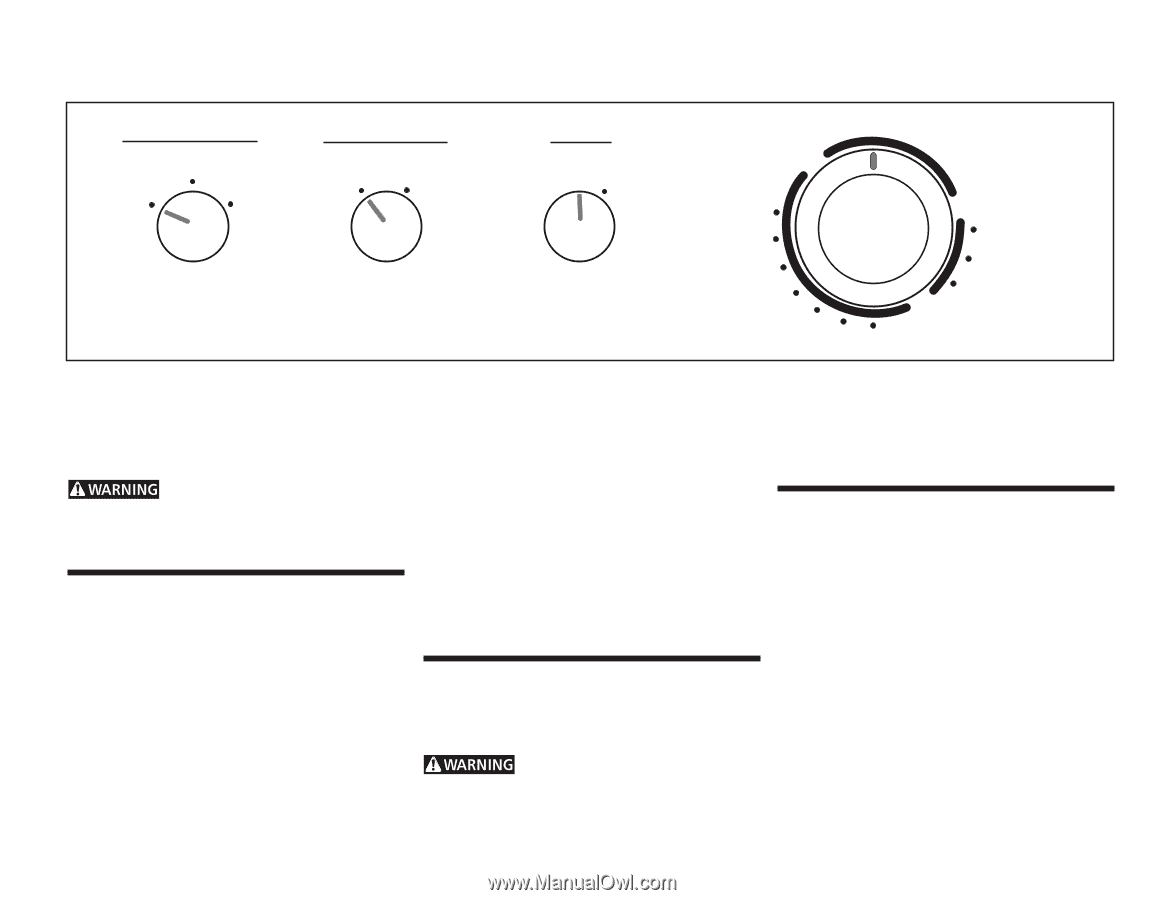
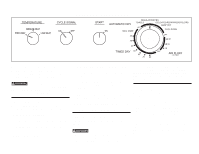
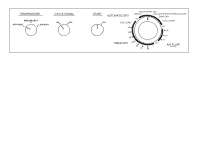
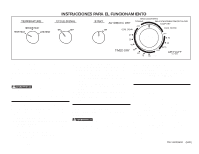
TEMPERATURE MEDIUM HEAT HIGH HEAT LOW HEAT OPERATING INSTRUCTIONS CYCLE SIGNAL ON OFF START AUTOMATIC DRY ON COOL DOW1N0 REGULAR/WHITES TOWELS DELICATES/PERM PRESS/COLORS OFF DAMP DRY OFF COOL DOWN 20 OFF 30 30 40 TIMED DRY 50 60 70 OFF 80 90 20 10 AIR FLUFF NO HEAT Before Operating Your Dryer Read your dryer Use and Care Guide. It has important safety and warranty information. It also has many suggestions for best drying results. To reduce the risk of fire, electric shock, or injury to persons, read the IMPORTANT SAFETY INSTRUCTIONS in your dryer Use and Care Guide before operating this appliance. Operating Steps Read Drying Procedures in your Use and Care Guide. It explains these operating steps in detail. 1. Prepare items for drying. 2. Check that lint screen is clean and in place. 3. Load the dryer. If desired, add a dryer fabric softener sheet. 4. Close the dryer door. Printed in U.S.A. 5. Set Temperature and Cycle Signal controls. 6. Turn cycle selector clockwise to desired setting. 7. Start dryer. Turn the Turn to Start control clockwise to ON. Hold for 1-2 seconds and release. 8. When Cycle Signal control is on, a signal will sound at the end of the cycle. Select the temperature setting most suitable for each load. The REGULAR--HIGH HEAT, PERM PRESS--MEDIUM HEAT and DELICATES--LOW HEAT temperature settings may be used with any cycle setting. Cycle Selection Turn cycle selector clockwise to desired cycle and setting. 9. Remove items immediately and hang or fold. 10. Clean lint screen after every load. Temperature Selection Always follow directions on fabric care labels. To avoid fire hazard, do not use heat to dry items containing feathers or down, foam rubber, plastics, or similarly textured, rubber-like materials. Use the Air Fluff-No Heat cycle only. The Automatic and Timed Dry cycles end with a cool down period. The heat automatically turns off and the load continues to tumble during the cool down period. This reduces wrinkling and makes items easier to handle during unloading. Drying time varies depending on size and dampness of load, weight and fabric type. Room temperature and humidity, type of installation and electrical voltage or gas pressure can also affect drying time. (continued, reverse side) P/N 134383600 (0401)
-
 1
1 -
 2
2 -
 3
3 -
 4
4
 |
 |