Gateway DX430X 8512041 - Gateway Hardware Reference Guide (5-bay uATX Case) - Page 57
Replacing the system board
 |
View all Gateway DX430X manuals
Add to My Manuals
Save this manual to your list of manuals |
Page 57 highlights
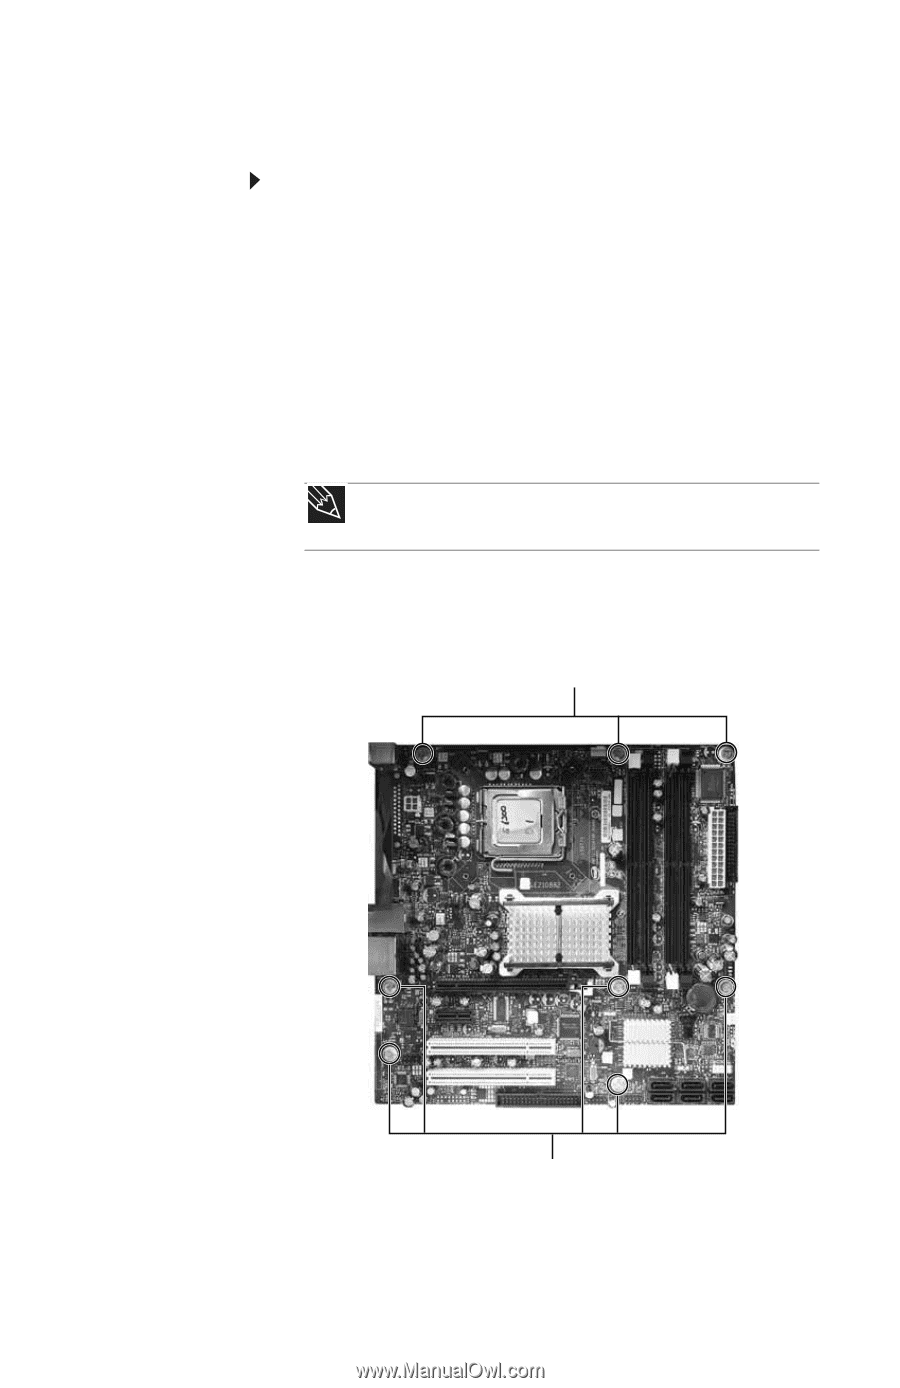
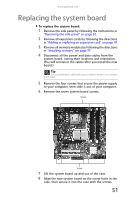
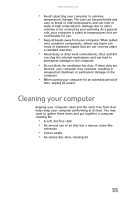
www.gateway.com Replacing the system board To replace the system board: 1 Remove the side panel by following the instructions in "Removing the side panel" on page 31. 2 Remove all expansion cards by following the directions in "Adding or replacing an expansion card" on page 47. 3 Remove all memory modules by following the directions in "Installing memory" on page 37. 4 Disconnect all the power and data cables from the system board, noting their locations and orientation. (You will reconnect the cables after you install the new board.) Tip You can label each cable with tape to make it easier to re-connect them later. 5 Remove the four screws that secure the power supply to your computer, then slide it out of your computer. 6 Remove the seven system board screws. Screws Screws 7 Lift the system board up and out of the case. 8 Align the new system board on the screw holes in the case, then secure it into the case with the screws. 51
-
 1
1 -
2
-
3
-
4
-
5
-
6
-
7
-
8
-
9
-
10
-
11
-
12
-
13
-
14
-
15
-
16
-
17
-
18
-
19
-
20
-
21
-
22
-
23
-
24
-
25
-
26
-
27
-
28
-
29
-
30
-
31
-
32
-
33
-
34
-
35
-
36
-
37
-
38
-
39
-
40
-
41
-
42
-
43
-
44
-
45
-
46
-
47
-
48
-
49
-
50
-
51
-
 52
52 -
 53
53 -
 54
54 -
 55
55 -
 56
56 -
 57
57 -
 58
58 -
 59
59 -
 60
60 -
 61
61 -
 62
62 -
63
-
64
-
65
-
66
-
67
-
68
-
69
-
70
-
71
-
72
-
73
-
74
-
75
-
76
-
77
-
78
-
79
-
80
-
81
-
82
-
83
-
84
-
85
-
86
-
87
-
88
-
89
-
90
-
91
-
92
-
93
-
94
-
95
-
96
-
97
-
98
-
99
-
100
-
101
-
102
-
103
-
104
-
105
-
106
-
107
-
108
-
109
-
110
-
111
-
112
-
113
-
114
-
115
-
116
-
117
-
118
-
119
-
120
-
121
-
122
-
123
-
124
-
125
-
126
-
127
-
128
-
129
-
130
-
131
-
132
 |
 |