Gateway MX6650 Gateway Platinum Edition User Guide - Page 75
bay cover, then remove it. The hard drive is attached to the back of, the cover.
 |
View all Gateway MX6650 manuals
Add to My Manuals
Save this manual to your list of manuals |
Page 75 highlights
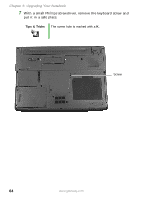
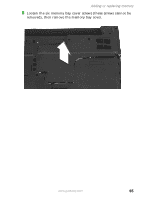
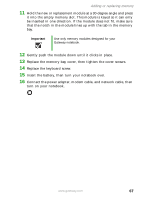
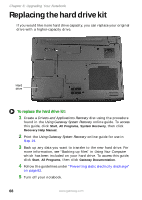
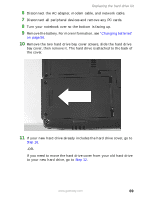
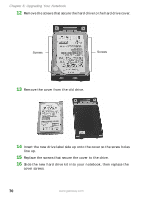
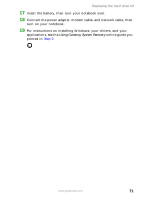
Replacing the hard drive kit 6 Disconnect the AC adapter, modem cable, and network cable. 7 Disconnect all peripheral devices and remove any PC cards. 8 Turn your notebook over so the bottom is facing up. 9 Remove the battery. For more information, see "Changing batteries" on page 56. 10 Remove the two hard drive bay cover screws, slide the hard drive bay cover, then remove it. The hard drive is attached to the back of the cover. 11 If your new hard drive already includes the hard drive cover, go to Step 16. -OR- If you need to move the hard drive cover from your old hard drive to your new hard drive, go to Step 12. www.gateway.com 69
-
 1
1 -
2
-
3
-
4
-
5
-
6
-
7
-
8
-
9
-
10
-
11
-
12
-
13
-
14
-
15
-
16
-
17
-
18
-
19
-
20
-
21
-
22
-
23
-
24
-
25
-
26
-
27
-
28
-
29
-
30
-
31
-
32
-
33
-
34
-
35
-
36
-
37
-
38
-
39
-
40
-
41
-
42
-
43
-
44
-
45
-
46
-
47
-
48
-
49
-
50
-
51
-
52
-
53
-
54
-
55
-
56
-
57
-
58
-
59
-
60
-
61
-
62
-
63
-
64
-
65
-
66
-
67
-
68
-
69
-
 70
70 -
 71
71 -
 72
72 -
 73
73 -
 74
74 -
 75
75 -
 76
76 -
 77
77 -
 78
78 -
 79
79 -
 80
80 -
81
-
82
-
83
-
84
-
85
-
86
-
87
-
88
-
89
-
90
-
91
-
92
-
93
-
94
-
95
-
96
-
97
-
98
-
99
-
100
-
101
-
102
-
103
-
104
-
105
-
106
-
107
-
108
-
109
-
110
-
111
-
112
-
113
-
114
-
115
-
116
-
117
-
118
-
119
-
120
-
121
-
122
-
123
-
124
-
125
-
126
-
127
-
128
-
129
-
130
-
131
-
132
-
133
-
134
-
135
-
136
-
137
-
138
 |
 |
69
www.gateway.com
Replacing the hard drive kit
6
Disconnect the AC adapter, modem cable, and network cable.
7
Disconnect all peripheral devices and remove any PC cards.
8
Turn your notebook over so the bottom is facing up.
9
Remove the battery. For more information, see
“Changing batteries”
on page 56
.
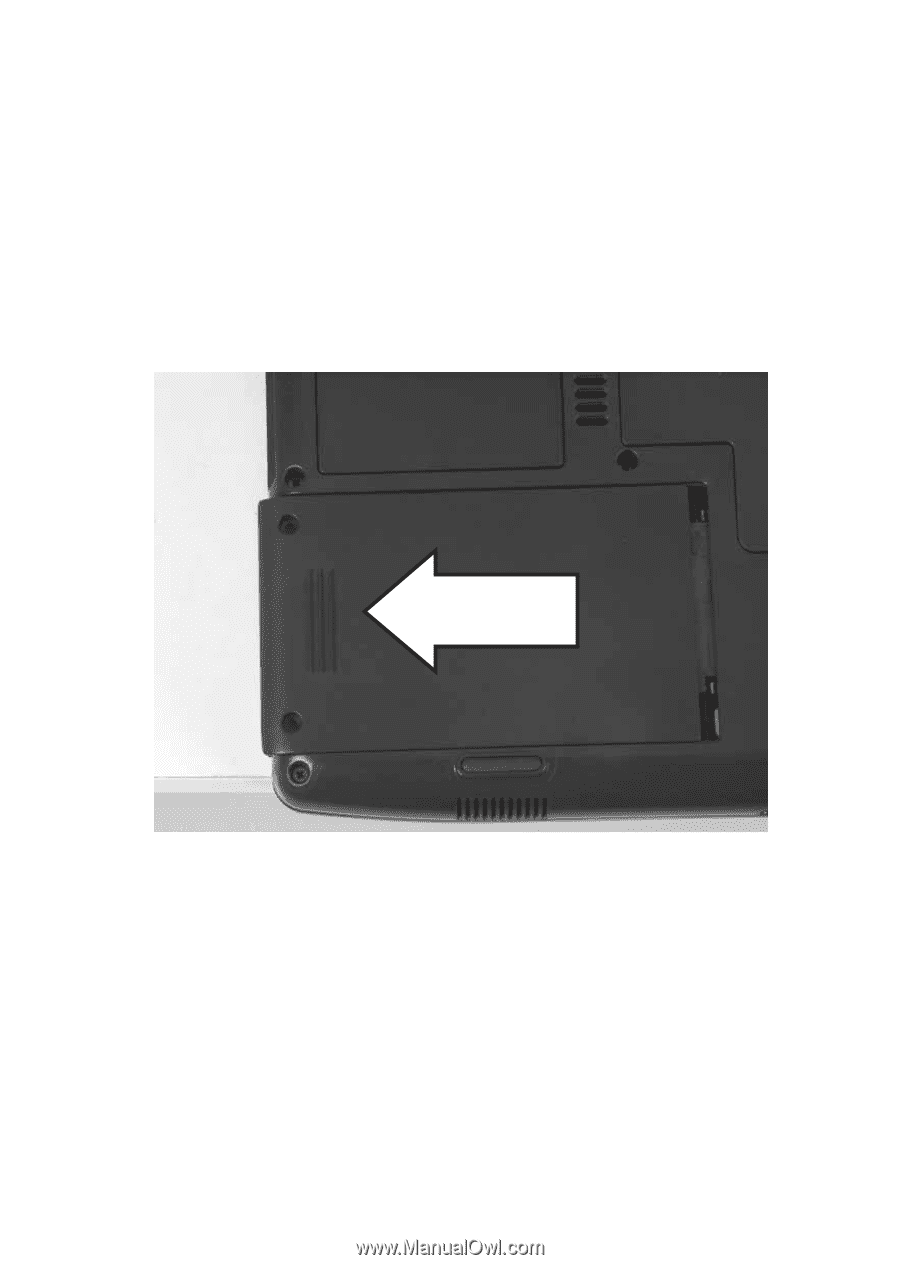
10
Remove the two hard drive bay cover screws, slide the hard drive
bay cover, then remove it. The hard drive is attached to the back of
the cover.
11
If your new hard drive already includes the hard drive cover, go to
Step 16
.
-OR-
If you need to move the hard drive cover from your old hard drive
to your new hard drive, go to
Step 12
.