Gateway T-68 Quick Start Guide - Page 7
Touchscreen (optional), Start, Control Panel, Hardware and, Sound, Mouse, Pointer Options, Caution
 |
View all Gateway T-68 manuals
Add to My Manuals
Save this manual to your list of manuals |
Page 7 highlights
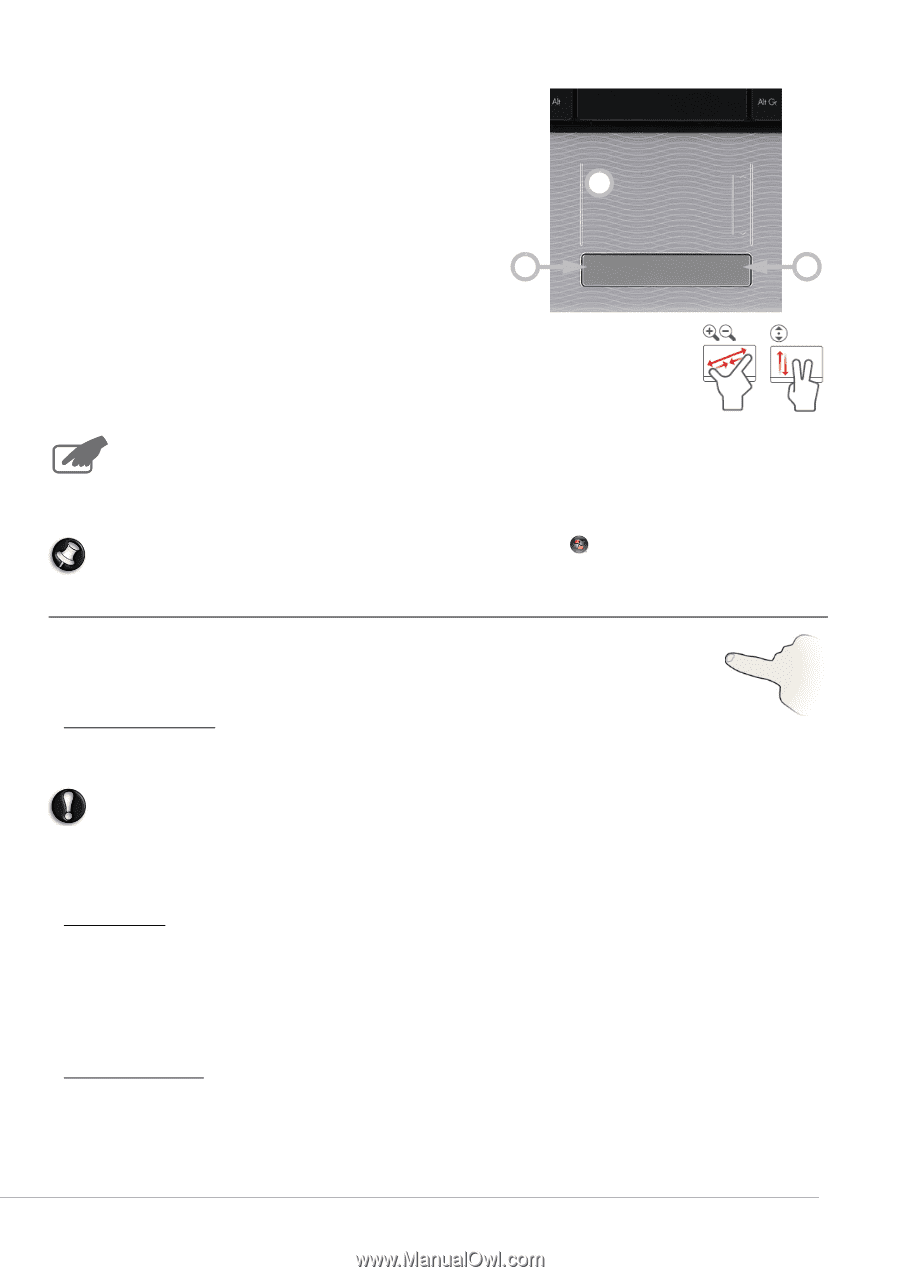
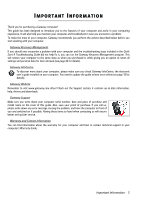
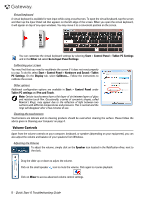
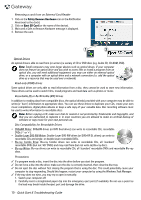
Click one of the touchpad buttons to select or activate the command the cursor is pointing at. Ensure that you use a light touch on the touchpad surface. 1. Left-click to select the item under the pointer. Double-click to start the program under the cursor, or select 3 an entire word when typing text. 2. Right-click to bring up a pop-up menu. 3. Two quick taps on the surface of a touchpad will perform the same action as a double-click. 1 2 Optional Touchpad features If your computer supports Multi-gesture, the touchpad can recognise certain movement patterns across its surface. This allows you to control applications with a few simple gestures. Please see Gateway InfoCentre for more information. Your computer may feature a Touchpad Lock button. The Touchpad Lock button toggles the touchpad on or off to avoid unwanted cursor movements when using the keyboard. This is most useful if you have connected a mouse to your computer. On certain computers you may slide your finger up and down the right-side of the touchpad to scroll through a document. Note: Improve the motion and visibility of the pointer! Click on Start > Control Panel > Hardware and Sound > Mouse > Pointer Options. Touchscreen (optional) Certain computers include a touchscreen that allows simple commands to be given by touching the screen, instead of cluttering your desk with a keyboard or mouse. Depending on the type and format of touchscreen you may either use a finger or stylus (or both) to select items on the screen. 'Tapping' the screen Instead of clicking with a mouse, or pressing a key, you should lightly tap the screen with a finger, or a stylus if one has been provided. The screen should react instantly to the contact. Caution: Only use a finger or the stylus provided. Using other items may damage the screen. To 'right-click' on a touchscreen, tap and hold on the screen until an animated ring appears and then lift your finger (or the stylus). To drag content, simply touch the screen over the content, then slide you finger across the screen. The content will follow your movements. Multi-gesture If your computer supports Multi-gesture, the screen can recognise certain movement patterns across its surface. This allows you to control applications with a few simple gestures; for example, flipping though a slideshow, pinching in or out to zoom or making a circular swirl to scroll through a document. Different types and formats of touchscreen may support different gestures; please see Gateway InfoCentre for more information. Touch Applications Your computer may have some touch-specific programs installed, these provide simplified interfaces with larger buttons and controls that are adapted to touching and sliding items across the screen. Please see the help provided with these programs for more information. Computer Basics - 7
-
 1
1 -
 2
2 -
 3
3 -
 4
4 -
 5
5 -
 6
6 -
 7
7 -
 8
8 -
 9
9 -
 10
10 -
 11
11 -
 12
12 -
13
-
14
-
15
-
16
-
17
-
18
-
19
-
20
-
21
-
22
-
23
-
24
-
25
-
26
-
27
-
28
-
29
-
30
-
31
-
32
-
33
-
34
-
35
-
36
-
37
-
38
-
39
-
40
-
41
-
42
-
43
-
44
-
45
-
46
-
47
-
48
-
49
-
50
-
51
-
52
-
53
-
54
-
55
-
56
-
57
-
58
 |
 |