GE A1255 User Manual (English (7.82 MB)) - Page 61
HDR-High Dynamic Range
 |
UPC - 810027015488
View all GE A1255 manuals
Add to My Manuals
Save this manual to your list of manuals |
Page 61 highlights
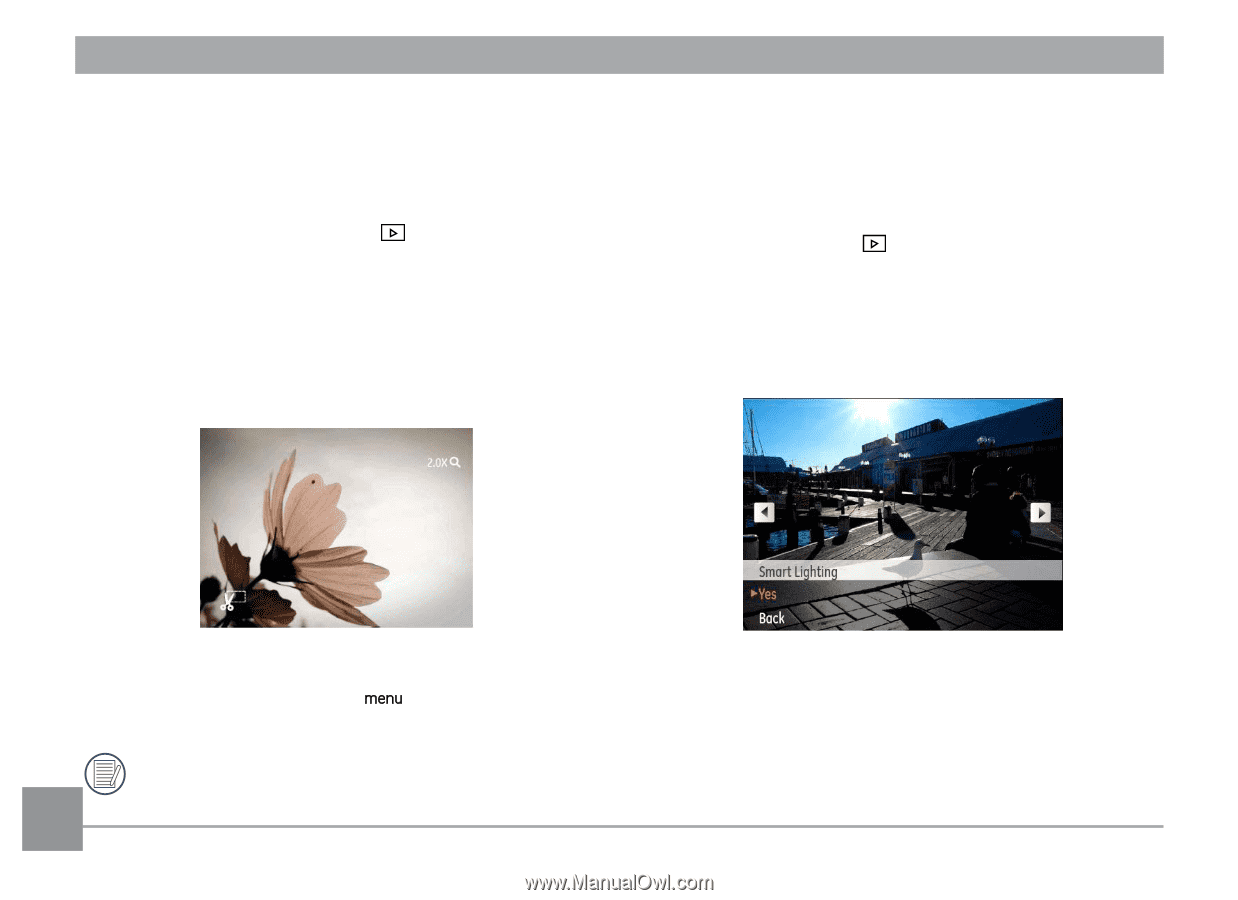
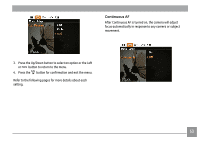
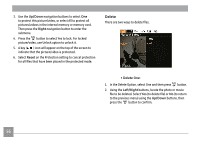
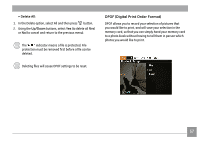
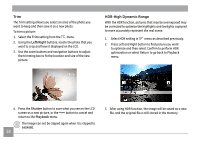
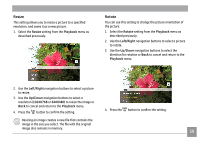
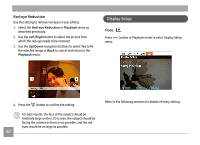
Trim The Trim setting allows you select an area of the photo you want to keep and then save it as a new photo. To trim a picture: 1. Select the Trim setting from the menu. 2. Using the Left/Right buttons, locate the photo that you want to crop and have it displayed on the LCD. 3. Use the zoom buttons and navigation buttons to adjust the trimming box to fit the location and size of the new picture. HDR-High Dynamic Range With the HDR function, pictures that may be overexposed may be corrected to optimize the highlights and lowlights captured to more accurately represent the real scene. 1. Select HDR setting in menu as described previously. 2. Press Left and Right button to find picture you want to optimize and then select Confirm to perform HDR optimization or select Return to go back to Playback menu. 4. Press the Shutter button to save what you see on the LCD screen as a new picture, or the button to cancel and return to the Playback menu. The image can not be clipped again when it is clipped to 640X480. 58 3. After using HDR function, the image will be saved as a new file, and the original file is still stored in the memory.
-
 1
1 -
2
-
3
-
4
-
5
-
6
-
7
-
8
-
9
-
10
-
11
-
12
-
13
-
14
-
15
-
16
-
17
-
18
-
19
-
20
-
21
-
22
-
23
-
24
-
25
-
26
-
27
-
28
-
29
-
30
-
31
-
32
-
33
-
34
-
35
-
36
-
37
-
38
-
39
-
40
-
41
-
42
-
43
-
44
-
45
-
46
-
47
-
48
-
49
-
50
-
51
-
52
-
53
-
54
-
55
-
 56
56 -
 57
57 -
 58
58 -
 59
59 -
 60
60 -
 61
61 -
 62
62 -
 63
63 -
 64
64 -
 65
65 -
 66
66 -
67
-
68
-
69
-
70
-
71
-
72
-
73
-
74
-
75
-
76
-
77
-
78
-
79
-
80
-
81
-
82
-
83
-
84
-
85
-
86
-
87
-
88
-
89
-
90
-
91
-
92
-
93
-
94
-
95
 |
 |