Hamilton Beach 728 Use & Care - Page 3
Using Your DrinkMaster, Parts and Features
 |
UPC - 040094914050
View all Hamilton Beach 728 manuals
Add to My Manuals
Save this manual to your list of manuals |
Page 3 highlights
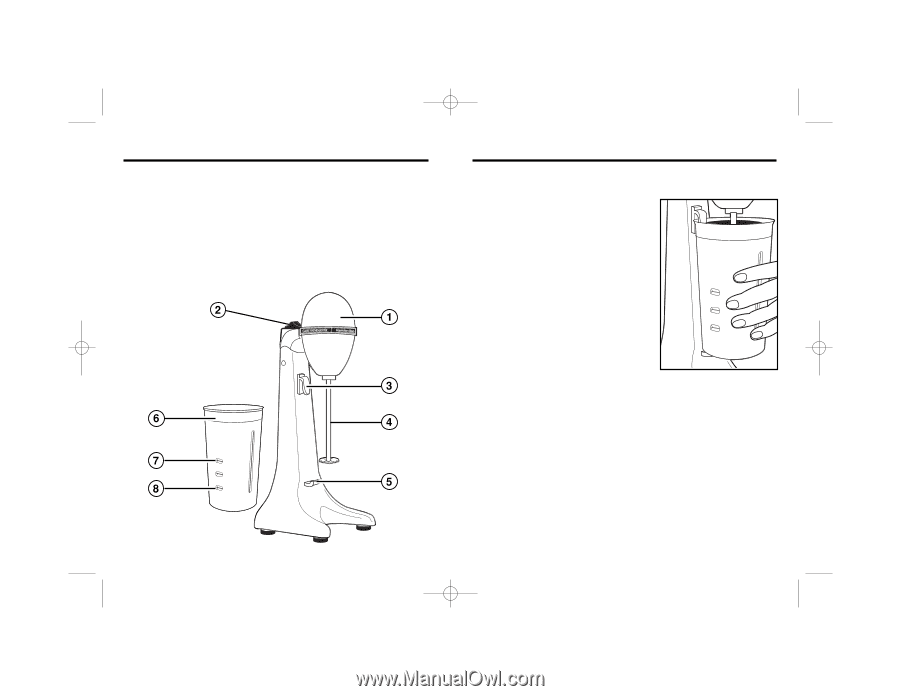
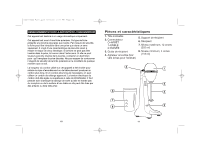
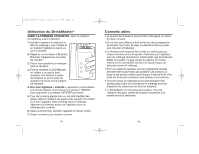
840119400 Ev01.qxd 9/23/03 2:17 PM Page 4 Parts and Features 1. Tilting Head 2. Control Switch O=OFF 1=LOW 2=HIGH 3. Container Support 4. Removable Mixing Shaft (pull down to remove) 5. Container Rest 6. Container 7. Maximum Level, 12 ounces (355 ml) 8. Minimum Level, 4 ounces (118 ml) ® Using Your DrinkMaster BEFORE FIRST USE: Wash container and mixing shaft before using. 1. Place mixing shaft in unit by tilting the head back and inserting the mixing shaft until it "snaps" into place. 2. Set Control Switch to O (off). Plug into electrical outlet. 3. Place ingredients to be mixed in container. 4. Place container onto DrinkMaster, making certain that container's top edge is behind container support and container bottom is on container rest. 5. With mixing shaft "snapped" in place, move Control Switch to desired speed to process. Start with Speed 1 (LOW) then increase to Speed 2 (HIGH) if desired. 6. For hard ice cream or very thick shakes, remove the container from the rest and support. With mixing shaft still submerged in mixture, move the container around for more thorough mixing. 7. When finished, turn unit to O (off) and tilt head up. 8. Pour contents from container and serve. 4 5
-
 1
1 -
 2
2 -
 3
3 -
 4
4 -
 5
5 -
 6
6 -
 7
7 -
 8
8 -
 9
9 -
10
-
11
-
12
-
13
-
14
 |
 |