HealthRider Rc150 English Manual
HealthRider Rc150 Manual
 |
View all HealthRider Rc150 manuals
Add to My Manuals
Save this manual to your list of manuals |
HealthRider Rc150 manual content summary:
- HealthRider Rc150 | English Manual - Page 1
If you have questions, or if there are missing or damaged parts, we will guarantee complete satisfaction through direct assistance from our factory MST CAUTION Read all precautions and instructions in this manual before using this equipment. Keep this manual for future reference. Patent Pending USER - HealthRider Rc150 | English Manual - Page 2
¨ TABLE OF CONTENTS IMPORTANT PRECAUTIONS 3 BEFORE YOU BEGIN 4 ASSEMBLY 5 HOW TO OPERATE THE RECUMBENT CYCLE 9 MAINTENANCE AND TROUBLE-SHOOTING 12 EXERCISE GUIDELINES 13 PART LIST 14 EXPLODED DRAWING 15 HOW TO ORDER REPLACEMENT PARTS Back Cover LIMITED WARRANTY Back Cover 2 - HealthRider Rc150 | English Manual - Page 3
manual. 3. Use the RC150 indoors on a level surface. Keep the RC150 away from moisture and dust. Place a mat under the RC150 to protect the floor or carpet. 4. Inspect and tighten all parts regularly. Replace any worn parts with pre-existing health problems. Read all instructions before using. ICON - HealthRider Rc150 | English Manual - Page 4
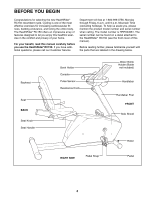
, read this manual carefully before you use the HealthRider¨ RC150. If you have additional questions, please call our Customer Service Department toll-free to the HealthRider¨ RC150 (see the front cover of this manual). Before reading further, please familiarize yourself with the parts that are - HealthRider Rc150 | English Manual - Page 5
dispose of the packing materials until assembly is completed. Assembly requires the included tools and your own adjustable wrench . PART CHART Use the part drawings below to identify the small parts used in assembly. The number in parenthesis below each drawing refers to the key number of the - HealthRider Rc150 | English Manual - Page 6
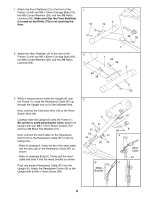
1. Attach the Front Stabilizer (2) to the front of the Frame (1) with two M8 x 70mm Carriage Bolts (72), two M8 Curved Washers (28), and two M8 Nylon Locknuts (56). Make sure that the Front Stabilizer is turned so the Roller (75) is not touching the floor. 1 72 2 75 28 56 2. Attach the Rear - HealthRider Rc150 | English Manual - Page 7
4. The Console (9) requires two ÒAAÓ batteries (not included); alkaline batteries are recommended. Refer to drawing A. Remove the four indicated screws and lift off the front of the Console. Press two batteries into the battery holder as shown in drawing B. Make sure that the negative (Ð) ends of - HealthRider Rc150 | English Manual - Page 8
7. Attach the Seat Carriage (11) to the Seat Frame 7 (27) using four M8 x 40mm Button Bolts (24), eight M8 Black Flat Washers (57), and four M8 Nylon Locknuts (56). 56 56 57 57 57 27 11 57 57 24 24 8. Attach the Seat (12) to the Seat Frame (27) with four M6 x 16mm Hex Screws (29) and - HealthRider Rc150 | English Manual - Page 9
tab on the Left Pedal. Adjust the Pedal Strap on the Tab Right Pedal in the same manner (not shown). 12. Make sure that all parts are tightened before you use the recumbent cycle. Place a mat beneath the recumbent cycle to protect the floor. HOW TO OPERATE THE RECUMBENT CYCLE HOW - HealthRider Rc150 | English Manual - Page 10
result. DESCRIPTION OF THE CONSOLE The innovative console offers a manual mode and three pacer programs. The pacer programs are designed operated, two batteries must be installed. (See BATTERY REPLACEMENT on page 12.) TimeÑIf you select the manual mode, this mode will show the elapsed time. If - HealthRider Rc150 | English Manual - Page 11
button until the program indicator disappears. The programs will be selected in the following order: program 1 (Interval), program 2 (Aerobic), program 3 (Fat Burn), manual mode. 3 Begin your workout If you select- ed the manu- Actual al mode, go to step 4. If you selected one of the - HealthRider Rc150 | English Manual - Page 12
the wires. MAINTENANCE AND TROUBLESHOOTING Inspect and tighten all parts of the recumbent cycle replaced. To replace the batteries, the handlebar must be removed. See assembly step 4 on page 7 to remove the handlebar. Next, refer to assembly step 5 to install batteries. PULSE SENSOR TROUBLE - HealthRider Rc150 | English Manual - Page 13
be found by using your heart rate as a guide. For effective aerobic exercise, your heart rate A well-rounded workout includes three important parts: A warm-up, consisting of 5 muscles and will help to prevent post-exercise problems. EXERCISE FREQUENCY To maintain or improve your condition - HealthRider Rc150 | English Manual - Page 14
Roller Roller Axle M10 Black Nylon Locknut Nut Seat Knob Star Washer Double-sided Tape UserÕs Manual Allen Wrench 14 Note: Ò#Ó indicates a non-illustrated part. Specifications are subject to change without notice. See the back cover of this manual for information about ordering replacement parts. - HealthRider Rc150 | English Manual - Page 15
EXPLODED DRAWINGÑModel No. HREX04981 R0199A 15 14 16 14 80 28 18 17 28 17 20 81 80 21 20 74 6 57 20 87 67 9 42 32 69 31 71 57 57 77 75 67 72 44 43 57 74 28 54 22 36 35 33 19 47 48 46 45 52 34 49 50 53 51 38 12 37 15 15 56 56 57 56 57 57 56 57 27 77 76 72 56 - HealthRider Rc150 | English Manual - Page 16
TO ORDER REPLACEMENT PARTS To order replacement parts, simply call our Customer Service Department HealthRider¨ RC150 recumbent cycle). ¥ The SERIAL NUMBER of the product (see the front cover of this manual). ¥ The KEY NUMBER and DESCRIPTION of the part(s) from page 14 of this manual. HealthRider
-
 1
1 -
 2
2 -
 3
3 -
 4
4 -
 5
5 -
 6
6 -
 7
7 -
8
-
9
-
10
-
11
-
12
-
13
-
14
-
15
-
16
 |
 |
¤
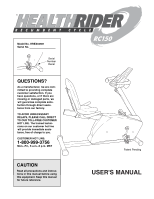
USER’S MANUAL
CAUTION
Read all precautions and instruc-
tions in this manual before using
this equipment. Keep this manual
for future reference.
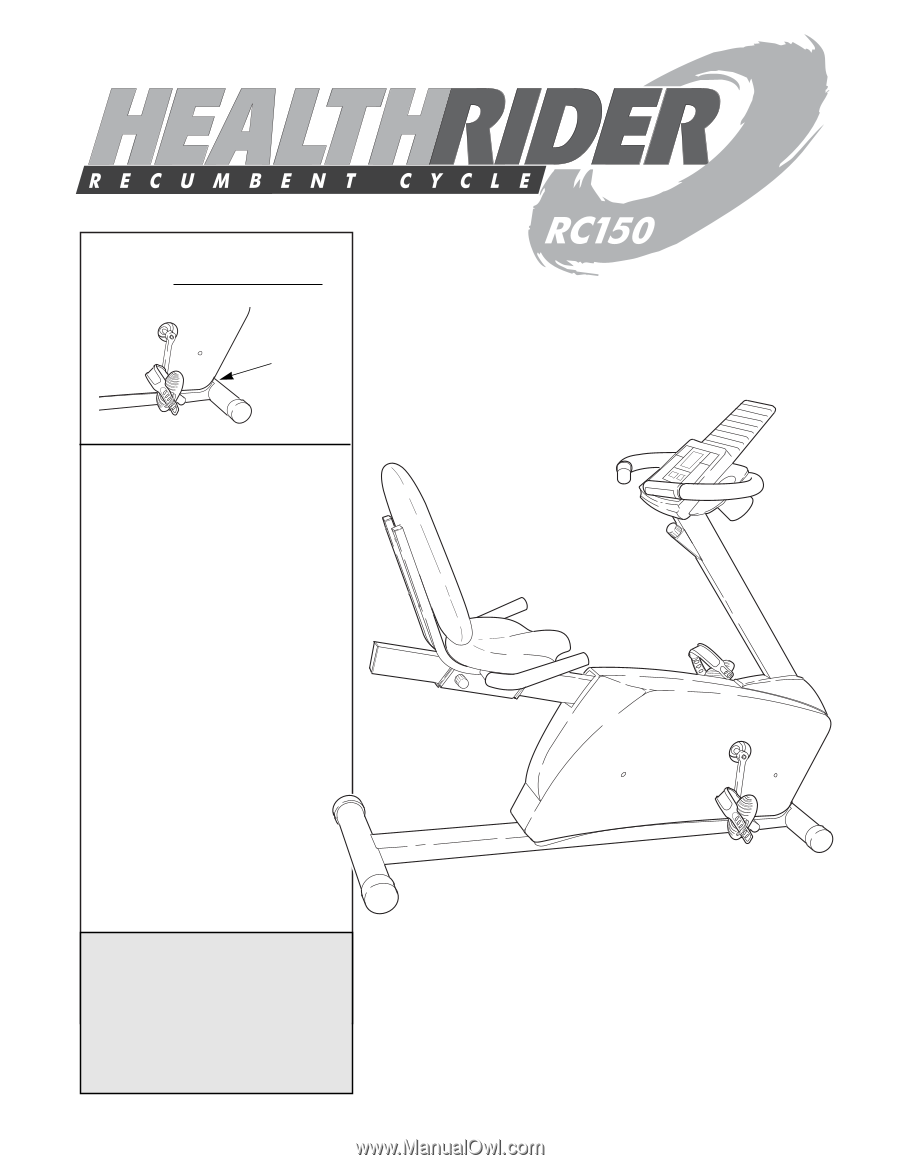
Serial
Number
Decal
QUESTIONS?
As a manufacturer, we are com-
mitted to providing complete
customer satisfaction. If you
have questions, or if there are
missing or damaged parts, we
will guarantee complete satis-
faction through direct assis-
tance from our factory.
TO AVOID UNNECESSARY
DELAYS, PLEASE CALL DIRECT
TO OUR TOLL-FREE CUSTOMER
HOT LINE. The trained techni-
cians on our customer hot line
will provide immediate assis-
tance, free of charge to you.
CUSTOMER HOT LINE:
1-800-999-3756
Mon.—Fri., 6 a.m.—6 p.m. MST
Model No. HREX04981
Serial No.
Patent Pending