HP 8100n HP LaserJet 8100, 8100 N, 8100 DN Printers - Getting Started Guide, C - Page 21
Step 9, Attach Power Cord
 |
UPC - 088698296417
View all HP 8100n manuals
Add to My Manuals
Save this manual to your list of manuals |
Page 21 highlights
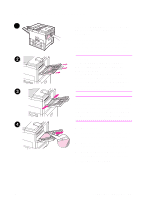
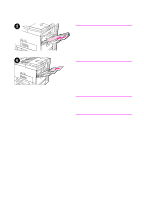
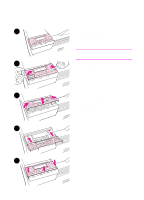
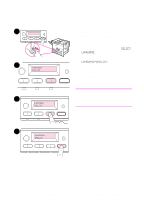
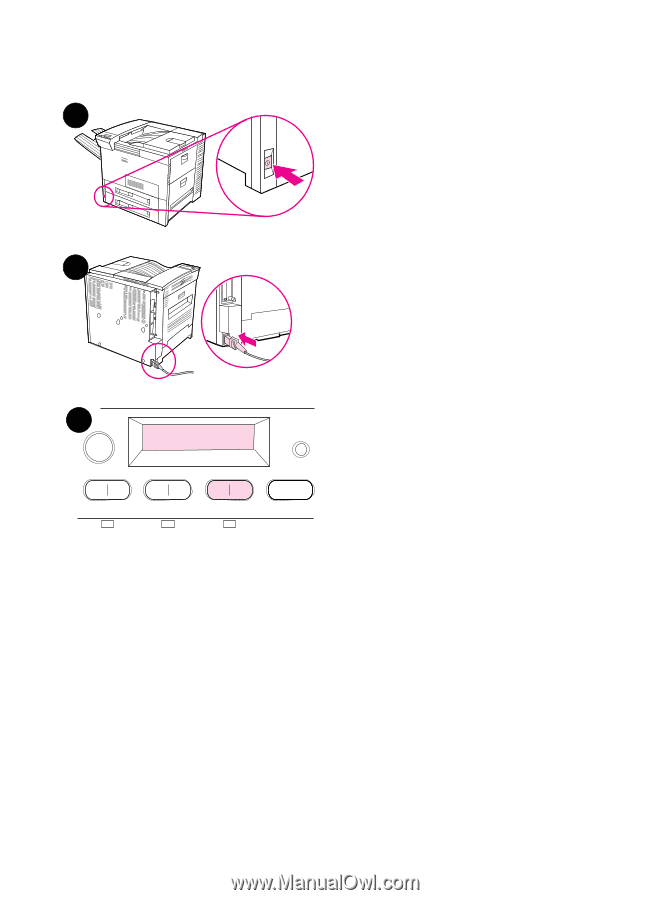
Step 9 Attach Power Cord 1 1 Locate the power switch on the front of the printer. Make sure the printer is turned off. 2 Connect the power cord to the printer and a grounded power strip or an AC outlet. 3 Turn the printer on. After the printer warms up, the READY message 2 should appear on the control panel display and the Ready light should remain on. If the READY message does not appear, see the problem solving chapter in the online user guide. 3 READY EN Attach Power Cord 15
-
 1
1 -
2
-
3
-
4
-
5
-
6
-
7
-
8
-
9
-
10
-
11
-
12
-
13
-
14
-
15
-
 16
16 -
 17
17 -
 18
18 -
 19
19 -
 20
20 -
 21
21 -
 22
22 -
 23
23 -
 24
24 -
 25
25 -
 26
26 -
27
-
28
-
29
-
30
-
31
-
32
-
33
-
34
-
35
-
36
-
37
-
38
-
39
-
40
 |
 |
EN
Attach Power Cord
15
Step 9
Attach Power Cord
1
Locate the power switch on the front
of the printer. Make sure the printer
is turned off.
2
Connect the power cord to the
printer and a grounded power strip
or an AC outlet.
3
Turn the printer on. After the printer
warms up, the
READY
message
should appear on the control panel
display and the Ready light should
remain on. If the
READY
message
does not appear, see the problem
solving chapter in the
online user
guide.
1
2
3
READY