HP 9040 HP Embedded Web Server - User Guide - Page 48
Callout, Area on the screen, Information or capability that the area provides, Prevent Device user
 |
UPC - 829160792927
View all HP 9040 manuals
Add to My Manuals
Save this manual to your list of manuals |
Page 48 highlights
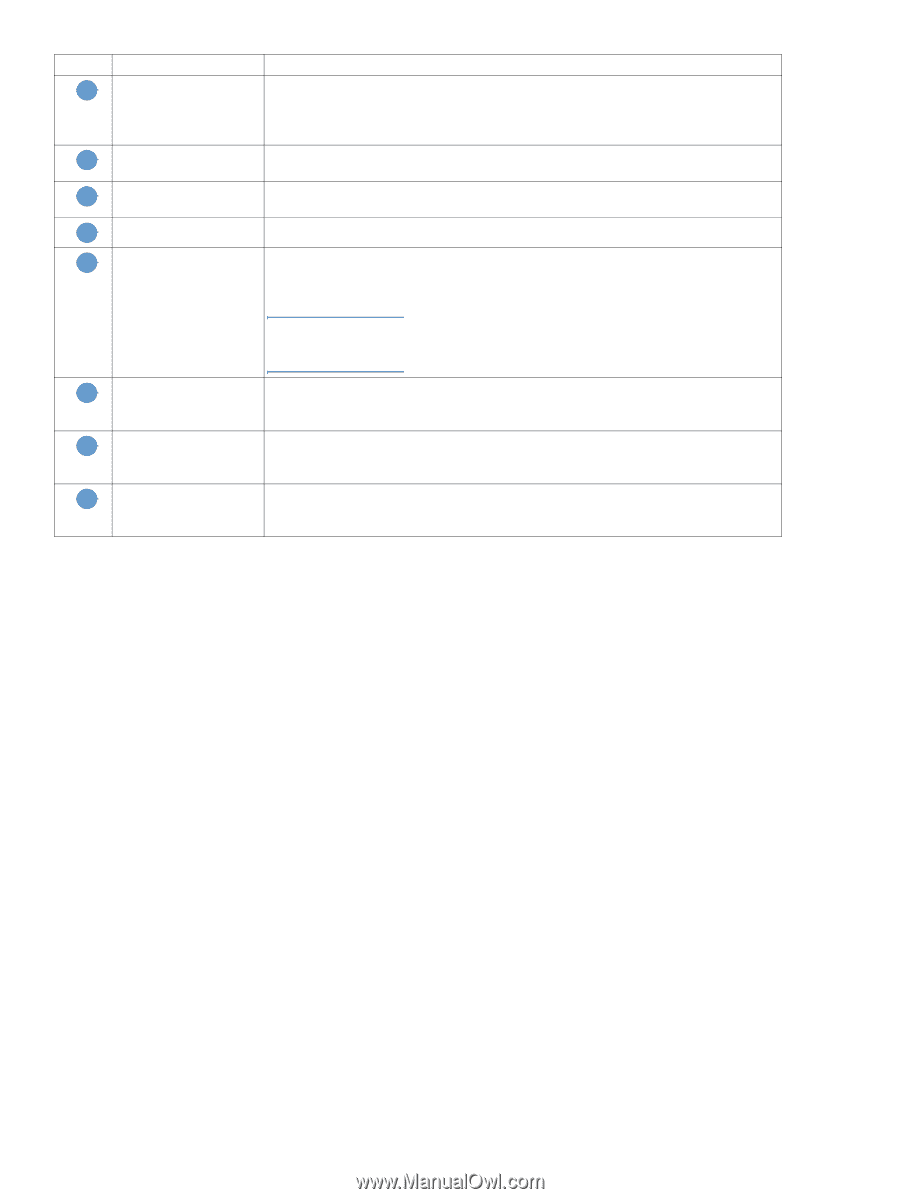
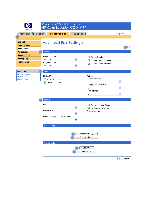
Callout Area on the screen 5 Maximum Attachment Size 6 Find Gateways 7 Test 8 E-mail address 9 Display Name Information or capability that the area provides Select the maximum size of e-mail attachments that the SMTP Gateway server can transmit. If the product needs to send an e-mail attachment that is larger than the maximum size that is specified, the attachment is broken into smaller files, which are sent in multiple e-mail messages. If you do not know the IP address or the host name of the SMTP Gateway, click this button to search the network for a suitable SMTP Gateway server. Click this button to verify that the specified SMTP Gateway server is valid and operational. Type the e-mail address of the person who will act as the default sender. Type the name that you want to appear in the "From" field for the e-mail messages that are sent from the product. You can also use this field to include instructions, such as "Please type your e-mail address here." Note If a name is not provided, the e-mail address that was typed in the E-mail Address field will appear in the "From" field of outgoing e-mail messages. 10 Prevent Device user from changing the Select this check box to ensure that general users cannot change the e-mail address that the administrator set. Default 'From:' Address 11 Default Subject If you want to, type the subject that will appear on all e-mail messages the product sends. You can also use this field to include instructions, such as "Please type a subject for your message." 12 Advanced Click this button to open a new screen that you can use to set message text and attachment settings for e-mail messages that the product sends. For more information, see "Advanced E-mail Settings" on page 43. 42 Setting the digital sending options ENWW
-
 1
1 -
2
-
3
-
4
-
5
-
6
-
7
-
8
-
9
-
10
-
11
-
12
-
13
-
14
-
15
-
16
-
17
-
18
-
19
-
20
-
21
-
22
-
23
-
24
-
25
-
26
-
27
-
28
-
29
-
30
-
31
-
32
-
33
-
34
-
35
-
36
-
37
-
38
-
39
-
40
-
41
-
42
-
 43
43 -
 44
44 -
 45
45 -
 46
46 -
 47
47 -
 48
48 -
 49
49 -
 50
50 -
 51
51 -
 52
52 -
 53
53 -
54
-
55
-
56
-
57
-
58
-
59
-
60
-
61
-
62
-
63
-
64
-
65
-
66
-
67
-
68
-
69
-
70
-
71
-
72
 |
 |