HP CP1518ni HP Color LaserJet CP1510 Series - User Guide - Page 96
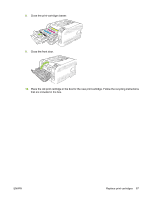
Pull the tab on the left side of the print cartridge straight up to completely remove the sealing tape.
 |
UPC - 883585140633
View all HP CP1518ni manuals
Add to My Manuals
Save this manual to your list of manuals |
Page 96 highlights
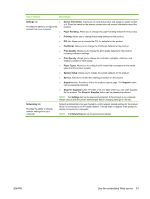
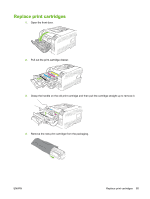
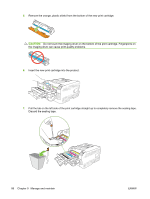
5. Remove the orange, plastic shield from the bottom of the new print cartridge. CAUTION: Do not touch the imaging drum on the bottom of the print cartridge. Fingerprints on the imaging drum can cause print-quality problems. 6. Insert the new print cartridge into the product. 7. Pull the tab on the left side of the print cartridge straight up to completely remove the sealing tape. Discard the sealing tape. 86 Chapter 9 Manage and maintain ENWW
-
 1
1 -
2
-
3
-
4
-
5
-
6
-
7
-
8
-
9
-
10
-
11
-
12
-
13
-
14
-
15
-
16
-
17
-
18
-
19
-
20
-
21
-
22
-
23
-
24
-
25
-
26
-
27
-
28
-
29
-
30
-
31
-
32
-
33
-
34
-
35
-
36
-
37
-
38
-
39
-
40
-
41
-
42
-
43
-
44
-
45
-
46
-
47
-
48
-
49
-
50
-
51
-
52
-
53
-
54
-
55
-
56
-
57
-
58
-
59
-
60
-
61
-
62
-
63
-
64
-
65
-
66
-
67
-
68
-
69
-
70
-
71
-
72
-
73
-
74
-
75
-
76
-
77
-
78
-
79
-
80
-
81
-
82
-
83
-
84
-
85
-
86
-
87
-
88
-
89
-
90
-
 91
91 -
 92
92 -
 93
93 -
 94
94 -
 95
95 -
 96
96 -
 97
97 -
 98
98 -
 99
99 -
 100
100 -
 101
101 -
102
-
103
-
104
-
105
-
106
-
107
-
108
-
109
-
110
-
111
-
112
-
113
-
114
-
115
-
116
-
117
-
118
-
119
-
120
-
121
-
122
-
123
-
124
-
125
-
126
-
127
-
128
-
129
-
130
-
131
-
132
-
133
-
134
-
135
-
136
-
137
-
138
-
139
-
140
-
141
-
142
-
143
-
144
-
145
-
146
-
147
-
148
-
149
-
150
-
151
-
152
-
153
-
154
-
155
-
156
-
157
-
158
-
159
-
160
-
161
-
162
-
163
-
164
-
165
-
166
-
167
-
168
 |
 |
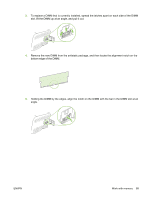
5.
Remove the orange, plastic shield from the bottom of the new print cartridge.
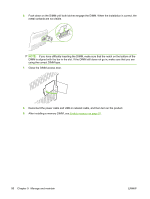
CAUTION:
Do not touch the imaging drum on the bottom of the print cartridge. Fingerprints on
the imaging drum can cause print-quality problems.
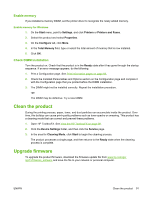
6.
Insert the new print cartridge into the product.
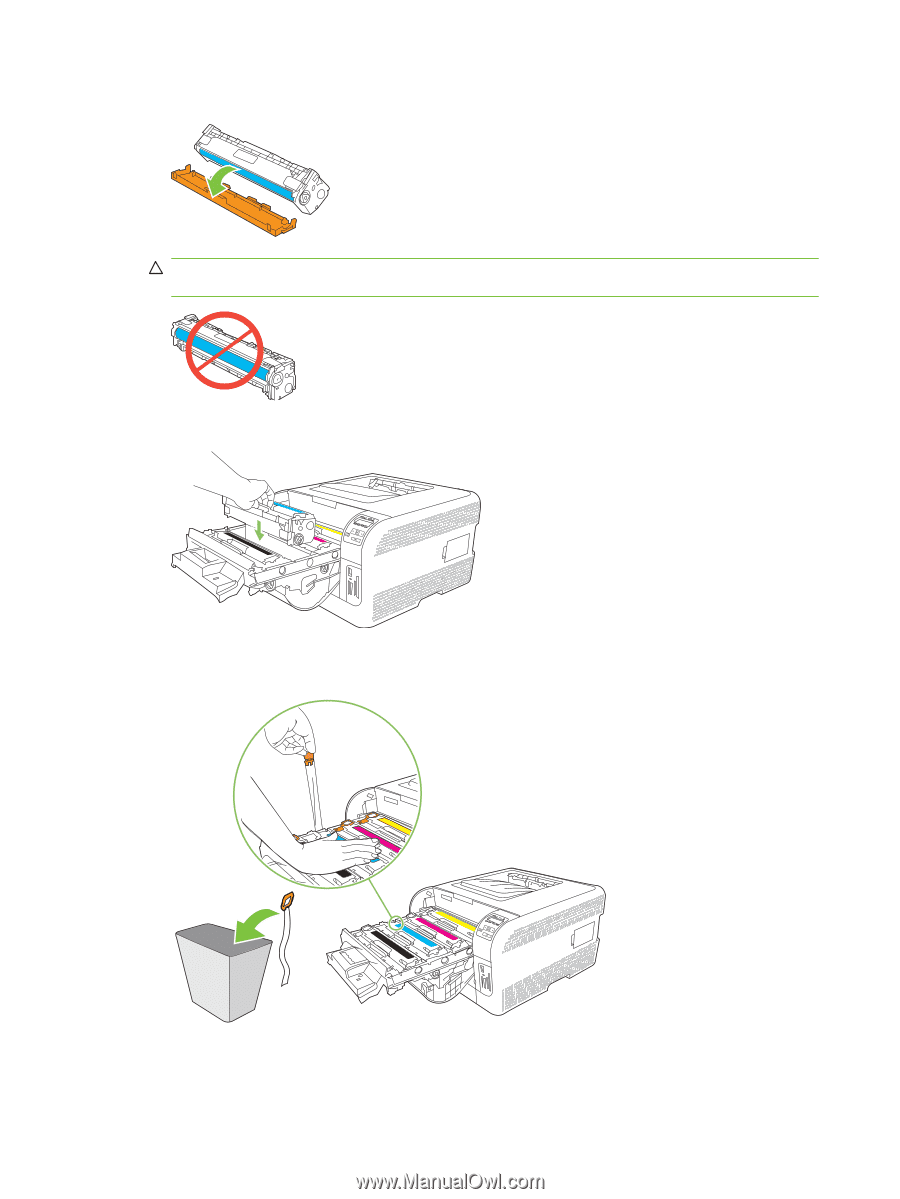
7.
Pull the tab on the left side of the print cartridge straight up to completely remove the sealing tape.
Discard the sealing tape.
86
Chapter 9
Manage and maintain
ENWW