HP Deskjet 3510 User Guide - Page 44
Clear the print carriage, Prepare the trays - windows 8
 |
View all HP Deskjet 3510 manuals
Add to My Manuals
Save this manual to your list of manuals |
Page 44 highlights
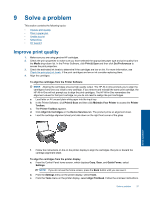
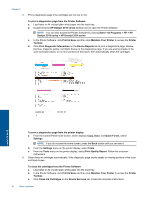
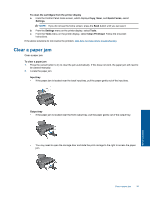
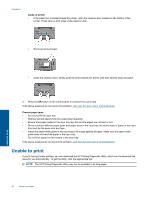
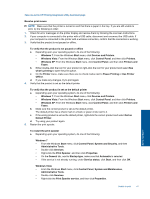
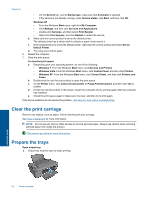
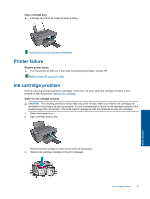
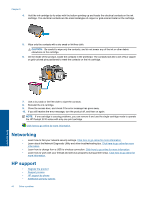
Chapter 9 • On the General tab, next to Startup type, make sure that Automatic is selected. • If the service is not already running, under Service status, click Start, and then click OK. Windows XP • From the Windows Start menu, right click My Computer. • Click Manage, and then click Services and Applications. • Double-click Services, and then select Print Spooler. • Right-click Print Spooler, and click Restart to restart the service. b. Make sure the correct product is set as the default printer. The default printer has a check mark in a black or green circle next to it. c. If the wrong product is set as the default printer, right-click the correct product and select Set as Default Printer. d. Try using your product again. 6. Restart the computer. 7. Clear the print queue. To clear the print queue a. Depending upon your operating system, do one of the following: • Windows 7: From the Windows Start menu, click Devices and Printers. • Windows Vista: From the Windows Start menu, click Control Panel, and then click Printers. • Windows XP: From the Windows Start menu, click Control Panel, and then click Printers and Faxes. b. Double-click the icon for your product to open the print queue. c. On the Printer menu, click Cancel all documents or Purge Print Document, and then click Yes to confirm. d. If there are still documents in the queue, restart the computer and try printing again after the computer has restarted. e. Check the print queue again to make sure it is clear, and then try to print again. If the above solutions do not resolve the problem, click here for more online troubleshooting. Clear the print carriage Remove any objects, such as paper, that are blocking the print carriage. See Clear a paper jam for more information. NOTE: Do not use any tools or other devices to remove jammed paper. Always use caution when removing jammed paper from inside the product. Click here to go online for more information. Prepare the trays Open output tray ▲ Output tray must be open to begin printing. Solve a problem 42 Solve a problem
-
 1
1 -
2
-
3
-
4
-
5
-
6
-
7
-
8
-
9
-
10
-
11
-
12
-
13
-
14
-
15
-
16
-
17
-
18
-
19
-
20
-
21
-
22
-
23
-
24
-
25
-
26
-
27
-
28
-
29
-
30
-
31
-
32
-
33
-
34
-
35
-
36
-
37
-
38
-
 39
39 -
 40
40 -
 41
41 -
 42
42 -
 43
43 -
 44
44 -
 45
45 -
 46
46 -
 47
47 -
 48
48 -
 49
49 -
50
-
51
-
52
-
53
-
54
-
55
-
56
-
57
-
58
-
59
-
60
-
61
-
62
 |
 |
