HP LaserJet M9040/M9050 HP LaserJet M9040/M9050 MFP - Job Aid - Fax - Page 5
Send a fax - enter numbers manually, continued
 |
View all HP LaserJet M9040/M9050 manuals
Add to My Manuals
Save this manual to your list of manuals |
Page 5 highlights
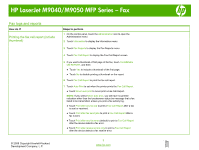
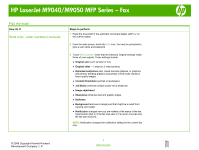
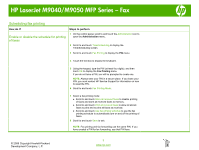
HP LaserJet M9040/M9050 MFP Series - Fax How do I? Send a fax - enter number(s) manually (continued) Steps to perform 4 When all settings are completed, touch OK to return to the Settings menu. 5 On the Settings screen, touch the Light or Dark arrow to adjust the lightness/darkness of the fax you are sending. 6 When all settings are completed on the Settings screen, touch OK to return to the Fax screen. 7 Using the keyboard, enter a phone number. To enter additional numbers, touch Next Number and continue entering numbers. To remove a number from the list, use the arrow keys to highlight a number and then touch Remove. NOTE: If needed, enter a comma (,) to provide a two second pause after a prefix number (such as a "9" or "0" ) to allow the internal phone system time to access an outside line before the remainder of the number is dialed. To enter a comma, use the keypad on the control panel that pops up when you touch the Recipient Number Entry Box. To enter a PIN as part of the recipient number, use the keypad on the control panel. Touch the Recipient field, and then touch the PIN button. This inserts a left bracket ([). Type the PIN, and then touch the PIN button again to insert the right (]) bracket. The number within the brackets is not displayed in the fax number that appears on fax reports. 8 Touch Start to send the fax. You can either touch the Start icon on the touch screen or press the green Start button on the control panel. © 2008 Copyright Hewlett-Packard Development Company, L.P. 2 www.hp.com
-
 1
1 -
 2
2 -
 3
3 -
 4
4 -
 5
5 -
 6
6 -
 7
7
 |
 |
