HP Photosmart 140 HP Photosmart 140 series - (English) Basics Guide - Page 29
select multiple photos, insert a memory card, print a photo index
 |
View all HP Photosmart 140 manuals
Add to My Manuals
Save this manual to your list of manuals |
Page 29 highlights
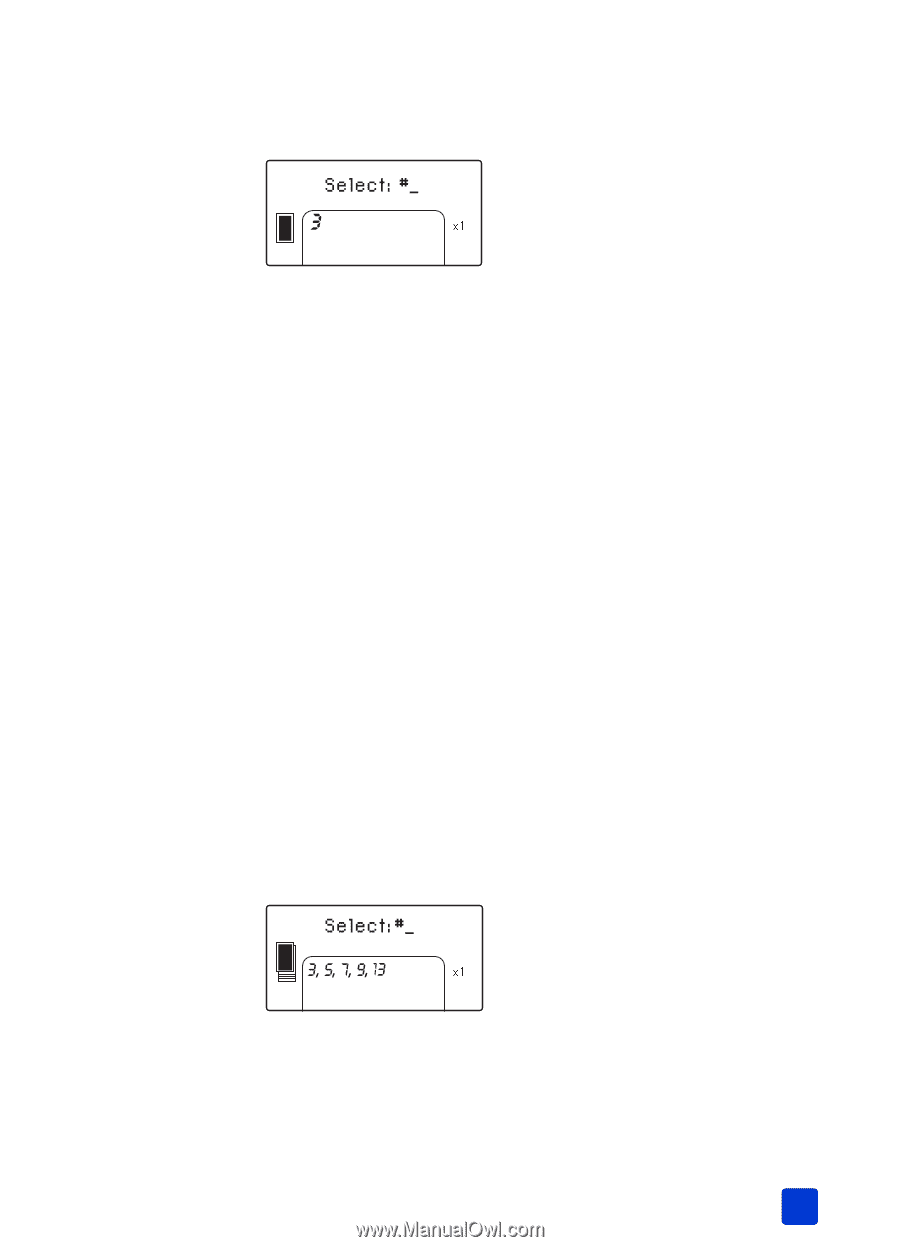
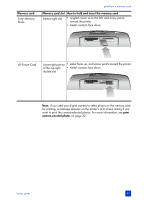
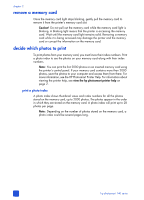
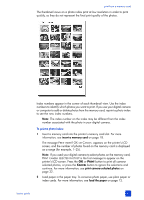
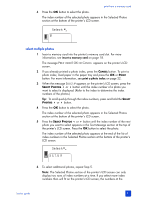
print from a memory card 4 Press the OK button to select the photo. The index number of the selected photo appears in the Selected Photos section at the bottom of the printer's LCD screen. select multiple photos 1 Insert a memory card into the printer's memory card slot. For more information, see insert a memory card on page 18. The message PRINT INDEX? OK OR CANCEL. appears on the printer's LCD screen. 2 If you already printed a photo index, press the CANCEL button. To print a photo index, load paper in the paper tray and press the OK or PRINT button. For more information, see print a photo index on page 22. 3 When the message SELECT:# appears on the printer's LCD screen, press the SELECT PHOTOS or button until the index number of a photo you want to select is displayed. (Refer to the index to determine the index numbers of the photos.) Tip: To scroll quickly through the index numbers, press and hold the SELECT PHOTOS or button. 4 Press the OK button to select the photo. The index number of the selected photo appears in the Selected Photos section at the bottom of the printer's LCD screen. 5 Press the SELECT PHOTOS or button until the index number of the next photo you want to select appears in the Text Message section at the top of the printer's LCD screen. Press the OK button to select the photo. The index number of the selected photo appears at the end of the list of index numbers in the Selected Photos section at the bottom of the printer's LCD screen. 6 To select additional photos, repeat Step 5. Note: The Selected Photos section of the printer's LCD screen can only display two rows of index numbers at a time. If you select more index numbers than will fit on the printer's LCD screen, the numbers at the basics guide 25
-
 1
1 -
2
-
3
-
4
-
5
-
6
-
7
-
8
-
9
-
10
-
11
-
12
-
13
-
14
-
15
-
16
-
17
-
18
-
19
-
20
-
21
-
22
-
23
-
 24
24 -
 25
25 -
 26
26 -
 27
27 -
 28
28 -
 29
29 -
 30
30 -
 31
31 -
 32
32 -
 33
33 -
 34
34 -
35
-
36
-
37
-
38
-
39
-
40
-
41
-
42
-
43
-
44
-
45
-
46
-
47
-
48
-
49
-
50
-
51
-
52
-
53
-
54
-
55
-
56
-
57
-
58
-
59
-
60
-
61
-
62
-
63
-
64
 |
 |