Hitachi DZ-HS803A Owners Guide - Page 129
installation, Direct X
 |
View all Hitachi DZ-HS803A manuals
Add to My Manuals
Save this manual to your list of manuals |
Page 129 highlights
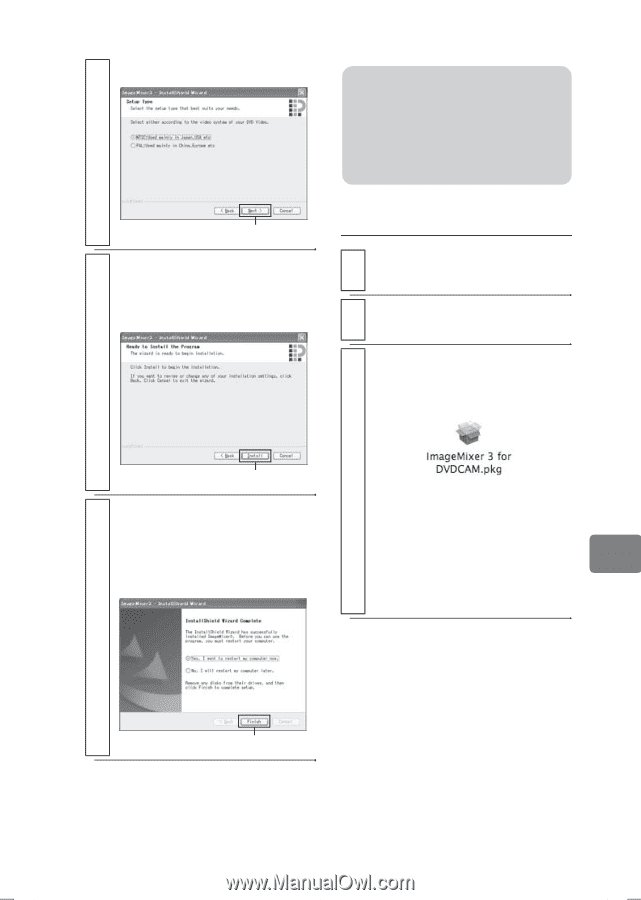
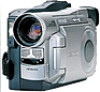
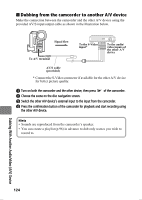
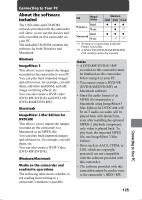
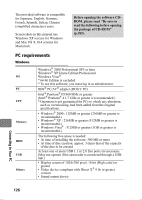
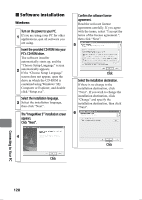
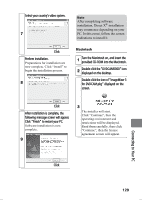
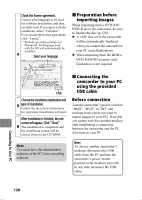
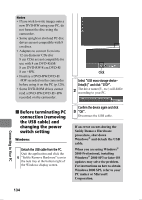
Select your country's video system. 7 Note After completing software installation, Direct X® installation may commence depending on your PC. In this event, follow the screen indications to install it. Click Perform installation. Preparations for installation are now complete. Click "Install" to begin the installation process. 8 Macintosh 1 Turn the Macintosh on, and insert the provided CD-ROM into the Macintosh. 2 Double-click the "DVDCAM5000" icon displayed on the desktop. Double-click the icon of "ImageMixer 3 for DVDCAM.pkg" displayed on the screen. Click After installation is complete, the following message screen will appear. Click "Finish" to restart your PC. Software installation is now complete. 9 3 The installer will start. Click "Continue", then the operating environment and restrictions will be displayed. Read them carefully, then click "Continue", then the license agreement screen will appear. Connecting to Your PC Click 129
-
 1
1 -
2
-
3
-
4
-
5
-
6
-
7
-
8
-
9
-
10
-
11
-
12
-
13
-
14
-
15
-
16
-
17
-
18
-
19
-
20
-
21
-
22
-
23
-
24
-
25
-
26
-
27
-
28
-
29
-
30
-
31
-
32
-
33
-
34
-
35
-
36
-
37
-
38
-
39
-
40
-
41
-
42
-
43
-
44
-
45
-
46
-
47
-
48
-
49
-
50
-
51
-
52
-
53
-
54
-
55
-
56
-
57
-
58
-
59
-
60
-
61
-
62
-
63
-
64
-
65
-
66
-
67
-
68
-
69
-
70
-
71
-
72
-
73
-
74
-
75
-
76
-
77
-
78
-
79
-
80
-
81
-
82
-
83
-
84
-
85
-
86
-
87
-
88
-
89
-
90
-
91
-
92
-
93
-
94
-
95
-
96
-
97
-
98
-
99
-
100
-
101
-
102
-
103
-
104
-
105
-
106
-
107
-
108
-
109
-
110
-
111
-
112
-
113
-
114
-
115
-
116
-
117
-
118
-
119
-
120
-
121
-
122
-
123
-
 124
124 -
 125
125 -
 126
126 -
 127
127 -
 128
128 -
 129
129 -
 130
130 -
 131
131 -
 132
132 -
 133
133 -
 134
134 -
135
-
136
-
137
-
138
-
139
-
140
-
141
-
142
-
143
-
144
-
145
-
146
-
147
-
148
-
149
-
150
-
151
-
152
-
153
-
154
-
155
-
156
-
157
-
158
-
159
-
160
-
161
-
162
-
163
-
164
-
165
-
166
-
167
-
168
-
169
-
170
-
171
-
172
-
173
-
174
-
175
-
176
-
177
-
178
-
179
-
180
-
181
-
182
-
183
-
184
-
185
-
186
-
187
-
188
-
189
-
190
-
191
 |
 |