Honeywell HCM-646 Owners Manual - Page 7
Power, Step 1: Power, Step 2: Output / Fan Speed Control, Step 3: Timer Control
 |
UPC - 092926343538
View all Honeywell HCM-646 manuals
Add to My Manuals
Save this manual to your list of manuals |
Page 7 highlights
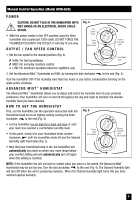
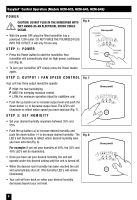
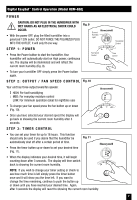
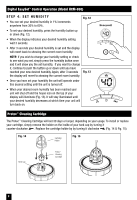
Digital EasySet™ Control Operation (Model HCM-650) POWER CAUTION: DO NOT PLUG IN THE HUMIDIFIER WITH WET HANDS AS AN ELECTRICAL SHOCK COULD OCCUR. • With the power OFF, plug the filled humidifier into a polarized 120V outlet. DO NOT FORCE THE POLARIZED PLUG INTO THE OUTLET; it will only fit one way. Fig. 9 Desired Humidity Light STEP 1: POWER • Press the Power button to start the humidifier. Your humidifier will automatically start on High power, continuous run. The display will be illuminated and will reflect the current room humidity (Fig. 9). Fan Speed Control • To turn your humidifier OFF simply press the Power button again. S T E P 2 : O U T P U T / F A N S P E E D C O N T R O L Fig. 10 Your unit has three output levels/fan speeds: HIGH: For fast humidifying MED: For everyday moisture control LOW: For minimum operation (ideal for nighttime use) • To change your fan speed press the fan button up or down (Fig. 10). • Once you have selected your desired speed the display will go back to showing the current room humidity after 3 seconds. STEP 3: TIMER CONTROL • You can set your timer for up to 18 hours. This function should only be used if you desire that the humidifier be automatically shut off after a certain period of time. Fig. 11 • Press the timer button up or down to set your desired time (Fig. 11). • When the display indicates your desired time, it will begin counting down after 3 seconds. The display will then switch back to showing the current room humidity. NOTE: If you wish to change your timer setting or check to see how much time is left simply press the timer button once and it will show you the time left. If you want to change the time remaining, continue to push the button up or down until you have reached your desired time. Again, after 3 seconds the display will revert to showing the current room humidity. Humidistat Control Timer Control 7
-
 1
1 -
 2
2 -
 3
3 -
 4
4 -
 5
5 -
 6
6 -
 7
7 -
 8
8 -
 9
9 -
 10
10 -
 11
11 -
 12
12
 |
 |
