Hoover UH70070 Manual
Hoover UH70070 Manual
 |
View all Hoover UH70070 manuals
Add to My Manuals
Save this manual to your list of manuals |
Hoover UH70070 manual content summary:
- Hoover UH70070 | Manual - Page 1
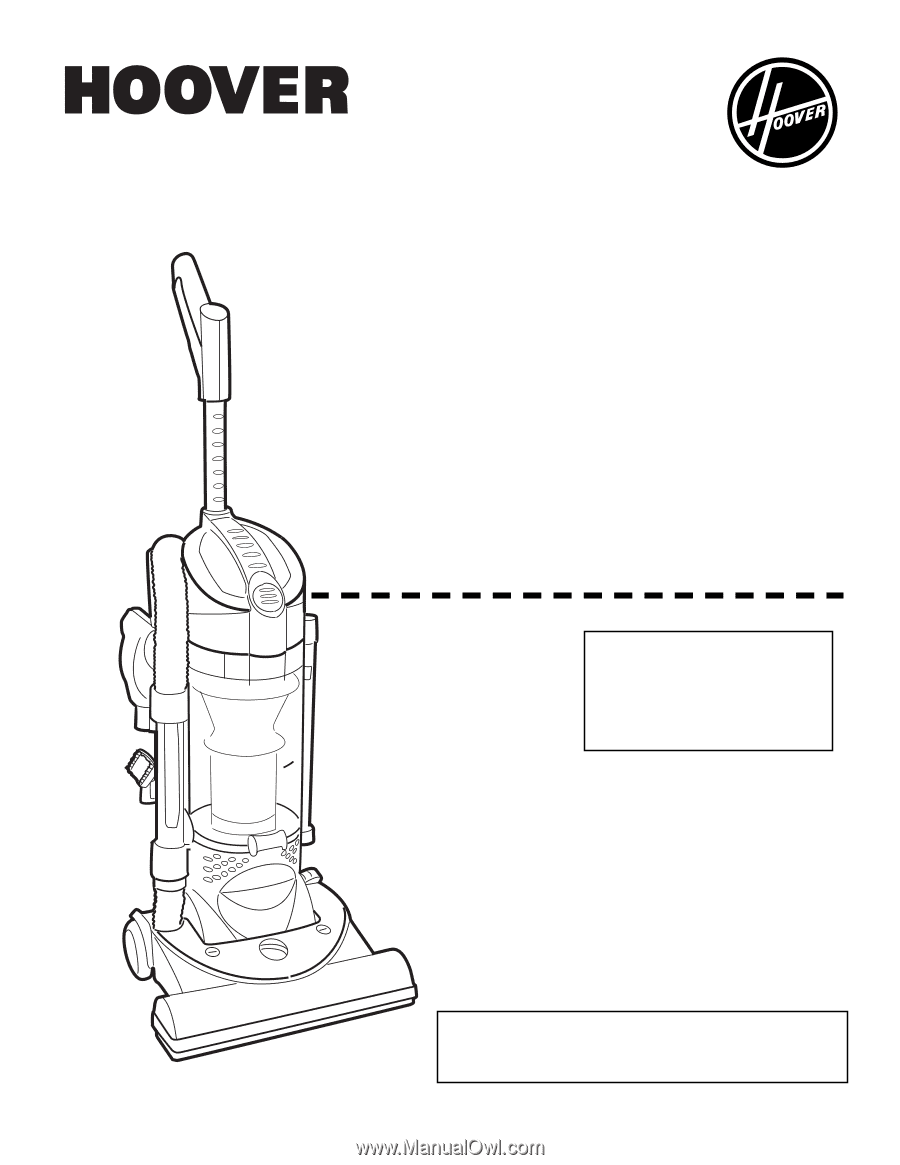
® Cyclonic Upright ® Vacuum Cleaner hoover.com Owner's Manual ENGLISH § pp. 1-12 ESPAÑOL § pág 13-20 FRANÇAIS § p. 21-27 This product was designed for easy assembly (see page 3) Review this manual before operating the cleaner. - Hoover UH70070 | Manual - Page 2
manual before operating cleaner Thank you for choosing a HOOVER® product Please enter the COMPLETE model and serial numbers in the spaces provided. Model Serial number Hint: Attach your sales receipt to this owner's manual. Verification of date of purchase may be required for warranty service - Hoover UH70070 | Manual - Page 3
do not return this product to the store. 1. Cleaner assembly Carton contents 1-1 A. Handle section B. Cleaner body C. Cleaning tools and wands * *NOTE: Three (3) wands and the floor A brush available on some models only. C Remove all parts from carton and B identify each item shown. Make - Hoover UH70070 | Manual - Page 4
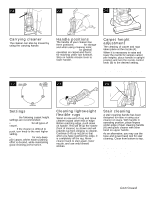
turn cleaner ON, push ON/OFF switch once. To turn cleaner OFF, push switch again. 4 2-2 A Telescoping handle For convenience in storing or carrying your cleaner, position. 2-3 Transporting cleaner To move your cleaner from room to room, put handle in upright position, tilt cleaner back on rear wheels - Hoover UH70070 | Manual - Page 5
upright position and turn the nozzle control knob (B) to the desired setting. The nozzle will not move into the adjusted position until the cleaner in using your cleaner on stairs. With handle in operating position, place fingers under edge of stair cleaning handle (A) and guide cleaner with other - Hoover UH70070 | Manual - Page 6
Removing hose When using cleaning tools, cleaner handle should be in the upright position. Also, turn cleaner OFF before disconnecting and connecting hose any of the above tools. Note: Some models include three (3) wands. H. Floor brush (available on some models only) use on hard surface floors. 2- - Hoover UH70070 | Manual - Page 7
open dirt cup door (D). Press dirt cup door release button to latch dirt cup door closed. Cleaning filters Cyclonic filter assembly How to clean Disconnect cleaner from electrical outlet. Do not use cleaner without dirt cup or filters in place. 3-6 A Remove dirt cup as described in Fig. 3-2. Twist - Hoover UH70070 | Manual - Page 8
genuine HOOVER belts with your cleaner. When purchasing a new belt, ask for HOOVER part No. 38528040 (belt package part No. 40201190). 3-13 A A How to replace Disconnect cleaner from electrical outlet. Removing hood Press handle release pedal and place handle in low position. Using a coin, turn the - Hoover UH70070 | Manual - Page 9
outlet. 3-20 What to buy When purchasing a new agitator, ask for HOOVER part No. 48414115. How to replace Disconnect cleaner from electrical outlet. Remove hood, belt and agitator following directions in "The belt" section beginning with Fig. 3-13. Discard old agitator. Continue following the - Hoover UH70070 | Manual - Page 10
When agitator brushes are worn, the brush roll should be replaced. Ask for HOOVER part No. 48414088. 3-21 A 3-22 B 2. Unscrew the two Phillips screws and remove belt guard (B). How to replace 1. Remove tool from hose and turn it so bottom faces up. Press the latches on both sides of tool and - Hoover UH70070 | Manual - Page 11
, your cleaner may need servicing (see "Service" section). Service To obtain approved HOOVER service and genuine HOOVER parts, locate the nearest Hoover Sales and Service Center or Authorized Hoover Warranty Service Dealer (Depot) by: • checking the Yellow Pages under "Vacuum Cleaners Household" OR - Hoover UH70070 | Manual - Page 12
Remove any blockage from turbine channel (A). Replace belt turbine, brush roll, belt guard and bottom plate. Full One Year Warranty (Domestic Use) Your HOOVER® appliance is warranted in normal household use, in accordance with the Owner's Manual against original defects in material and workmanship
-
 1
1 -
 2
2 -
 3
3 -
 4
4 -
 5
5 -
 6
6 -
 7
7 -
8
-
9
-
10
-
11
-
12
 |
 |
®
®
Review this manual before
operating the cleaner
.
This product was designed for
easy assembly (see page 3)
hoover.com
Owner’s Manual
ENGLISH
pp. 1-12
ESPAÑOL
pág 13-20
FRANÇAIS
p. 21-27
Cyclonic Upright
Vacuum Cleaner