Hunter 23856 User Guide
Hunter 23856 Manual
 |
View all Hunter 23856 manuals
Add to My Manuals
Save this manual to your list of manuals |
Hunter 23856 manual content summary:
- Hunter 23856 | User Guide - Page 1
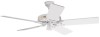
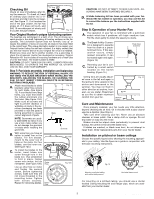
reason Hunters last so long. And why we can offer a Limited Lifetime Warranty. Used With Light Kit Power Leads Hanger Bracket Bracket Bushing Pin Canopy Set Screw Oil Filler Hole Oil Return Rotor Ground Screw Pipe Nipple (Std.) Shaft Cast Iron Fan Housing Trouble shooting guide Problem - Hunter 23856 | User Guide - Page 2
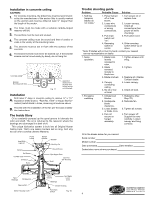
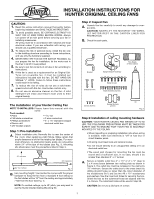
SINCE INSTALLATION INSTRUCTIONS FOR ® HUNTER ORIGINAL CEILING FANS 1 8 8 6 CAUTION: 1. Read this entire instruction manual thoroughly before beginning installation and SAVE THESE INSTRUCTIONS. 2. To avoid possible shock, BE CERTAIN ELECTRICITY IS SHUT OFF AT MAIN PANEL BEFORE WIRING. Always - Hunter 23856 | User Guide - Page 3
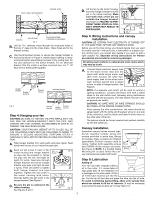
: If a Vaulted Ceiling Screw Mounting Kit is used, follow the can- Fig 9 opy instructions provided with the kit. Fig 10 Step 6: Lubrication Adding oil Your fan has been shipped without oil in the motor. A 1-ounce tube of high grade SAE 10 non-detergent oil is packaged in the sack parts. All the - Hunter 23856 | User Guide - Page 4
to your ceiling. Use the figure as a guide in conjunction with the basic mounting instructions. Fig. 15 Mounting on pitched ceiling with vaulted ceiling mount. Fig. 16 Horizontal beam mount For mounting on a pitched ceiling, you should use a Hunter Vaulted Ceiling Mounting Kit and hanger
-
 1
1 -
 2
2 -
 3
3 -
 4
4
 |
 |
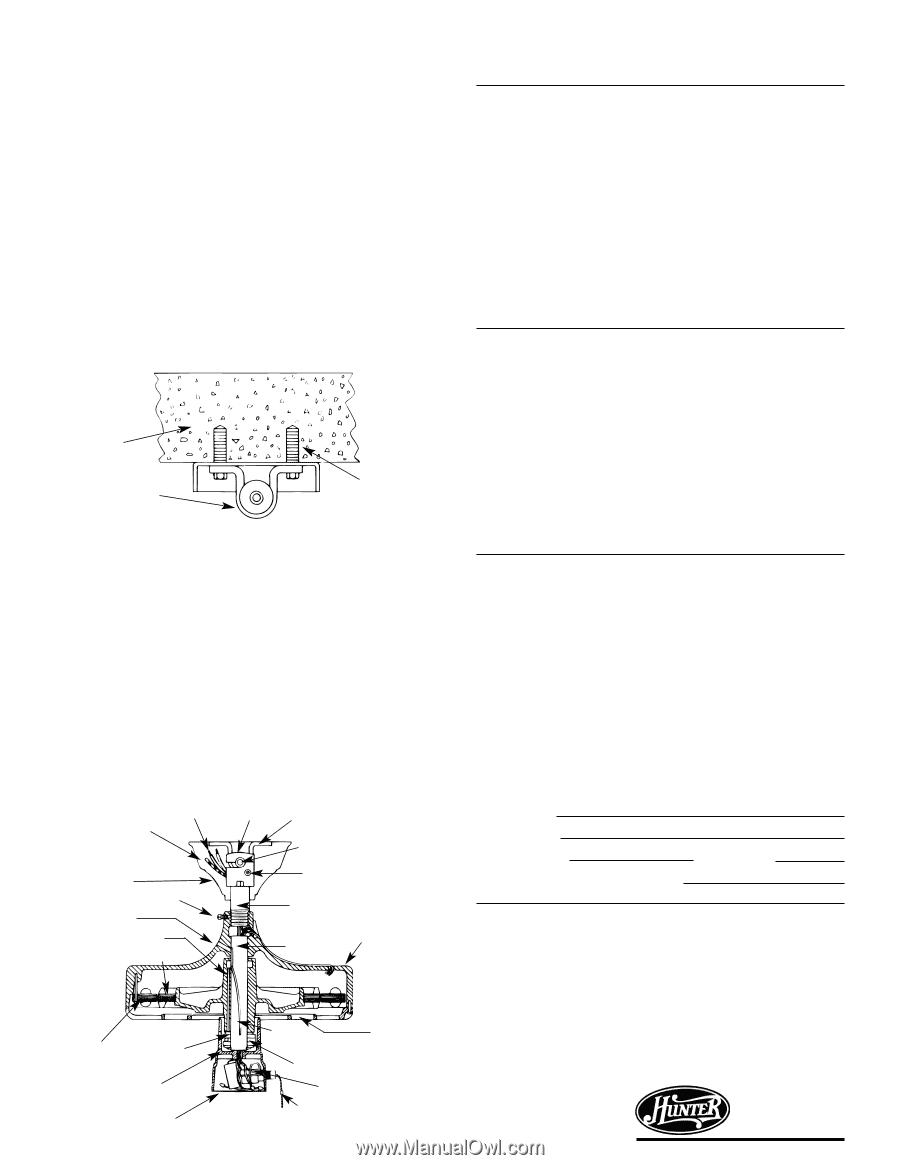
Installation in concrete ceiling
CAUTION:
For concrete mounting, the drilled hole must be recommend-
ed by the manufacturer of the anchor (this is usually marked
on the anchor) and must be drilled at least
1
/
2
" deeper than
the length of the anchor.
The holes must be made with a suitable carbide-tipped
masonry drill bit.
The anchors must be new and unused.
The concrete ceiling must be sound and free of cracks or
voids in the vicinity of the mounting holes.
The anchors must be set in flush with the surface of the
concrete.
The bracket screws must never be backed out. If the bracket
screws can be turned easily (by hand), do not hang fan.
Installation
Drill holes 2" deep in concrete ceiling to receive
1
/
4
" x 1
1
/
2
"
expansion shield anchor, “Rawl No. 1055” or equal. (Not fur-
nished.) Install shield in holes, observing all cautions above.
Proceed with the installation of the fan per the basic installa-
tion instructions.
The Inside Story
Oil is constantly pumped up the spiral groove to lubricate the
rotor and shaft. The oil is returned to the reservoir where the
bearings are submerged in a bath of oil.
This unique lubrication system is built into all Original Hunter
Ceiling Fans. That’s one reason Hunters last so long. And why
we can offer a Limited Lifetime Warranty.
Fill in the blanks below for your record.
Serial number
Model number
Date purchased
Date installed
Dealer/store name where purchased
4
41121-01
9/95
Trouble shooting guide
Problem
Probable Cause
Solution
1. Nothing
1. Power turned
1. Turn power on or
happens;
off or fuse
replace fuse.
blades do
blown.
not rotate.*
2. Loose wire
2. Loosen canopy.
connections
Check all
or wrong
connections (turn
connections.
power off while
checking).
3. Pull chain
3. Pull switch cord.
switch not
“on”.
4. Reversing
4. Slide reversing
switch in
switch either up or
center.
down.
* Note: If blades will not turn by hand, contact your nearest
service representative or dealer.
1. Noisy
1. Blade irons
1. Tighten screws until
operation.
loosely
snug.
screwed to
rotor.
2. Blade
2. Tighten.
screwed
loosely to
blade iron.
3. Blade cracked.
3. Replace all 4 blades.
Contact dealer.
4. Canopy
4. Lower canopy.
contacting
ceiling.
5. No oil or low
5. Check oil level.
oil level.
1. Excessive
1. Unbalanced
1. Rebalance (See
wobbling
blades.
Step 7D).
2. Inadequate
2. Relocate fan.
blade
clearance.
3. Loose blades
3. Tighten all screws.
or blade irons.
4. Fan not
4. Turn power off.
secure on
Support fan very
hanger
carefully. Loosen
assembly.
canopy and hang
correctly.
1.
2.
3.
4.
5.
6.
A.
B.
HUNTER FAN COMPANY
2500 FRISCO AVENUE
MEMPHIS, TN 38114
®
Fig. 18
Hanger
Bracket
Bracket
Power
Leads
Used With
Light Kit
Canopy
Set Screw
Oil Filler Hole
Oil Return
Rotor
Field
Windings
Oil Reservoir
Bearing Nut
Switch Housing Cover
Bushing Pin
Ground Screw
Pipe Nipple (Std.)
Shaft
Cast Iron
Fan Housing
Cast Metal
Lower
Cover
Spiral
Groove
Bearings
Switch Housing
Pull Chain
Switch
expansion
shield anchor
set flush with
ceiling (anchor
not furnished)
Concrete ceiling
Bracket
(Furnished with fan)
Fig. 17