Kenwood DNX893S Navigation - Page 12
Saving Locations, Starting a Route, Your Route on the Map
 |
View all Kenwood DNX893S manuals
Add to My Manuals
Save this manual to your list of manuals |
Page 12 highlights
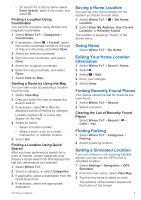
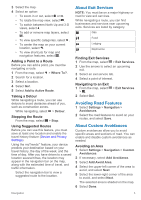
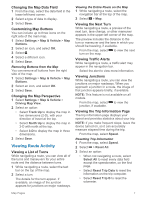
4 Select the location description. 5 Select Set Location. Saving Locations Saving a Location 1 Search for a location (Finding a Location by Category). 2 From the search results, select a location. 3 Select . 4 Select > Save. Starting a Route to a Saved Location 1 Select Where To? > Saved. 2 If necessary, select a category, or select All Saved Places. 3 Select a location. 4 Select Go!. Editing a Saved Location 1 Select Where To? > Saved. 2 If necessary, select a category. 3 Select a location. 4 Select . 5 Select > Edit. 6 Select an option: • Select Name. • Select Phone Number. • Select Categories to assign categories to the saved location. • Select Change Map Symbol to change the symbol used to mark the saved location on a map. 7 Edit the information. 8 Select Done. Assigning Categories to a Saved Location You can add custom categories to organize your saved locations. NOTE: Categories appear in the saved locations menu after you have saved at least 12 locations. 1 Select Where To? > Saved. 2 Select a location. 3 Select . 4 Select > Edit > Categories. 5 Enter one or more category names, separated by commas. 6 If necessary, select a suggested category. 7 Select Done. Navigation Starting a Route 1 Search for a location (Locations). 2 Select a location. 3 Select Go!. 4 If necessary, select a route. Previewing Multiple Routes 1 Search for a location (Finding a Location by Category). 2 From the search results, select a location. 3 Select Routes. 4 Select a route. 5 Select Go!. Your Route on the Map NOTICE The speed limit feature is for information only and does not replace your responsibility to abide by all posted speed limit signs and to use safe driving judgment at all times. Garmin and JVC KENWOOD will not be responsible for any traffic fines or citations you receive for failing to follow all applicable traffic laws and signs. The route is marked with a magenta line. A checkered flag marks your destination. As you travel, the device guides you to the destination with voice prompts, arrows on the map, and directions at the top of the map. If you depart from the original route, the device recalculates the route and provides new directions. Using the Map 1 From the main menu, select View Map. 2 If the zoom controls are hidden, select the map to display the zoom controls. 4 Navigation
-
 1
1 -
2
-
3
-
4
-
5
-
6
-
 7
7 -
 8
8 -
 9
9 -
 10
10 -
 11
11 -
 12
12 -
 13
13 -
 14
14 -
 15
15 -
 16
16 -
 17
17 -
18
-
19
-
20
-
21
-
22
 |
 |