KitchenAid KEBK101SBL Use and Care Manual - Page 14
Oven Lights, Oven Door
 |
UPC - 883049034980
View all KitchenAid KEBK101SBL manuals
Add to My Manuals
Save this manual to your list of manuals |
Page 14 highlights
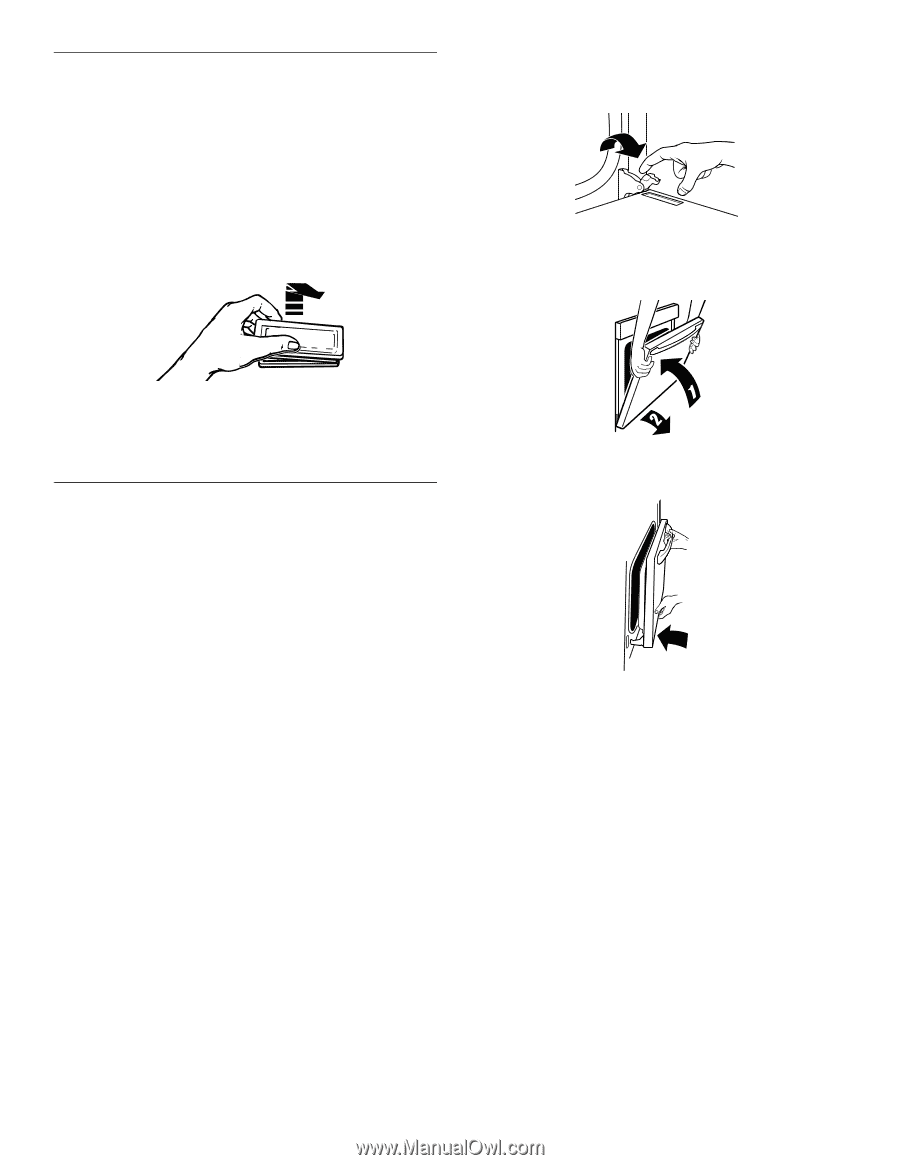
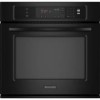
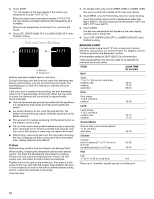
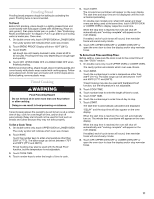
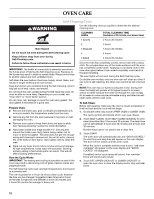
Oven Lights The oven lights are 12-volt, 5-watt maximum halogen bulbs. They will come on when the oven door is opened. On double oven models, both upper and lower lights will come on when either door is opened. The oven lights will not work during the SelfCleaning cycle. When the oven door is closed, touch OVEN LIGHT to turn them on or off. To Replace: Before replacing, make sure the oven is off and cool. 1. Disconnect power. 2. Remove glass light cover by grasping the front edge and pulling away from oven. To Remove: 1. Open oven door all the way. 2. Flip up the hinge latch on each side. 3. Close the oven door as far as it will shut. 4. Lift the oven door while holding both sides. Continue to push the oven door closed and pull it away from the oven door frame. 3. Remove bulb from socket. 4. Replace bulb, using tissue or wearing cotton gloves to handle bulb. Do not touch bulb with bare fingers. 5. Replace bulb cover by snapping back into wall. 6. Reconnect power. IMPORTANT: Oven Door To avoid oven door glass breakage: I Do not close the oven door if the racks are not fully inserted into the oven cavity or when bakeware extends past the front edge of an oven rack. I Do not set objects on the glass surface of the oven door. I Do not hit glass surfaces with bakeware or other objects. I Do not wipe down glass surfaces until the oven has completely cooled. For normal oven use, it is not suggested to remove the oven door. However, if removal is necessary, make sure the oven is off and cool. Then, follow these instructions. The oven door is heavy. To Replace: 1. Insert both hanger arms into the door. 2. Open the oven door. You should hear a "click" as the door is set into place. 3. Move the hinge levers back to the locked position. Check that the door is free to open and close. If it is not, repeat the removal and installation procedures. 14
-
 1
1 -
2
-
3
-
4
-
5
-
6
-
7
-
8
-
 9
9 -
 10
10 -
 11
11 -
 12
12 -
 13
13 -
 14
14 -
 15
15 -
 16
16 -
 17
17 -
 18
18 -
 19
19 -
20
-
21
-
22
-
23
-
24
-
25
-
26
-
27
-
28
-
29
-
30
-
31
-
32
 |
 |