KitchenAid KHHS179LBL Use and Care Guide - Page 8
Sensin
 |
View all KitchenAid KHHS179LBL manuals
Add to My Manuals
Save this manual to your list of manuals |
Page 8 highlights
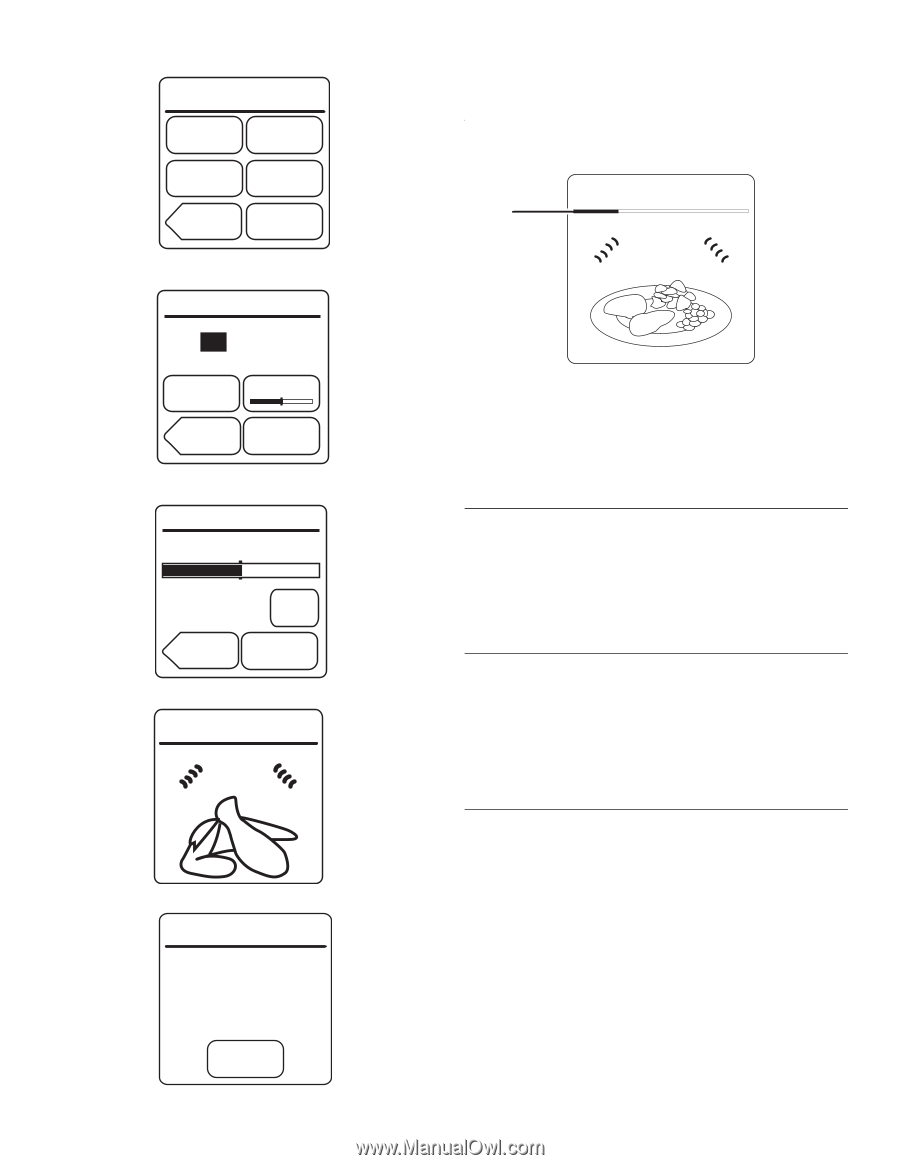
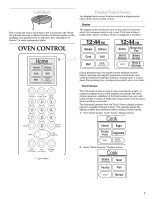
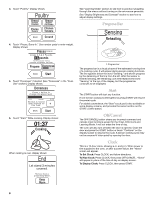
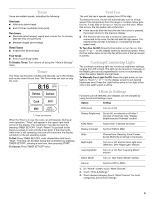
3. Touch "Poultry." Display shows: Poultry Breast Bonelss Poached Breast Bonelss Pan Brown Pieces Bone-In Chicken Tenders BACK Ground 4. Touch "Pieces, Bone-In." Use number pads to enter weight. Display shows: Pieces BONE-IN Cooks 0.5-2.0 Pounds. 1.5 pounds ENTER AMOUNT. PRESS PREPARE, DONENESS, OR START. Prepare Doneness _ + BACK Start 5. Touch "Doneness" if desired. (See "Doneness" in the "Oven Use" section.) Display shows: Doneness Press + button to change doneness level. LESS NORMAL Normal is lowest level allowed for this food. MORE + BACK Start 6. Touch "Start." While cooking, Display shows: 01:37 Cooking When cooking is over, display shows: End Let stand 3 minutes covered. Remove food or press Keep Warm. Keep Warm See "Learning Mode" section to see how to practice navigating through the menus without turning on the microwave generator. See "Display Brightness and Contrast" section to see how to adjust display settings. Progress Bar Sensing 1 Reheating 1. Progress bar The progress bar is a visual picture of the estimated running time of a cooking cycle. It will appear during sensor cooking functions. The line appears below the word "Sensing," and shows progress by the darkening of the line from the left. After the sensor is finished sensing, the remaining cook time replaces the word "Sensing" at the top of the display, but the progress bar continues to be displayed. Start The START button will start any function. If non-sensor cooking is interrupted, touching START will resume the preset cycle. For added convenience, the "Start" touch pad is also available on some display screens, and provides the same function as the START control button. Off/Cancel The OFF/CANCEL button clears any incorrect command and cancels most functions except for the Timer, Child Lock and Learning Mode. It will not erase the time of day. The oven will also turn off when the door is opened. Close the door and press the START button or touch "Continue" on the display screen to resume the cycle. A sensor cooking cycle may not be resumed if interrupted by opening the door. Clock This is a 12-hour clock, showing a.m. and p.m. When power is first supplied to the oven, or after a power failure, the "Home" screen will appear. To Set Clock: Press CLOCK, and follow directions. To Hide Clock: Press CLOCK, then press OFF/CANCEL. "Home" will appear in place of the time of day on display screen. To Display Clock: Press CLOCK, then press START. 8
-
 1
1 -
2
-
 3
3 -
 4
4 -
 5
5 -
 6
6 -
 7
7 -
 8
8 -
 9
9 -
 10
10 -
 11
11 -
 12
12 -
 13
13 -
14
-
15
-
16
-
17
-
18
-
19
-
20
-
21
-
22
-
23
-
24
 |
 |