KitchenAid KUIC18PNZS Use & Care Guide - Page 9
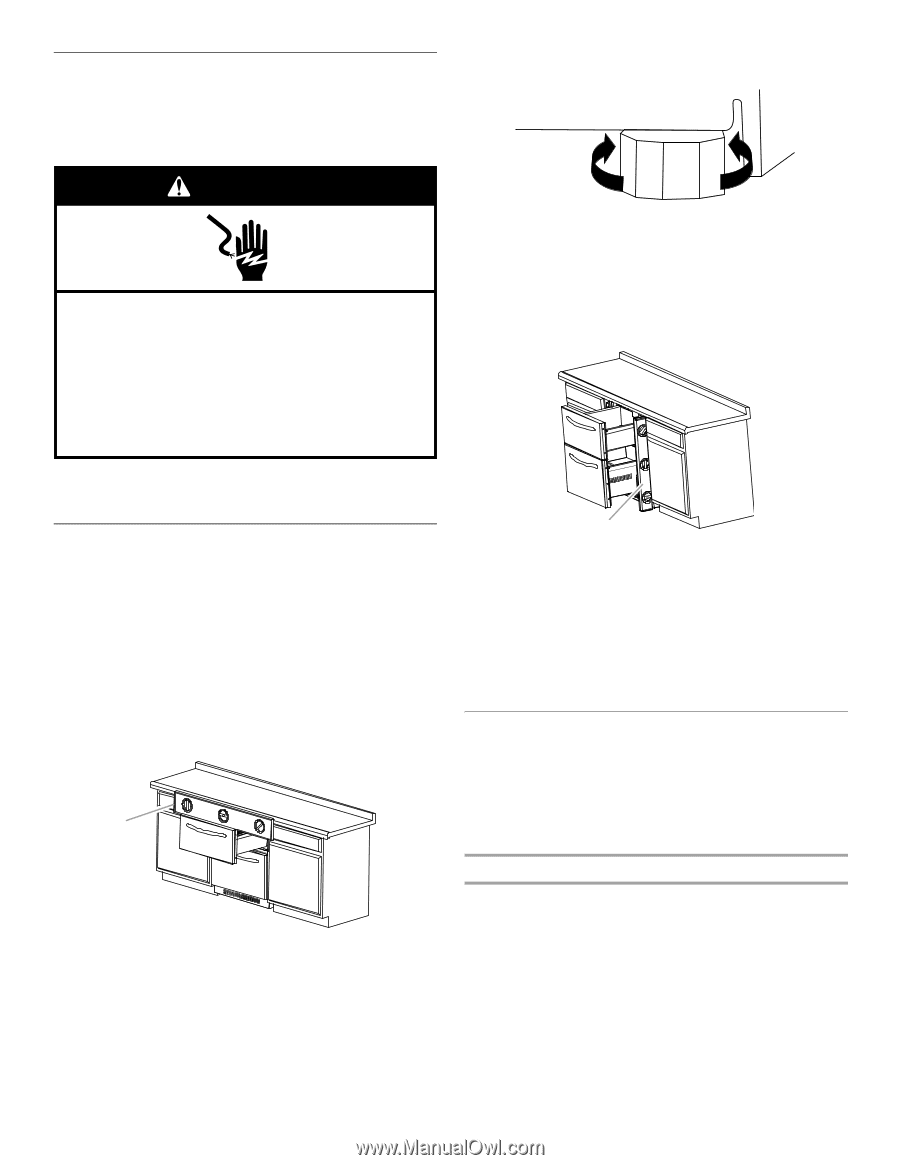
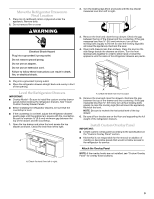
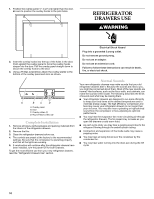
Warning
 |
View all KitchenAid KUIC18PNZS manuals
Add to My Manuals
Save this manual to your list of manuals |
Page 9 highlights
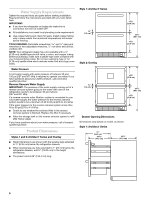
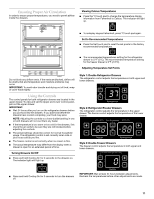
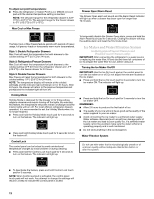
Move the Refrigerator Drawers to Final Location 1. Place top of cardboard carton or plywood under the appliance. Remove dolly. 2. Do not remove film or cover. WARNING Electrical Shock Hazard Plug into a grounded 3 prong outlet. Do not remove ground prong. Do not use an adapter. Do not use an extension cord. Failure to follow these instructions can result in death, fire, or electrical shock. 2. Turn the leveling legs (front and back) until the top drawer measures level from left to right. 3. Remove the level and close the top drawer. Check the gap between the top of the drawer and the countertop. If the gap measures less than ³⁄₈" (9.5 mm) minimum, turn all four leveling bolts equally to the left to raise the leveling legs (this will lower the appliance). Recheck the level. 4. Open both drawers less than midway. Place the level on the side flange beside the drawers as shown. Turn the front leveling bolts together in order to either raise or lower the appliance until the sides of the refrigerator drawers are plumb. 3. Plug into a grounded 3 prong outlet. 4. Move the refrigerator drawers straight back and evenly in front of the opening. Level the Refrigerator Drawers IMPORTANT: ■ Overlay Model-Be sure to install the custom overlay drawer panels before leveling the refrigerator drawers. See "Install Custom Overlay Drawer Panels." ■ Before installing the refrigerator drawers, be sure that the countertop is level. ■ If the countertop is not level, adjust the refrigerator drawers' leveling legs until the appliance is square with the countertop. Be sure to maintain ³⁄₈" (9.5 mm) minimum gap between the top of the drawer and the countertop. 1. Open the top drawer and place the level across the top drawer as shown. Check the level from left to right. A A. Check the level from left to right. A A. Check the level from front to back. 5. Remove the level and close the drawers. Recheck the gap between the top of the drawer and the countertop. If the gap measures less than ³⁄₈" (9.5 mm), turn all four leveling bolts equally to raise the leveling legs (this will lower the appliance). Recheck the level. NOTE: Be sure to recheck the horizontal level of the top drawer. 6. Be sure all four levelers are on the floor and supporting the full weight of the refrigerator drawers. Install Custom Overlay Panel IMPORTANT: ■ Create custom overlay panel according to the specifications in the "Custom Overlay Panel" section. ■ KitchenAid is not responsible for the removal or addition of molding or decorative panels that would not allow access to the refrigerator for service. Attach the Overlay Panel NOTE: If the overlay hooks are not installed, see "Custom Overlay Panel" for overlay hook locations. 9
-
 1
1 -
2
-
3
-
 4
4 -
 5
5 -
 6
6 -
 7
7 -
 8
8 -
 9
9 -
 10
10 -
 11
11 -
 12
12 -
 13
13 -
 14
14 -
15
-
16
-
17
-
18
-
19
-
20
-
21
-
22
-
23
-
24
-
25
-
26
-
27
-
28
-
29
-
30
-
31
-
32
-
33
-
34
-
35
-
36
-
37
-
38
-
39
-
40
-
41
-
42
-
43
-
44
-
45
-
46
-
47
-
48
-
49
-
50
-
51
-
52
 |
 |