KitchenAid KURG24RWBS Use & Care Guide - Page 8
Changing the Light Bulb, Vacation and Moving Care
 |
UPC - 883049193939
View all KitchenAid KURG24RWBS manuals
Add to My Manuals
Save this manual to your list of manuals |
Page 8 highlights
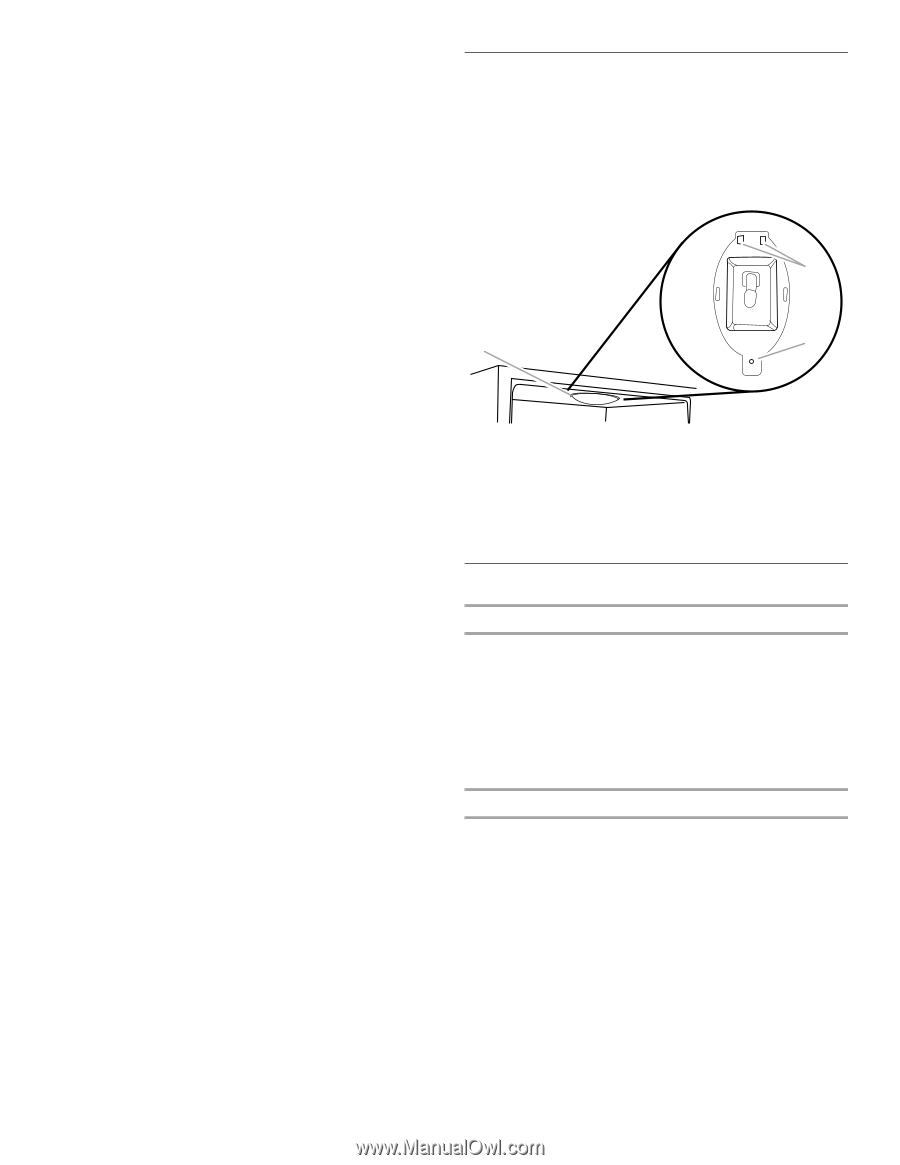
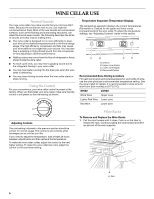
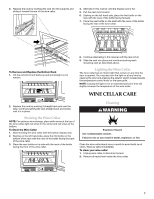
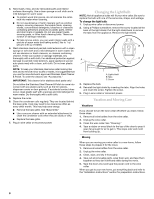
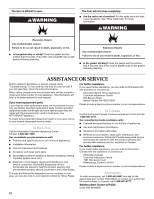
3. Hand wash, rinse, and dry removable parts and interior surfaces thoroughly. Use a clean sponge or soft cloth and a mild detergent in warm water. ■ To protect wood trim pieces, do not immerse the entire rack into water when cleaning. ■ Do not use abrasive or harsh cleaners such as window sprays, scouring cleansers, flammable fluids, cleaning waxes, concentrated detergents, bleaches or cleansers containing petroleum products on plastic parts, interior and door liners or gaskets. Do not use paper towels, scouring pads, or other harsh cleaning tools. These can scratch or damage materials. ■ To help remove odors, you can wash interior walls with a mixture of warm water and baking soda (2 tbs to 1 qt [26 g to 0.95 L] of water). 4. Wash stainless steel and painted metal exteriors with a clean sponge or soft cloth and a mild detergent in warm water. Do not use abrasive or harsh cleaners, or cleaners containing chlorine. These can scratch or damage materials. Dry thoroughly with a soft cloth. For additional protection against damage to painted metal exteriors, apply appliance wax (or auto paste wax) with a clean, soft cloth. Do not wax plastic parts. NOTE: To keep your stainless steel wine cellar looking like new and to remove minor scuffs or marks, it is suggested that you use the manufacturer's approved Stainless Steel Cleaner & Polish. To order the cleaner, see "Accessories." IMPORTANT: This cleaner is for stainless steel parts only! Do not allow the Stainless Steel Cleaner & Polish to come into contact with any plastic parts such as the trim pieces, dispenser covers or door gaskets. If accidental contact does occur, clean plastic part with a sponge and mild detergent in warm water. Dry thoroughly with a soft cloth. 5. Replace the racks. 6. Clean the condenser coils regularly. They are located behind the base grille. Coils may need to be cleaned as often as every other month. This may help save energy. ■ Remove the base grille. See "Base Grille." ■ Use a vacuum cleaner with an extended attachment to clean the condenser coils when they are dusty or dirty. ■ Replace the base grille. 7. Plug in wine cellar or reconnect power. Changing the Light Bulb NOTE: Not all appliance bulbs will fit your wine cellar. Be sure to replace the bulb with one of the same size, shape, and wattage. To change the light bulb: 1. Unplug wine cellar or disconnect power. 2. Using a Phillips screwdriver, remove the screw located at the back of the light shield. Pull the light shield back to remove the tabs from the appliance. Remove the light shield. B A C A. Light shield B. Tabs C. Screw 3. Replace the bulb. 4. Reinstall the light shield by inserting the tabs. Align the holes and insert the screw. Tighten the screw. 5. Plug in wine cellar or reconnect power. Vacation and Moving Care Vacations If you choose to turn the wine cellar off before you leave, follow these steps. 1. Remove all wine bottles from the wine cellar. 2. Unplug the wine cellar. 3. Clean the wine cellar. See "Cleaning." 4. Tape a rubber or wood block to the top of the door to prop it open far enough for air to get in. This stops odor and mold from building up. Moving When you are moving your wine cellar to a new home, follow these steps to prepare it for the move. 1. Remove all wine bottles from the wine cellar. 2. Unplug the wine cellar. 3. Clean, wipe, and dry it thoroughly. 4. Take out all removable parts, wrap them well, and tape them together so they don't shift and rattle during the move. 5. Tape the doors shut and tape the power cord to the wine cellar. When you get to your new home, put everything back and refer to the "Installation Instructions" section for preparation instructions. 8
-
 1
1 -
2
-
 3
3 -
 4
4 -
 5
5 -
 6
6 -
 7
7 -
 8
8 -
 9
9 -
 10
10 -
 11
11 -
 12
12 -
 13
13 -
14
-
15
-
16
-
17
-
18
-
19
-
20
-
21
-
22
-
23
-
24
-
25
-
26
-
27
-
28
-
29
-
30
-
31
-
32
 |
 |