Kyocera KM-6030 Scanner File Utility Quick Guide
Kyocera KM-6030 Manual
 |
View all Kyocera KM-6030 manuals
Add to My Manuals
Save this manual to your list of manuals |
Kyocera KM-6030 manual content summary:
- Kyocera KM-6030 | Scanner File Utility Quick Guide - Page 1
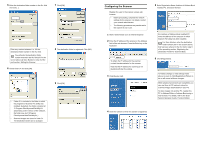
of setup, refer to the Functions Edition of the Scan System Operation Guide. 10 Select the components to install and click [Next]. Registering the Destination Folder for Scanned Images Register a folder for storage of scanned data in Scanner File Utility. The explanation below shows an example when - Kyocera KM-6030 | Scanner File Utility Quick Guide - Page 2
default, the folder is located at: C:\Program Files\Kyocera\FileUtility\01. (Depending on the version of the software, the folder may be C:\Program Files\Kyocera Mita\FileUtility\01.) • Scanned images are stored in folder 01. The destination folder can be changed. Configuring the Scanner Register
-
 1
1 -
 2
2
 |
 |
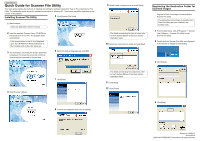
Installing Scanner File Utility
1
Start Windows.
2
Insert the supplied
Scanner Library
CD-ROM into
the optical drive of your PC. The program starts
automatically.
3
The description concerning the license agreement
is displayed. To accept the terms and conditions,
click [Accept] and proceed to the next step.
4
Click [Scanner Utilities].
Close any applications that are running.
If the screen shown in step 3 is not displayed,
open the CD-ROM from Windows Explorer or
My Computer and double-click
setup.exe
.
5
Click [Scanner File Utility].
6
Select the desired language and click [OK].
7
Click [Next].
8
Confirm the installation folder and click [Next].
Quick Guide for Scanner File Utility
This quick guide explains the methods of installing and setting the software required for Scan to PC using Scanner File
Utility. The explanation below shows the installation procedure on Windows XP. The screens may differ depending on the
version of the software.
303JV56310
9
Select
Install a desktop mode
and click [Next].
10
Select the components to install and click [Next].
11
Click [Next].
12
Click [Finish].
For details on selecting the type of setup, refer
to the Functions Edition of the Scan System
Operation Guide.
For details on selecting the components, refer
to the Functions Edition of the Scan System
Operation Guide.
Registering the Destination Folder for
Scanned Images
Register a folder for storage of scanned data in
Scanner File Utility.
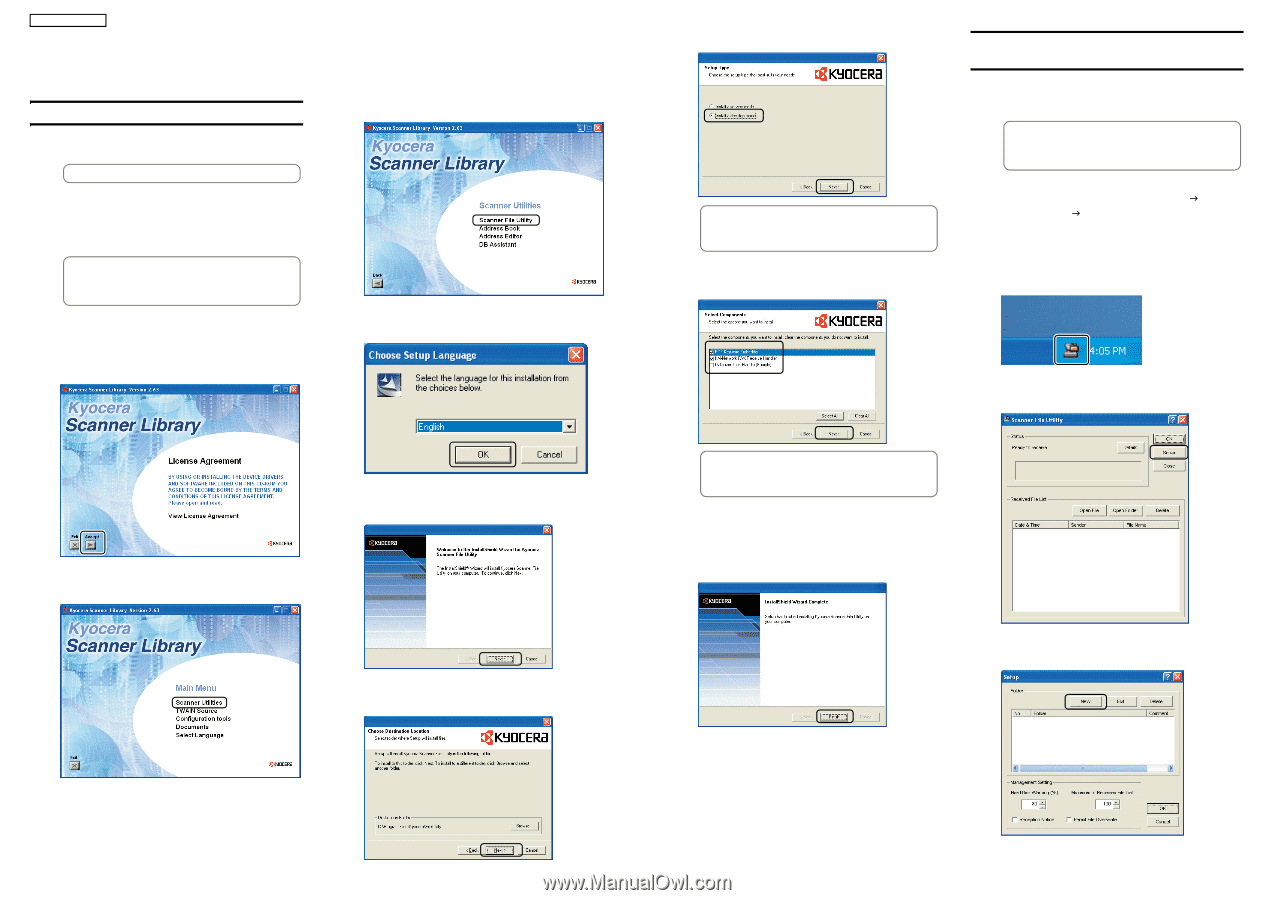
1
From the Start menu, click
All Programs
Scanner
User Software
Scanner File Utility
to start
Scanner File Utility.
2
Double-click the Scanner File Utility icon displayed
in the task bar to display the start dialog.
3
Click [Setup].
4
Click [New].
The explanation below shows an example when
Scan File Utility has been installed in the
desktop mode.
Revision1.0 2004.12
303JV56310
©2004 KYOCERA MITA Corporation All rights reserved.