Kyocera TASKalfa 180 Printing System (Z) Installation Instructions - Page 2
Installation de l'interface USB IB-110
 |
View all Kyocera TASKalfa 180 manuals
Add to My Manuals
Save this manual to your list of manuals |
Page 2 highlights
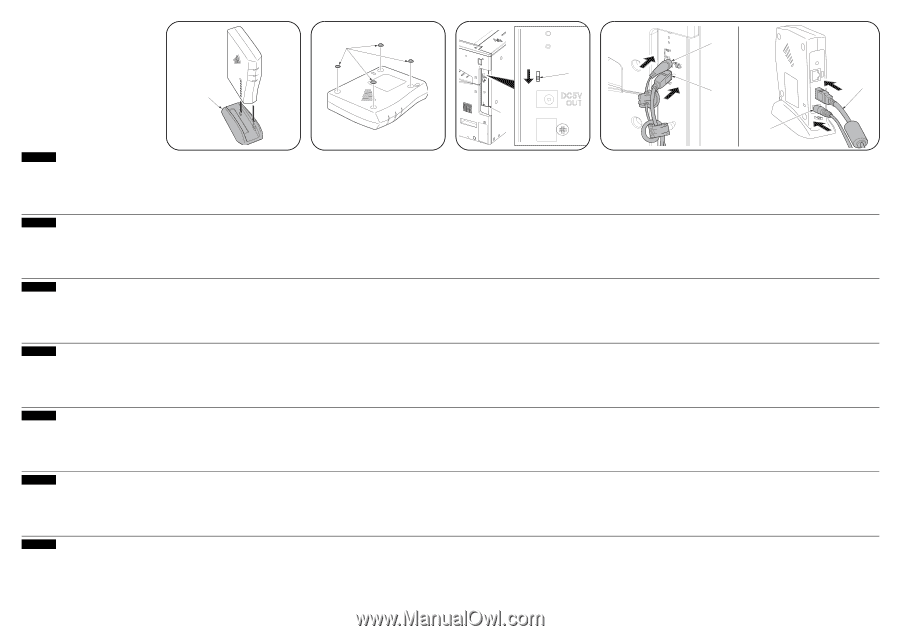
D C HIGH 3 FULL A E F F E LAN English Installing the USB interface IB-110 (optional) Installing IB-110 vertically: 1. Attach the vertical stand (C) supplied with IB- 110. Installing IB-110 horizontally: 1. Attach the four rubber bases (D) supplied with IB-110 as indicated in the figure. 2. Move the DIP switch (3) on the printer board (A) from HIGH to FULL. Note If the IB-110 will not be used, the DIP switch must be left at HIGH. 3. Connect the connector, which has a ferrite core, of the power cable (E) supplied with IB-110 to the printer board, and connect the other side to IB-110. 4. Connect the USB cable (F) supplied with IB-110 to the printer board, and connect the other side to IB110. Note Be sure to use the supplied power cable and USB cable. Français Installation de l'interface USB IB-110 (en option) Installation verticale de l'IB-110: 1. Fixer le support vertical (C) fourni avec l'IB- 110. Installation horizontale de l'IB-110: 1. Fixer les quatre bases en caoutchouc (D) fourni avec l'IB-110 comme indiqué sur l'illustration. 2. Amener le commutateur DIP (3) de la carte d'imprimante (A) de HIGH à FULL. Remarque Si le IB-110 n'est pas utilisé, laisser le commutateur DIP en position HIGH. 3. Brancher le connecteur, qui possède un noyau en ferrite, du cordon d'alimentation (E) fourni avec l'IB-110 sur la carte d'imprimante, et brancher l'autre côté à l'IB-110. 4. Brancher le câble USB (F) fourni avec l'IB-110 sur la carte d'imprimante, et brancher l'autre côté à l'IB-110. Remarque Veiller à utiliser le cordon d'alimentation et le câble USB fournis. Español Instalación de la interfaz IB-110 (opcional) Instalación vertical de la IB-110: 1. Coloque el soporte vertical (C) entregado con la IB-100. Instalación horizontal de la IB-110: 1. Coloque las cuatro bases de goma (D) entregadas con la IB-110 como se indica en la figura. 2. Mover el interruptor DIP (3), de la tarjeta de impresora (A), de la posición HIGH a la posición FULL. Nota Si no va a utilizar el IB-110, el interruptor DIP debe permanecer en la posición HIGH. 3. Conecte el conector con un núcleo de ferrita, del cable eléctrico (E) entregado con la IB-110 a la tarjeta de impresora y conecte el otro lado a la IB-110. 4. Conecte el cable USB (F) entregado con la IB-110 a la tarjeta de impresora y conecte el otro lado a la IB-110. Nota Asegúrese de utilizar el cable eléctrico y el cable USB entregados. Deutsch Installieren der USB-Schnittstelle IB-110 (optional) Vertikale Installation von IB-110: 1. Den mit IB-110 gelieferten Vertikalständer (C) anbringen. Horizontale Installation von IB-110: 1. Die mit IB-110 gelieferten vier Gummifüße (D) gemäß der Abbildung anbringen. 2. Schalten Sie den DIP-Schalter (3) auf der Druckerkarte (A) von HIGH auf FULL um. Hinweis Falls das IB-110 nicht verwendet wird, muss der DIP-Schalter auf HIGH gesetzt bleiben. 3. Den mit Ferritkern versehenen Stecker des mit IB-110 gelieferten Netzkabels (E) an die Druckerkarte, und das andere Ende an IB-110 anschließen. 4. Das mit IB-110 gelieferte USB-Kabel (F) an die Druckerkarte, und das andere Ende an IB-110 anschließen. Hinweis Verwenden Sie unbedingt das mitgelieferte Netzkabel und USB-Kabel. Italiano Installazione dell'interfaccia USB IB-110 (opzione) Installazione di IB-110 in posizione verticale: 1. Fissare il supporto verticale (C) fornito in dotazione con IB-110. Installazione di IB-110 in posizione orizzontale: 1. Fissare le quattro basi di gomma (D) fornite in dotazione con IB-110 come indicato nel disegno. 2. Spostate il selettore DIP (3) sulla scheda stampante (A) dalla posizione HIGH a FULL. Nota Se l'unità IB-110 non verrà utilizzata, il selettore DIP deve essere lasciato alla posizione HIGH. 3. Collegare il connettore, che ha un nucleo in ferrite, del cavo di alimentazione (E) fornito in dotazione con IB-110 alla scheda stampante e collegare l'altra estremità a IB-110. 4. Collegare il cavo USB (F) fornito in dotazione con IB-110 alla scheda stampante e collegare l'altra estremità a IB-110. Nota Assicurarsi di usare il cavo di alimentazione e il cavo USB forniti in dotazione. USB 接口 IB-110 IB-110 时 1 IB-110 C)。 IB-110 时 1. 将 IB-110 4 D 2 A)上的 DIP 开关(3)从 HIGH 拨至 FULL。 IB-110 DIP HIGH 位置。 3. 将 IB-110 E IB-110 上。 4. 将 IB-110 USB 线 (F IB-110 上。 USB 线。 日本語 USB IB-110 IB-110 1. IB-110 C)を取り 付ける。 IB-110 1. IB-110 D)4 2 A 3) を HIGH から FULL 注意 IB-110 HIGH 3. IB-110 E IB-110 4. IB-110 USB F IB-110 USB 2009.2 303MY56710
-
 1
1 -
 2
2
 |
 |